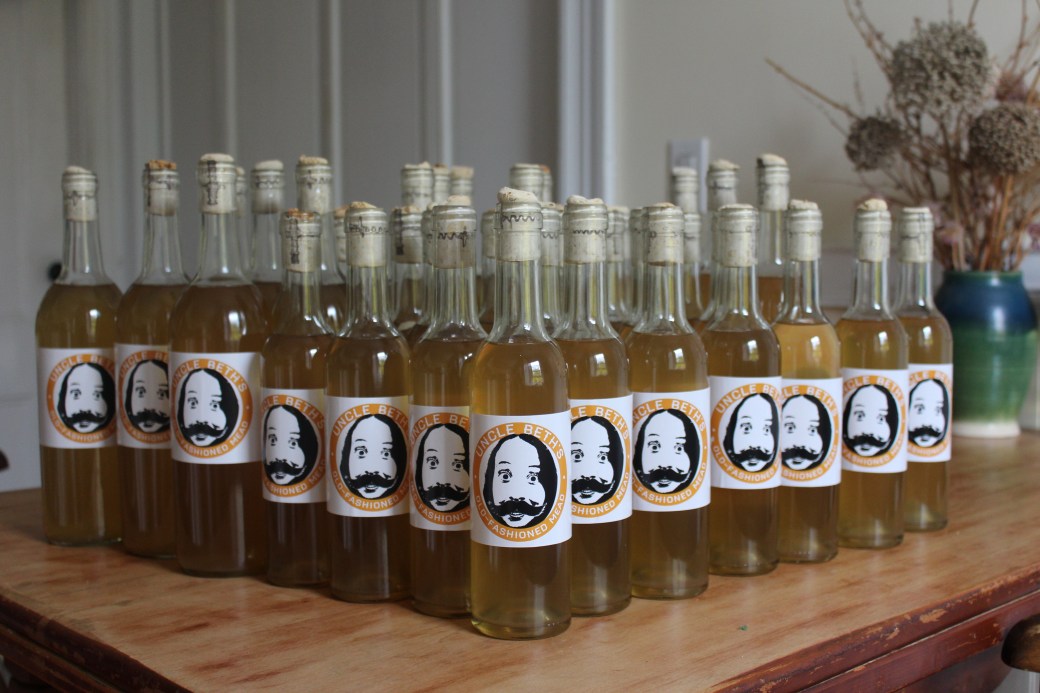
New labels and matching bottles in 750 and 375 ml. Uncle Beth’s Old-Fashioned Mead is movin’ up in the world.
New labels and matching bottles in 750 and 375 ml. Uncle Beth’s Old-Fashioned Mead is movin’ up in the world.
I had every intention of checking on the bees. I’d gotten the smoker out and everything. When I went to open the plastic bin we keep the bee suits in, however, I found some unwelcome guests. They were everywhere, and the bee checking had to be postponed.

It wasn’t hard to find the source of the problem. We were storing the bee suit bin on top of another bin with some old frames of comb in it. And those frames, wouldn’t you know it, were completely full of wax moths.

Wax moths are a perpetual threat if you’re storing used comb without bees to protect it. Fans of the blog may remember that our hive was infested with wax moths last spring, after it was abandoned. Wax moths are rarely a problem in active hives, because the bees will drive them out before they can take hold. But if the comb is unprotected, like in the empty hive or the shed, moths are almost certain to move in.

Despite their name, wax moths don’t actually eat wax. A frame of unused foundation in the same bin was untouched. What the moths like is the thin, protein-rich skin that’s left behind on the cell walls by the bee larvae when they emerge as fully formed bees. Think of it like a bee amniotic sac. Moths lay their eggs in the wax, and those eggs hatch into grubs that burrow through the wax, feeding on these old protein skins.
Because they’re disgusting.

I thought the bin we were keeping the frames in was tight enough to keep the moths out. I thought wrong. Here you can see a few of those little grubs on the move.

And here are some adult moths.

Will and I dragged the bins outside to clear them out. We wiped out all the bugs and their bizarrely stretchy webbing.

The moths clearly started in the bin with the frames, but they’d been migrating. I found a few little cocoons in the bee suits.

I picked off all the cocoons I could find and shook everything out. For good measure, I took the suits home and washed them. I sprayed the bins down with the hose and let them dry in the sun. I’m pretty sure we’re moth-free.

As we were working, a few of the bees came over from the hive to see what we were up to. This one found a single globule of honey on one of the frames.

Some others flocked to the honey that dripped out of the frames onto the ground. They will have drunk as much as they could hold, then carried it back to the hive to store.

This wasp showed up for the free food, too.

So what became of the frames? I didn’t want to keep them around so full of moths, but I couldn’t stand the idea of throwing away all that good wax. I brought the frames home and tried to render the wax in my kitchen.

Stay tuned for that tale of hardship and woe.
Last week we went in to check on the bees and take stock. Things are looking good, though we did notice this beautiful and disgusting phenomenon underneath the hive. Some opportunistic spider has set up shop under our screened bottom board. Maybe he’s after mites, maybe he’s after bees. Whatever he was after, what he got was all that nasty debris that’s fallen down out of the hive. Poor guy.

We swept out the cobwebs and opened up the hive. My last time in I’d taken off a “full” honey super and replaced it with a new one. Unfortunately, the full one was none too full, and the new one is filling up slowly.

So where is that honey? Turns out a lot of it is in the top hive body. Whoops. This deep frame is totally capped.

As is this one.

The capped honey has such a satisfying, smooth look to it. I genuinely don’t know what this little huddle of bees is up to. Since the honey is all capped, I don’t think there’s any work to do in this part of the frame. They’re probably talking to each other, but about what? If anyone has a guess, I’d love to hear it!

This frame is closer to the center of the box, and it’s much busier. The very top right corner has some capped honey, but the bulk of the frame is full of brood. Some of it is capped, but you can just make out the white grubs in a few of the uncapped cells. You can also clearly see a drone with his big eyes and body, a third of the way from the top. Winter is coming, and this poor guy doesn’t have much time left. Pretty soon he’ll be too much trouble to feed and will be driven from the hive.

We managed to spot the queen, busy laying in one of the middle frames. The white thing is the remnant of one of our Hop Guard strips, with another week and a half left in its 30 day period of effectiveness. I’m no expert, but it looks to me like its effective days have passed. I’d read about Hop Guard I and the need to replace it when it dries out, but I was under the impression that Hop Guard II (what we’re working with) was an improved version that would last for the full 30 days.
Whelp. In a few days the month-long period will actually be up, and I’ll do another mite count to see if it’s been effective or not.

This strip isn’t as empty, but it looks pretty dried out. In fact, it looks like the bees have covered it up with wax… I have to say I’m skeptical that this is doing much. On the plus side, our mite count was so low to begin with that it may not even matter. But we won’t know anything for sure until we take stock of the current mite population. If worse comes to worst, we can always treat again in the fall.

No great changes were made during this inspection, but we got a good sense of where we stand.
We know that the bees are storing just as much honey in the hive body as in the honey supers. Next time we go in, we’ll take a couple of those full deep frames and swap them for empty ones. We’ll get some honey, and hopefully the queen will lay in the empty frames. In the meantime we’ve left both honey supers on top of the queen excluder, so with any luck they’ll fill those up some more.
We’ve seen that the queen is healthy and still laying and doesn’t seem to have been hurt by the mite treatment. Unfortunately, we’ve also seen that the mite treatment may not be living up to its potential. Only time will tell on that front.
In any event, the colony itself seems healthy and productive. The bees’ numbers have soared since we got them in the spring, and just like last year’s colony they’re extraordinarily cooperative.

I’m coming up on two years of beekeeping without being stung.
It’s hot out. So hot that I’ve been afraid to go into the hive. The last thing I need is to pass out face first in a pile of bees.
This morning, before the sun got too high, I went down to the hive to do some much-needed maintenance. Since I have the body of a weak and feeble woman, I brought along my boyfriend Ben to do the heavy lifting.
It was his first time going into the hive, and he was a little nervous.

Our first order of business was to replace the honey super. Last week we’d put a triangle board under the honey super to clear the bees out. The triangle board gives them an easy way out of the super, but an almost impossible way back in. It’s really effective if you want a bee-free honey super, but I was worried that if we left it too long they might get crowded and be in danger of swarming.
They did look tightly packed through the screen of the triangle board, but it may just have been early enough in the morning that the foragers hadn’t left for the day yet.

We removed the honey super and set it a few hundred feet away so the bees wouldn’t steal it right back from us. Then I removed the triangle board.

I removed most of it, anyway. The bees sealed it tightly to the frames below with propolis and wax, and a whole side of the triangle pulled free of its nails when I lifted it off. This is coming out of their wages.

I was determined to do a successful sugar shake mite check this time, since my last attempt… left something to be desired. I shuffled through the top hive body frames for one full of brood. It took me four frames, because the first three were solid capped honey! It’s a good thing we didn’t leave the triangle board any longer – it seems like they’ve really been stocking up.
When I finally found a brood frame, I gave it a good shake over a pot. The bees dropped in, and I knocked them all into one corner and scooped ’em up in my measuring cup. I got a slightly shy half cup, which I dumped into a mason jar and set aside for later.

Today we went for the slightly unorthodox method of treating for mites before testing to see if we needed to do it. Is this responsible beekeeping? Nope. But the day was getting hot and the bees were getting ornery, and it was a lot easier to test the bees in the shade after closing up the hive. For philosophical musings on why this probably is okay, hold out til the end of this post.
We dug deeper and lifted off the top hive body, because the mite treatment has to be applied to both. A while ago we put a shim between the two, hoping for some cool burr comb. The bees have been playing along, making this very cool structure that’s about the width of the frames but almost perpendicular to them.

I cleared away the burr comb and applied the Hop Guard. What it is is a pack of foot-long cardboard strips soaked in something with the consistency and messiness of hot molasses. This stuff oozed everywhere. The packaging is covered in warnings about getting on your skin, but by the end of the day I had it all over my hands and legs. (That being said, I washed it right off and seem to be fine. I don’t condone eating a spoonful of the stuff, but the danger may be over-hyped).
The instructions said to apply two strips per 10 frame hive body, draped 4 inches apart over two central frames. There they are!

We replaced the second hive body and draped two more strips in that one. Then we topped it off with the queen excluder and a fresh honey super to catch the fall honey flow. We closed up the hive and beat it out of there. All that was left was to give those bees in the jar a good shake.

The round piece of screen I was given at bee school fit perfectly into a wide mouthed canning jar. The mesh in the screen is just the right size to let mites out and keep bees in.

Even if the bees really want to get out.

We dumped a few tablespoons of powdered sugar through the screen and shook the jar up for a couple minutes. It was a like a grotesque snow globe.

Once the bees were good and coated, we turned the jar on its end and shook it hard over a white piece of paper.

Between the white paper and the white sugar, the dark mites stand out pretty well.

Reasonably well, at least. Can you spot the one in this picture? Zoomed in this much, he’s actually hard to distinguish from the tiny sugar clumps’ shadows. He’s in the horizontal middle, just south of the vertical middle. If you look very closely you can see his little legs in the air.

In case you were worried, no bees were killed in the testing of these mites. They were a little dazed, to be sure, but they came out of it okay.

I dumped them out right next to the hive. Once they got their bearings, they should have flown right back into the hive. They’ll have a wild story to tell their friends as they get licked clean. This day will pass into bee lore, and the powdered sugar will probably be turned into honey.

So how many mites did we find? 4. From a sample of 300 bees, that’s an infestation rate of 1.33%. For this time of year, that’s actually remarkably low. In all honesty, we probably could have held off a while on treating. Given the way it went, though, I’m glad we did.
The thing is, all hives have mites, and the reasons to delay treatment hold a little less sway over us than usual. A lot of treatments are toxic to humans, meaning it’s a good idea to continually test mite levels while collecting honey, then harvest the honey and treat only when the mites get out of hand. Hop Guard, on the other hand, supposedly does not contaminate the honey, so there’s no need for strategic timing.
Another reason to wait is that mite treatment can be pretty hard on bees. If by some chance your mite levels never get high enough to have to treat, it’s better not to treat. Supposedly Hop Guard is gentler than other products, though, so it should be okay.
We got burned by mites last year, so we want to go in guns blazing this time. Our number one priority is getting these bees through the winter, and hopefully this knocks their mite levels low enough that they stand a fighting chance.

It was a good and productive day. It was only a little sweltering, and Ben survived his first bee excursion. He says he even had fun.
I promised we’d be back with the bees soon, and here we are!
When we last left our heroes, we’d given them a honey super and some more time to build burr comb in the shim between the hive bodies.

They’ve been hard at work since. About seven of the ten honey super frames have been filled up – this one is mostly capped. The honey starts out very moist, and the bees leave it open to evaporation until it’s distilled down to about 18% water. At this point they cap it with wax to stop the evaporation. We don’t want to harvest honey that’s mostly uncapped, since it’s likely to ferment. This frame’s probably alright, though.

Setting the honey super aside, we tackled the top hive body. Our plan was to cut out some of the burr comb and put it in a jar to display for educational purposes. Unfortunately most of it was full of brood, but in the name of educational purposes you can let your scruples slip a little bit. We lifted a few of the frames, one at a time, and cut away the burr comb from the bottom.
Incidentally, the capped cells all have the larger, bumpier look of drone brood. Varroa mites tend to prefer latching onto drone brood, as their development in the cells takes a few days longer. One very low-impact means of varroa treatment is to give the bees special frames designed for drone brood, wait until it’s all capped, and then destroy it. So we may have inadvertently done a little mite treatment of our own.

Speaking of mite treatment, I was anxious to try out the sugar shake method for myself. I’d brought a half cup measurer, and I was somehow under the impression that enough bees had fallen into our tub with the burr comb that I’d be able to scoop them in easily.
I was wrong. They were too spread out, and the comb kept getting in the way. I got more bees on me than in my little measuring cup, and they were getting angrier by the minute. I could understand why – I felt like some kind of deranged god shoving them around in their own honey.

Next time I’ll do it right and knock a whole frame into the tub. Turns out bees in small numbers don’t move as a liquid.

As we were moving through the top hive body we spotted the queen. It was very good to know we hadn’t knocked her off with the burr comb.

At the end of the day it was a messier hive dive than we usually have. A little bit of honey spilled on the deck got cleaned up immediately.

Likewise, a bee who didn’t survive the manhandling got cleaned up immediately by a passing wasp. Wasps can be carnivorous, and this was an easy meal.

I found another wasp on the outside of the hive. I was worried that the honey spilled while collecting the burr comb might attract invaders. But at the time of writing this, almost a week later, the bees seem fine.

Even if robbers are about, our colony seems pretty tough and capable of defending itself. Here are two little guys shaking their butts outside the hive to mark their territory with pheromones. They, unlike the happy bee on our sign, mean business.

We’ll be going back in again soon. I’d like to do a sugar shake that isn’t an embarrassment and, assuming it’s going to show that we have too many mites, we want to get treating. I’ve just ordered a shipment of Hop Guard, a relatively new mite treatment regimen that’s derived from hops. It’s only just legal in Rhode Island this year, but I’ve heard good things from beekeepers just over the Massachusetts line where it’s been available longer. It’s supposed to be gentler on the bees than some other options, but still effective. And it doesn’t contaminate your honey, which is a big plus.

I’m not advertising for Hop Guard. In fact I’ve already read complaints that its instructions are unclear and it dries out so quickly that you have to apply it three weeks in a row for it to work. But I’m excited to try. If all goes well, maybe this will turn into and advertisement – both for Hop Guard and for its necessary workarounds.
A few weeks ago we went into the hive to check on the bees’ progress, but I never got around to writing about it. This means, incidentally, that almost every bee you’re about to see is dead of old age by now.
Even this one.

This is as spooky as beekeeping blogs get.

We went in to check on the state of things and, if the state was good, to add a honey super. Until this point we’ve been letting the bees focus on building up their numbers. Once they get established, however, it’s time to start concentrating on honey production.

We opened up the top hive body and took a look. This frame against the outside wall was still bare.

A little farther in, though, production was in full swing. We’d put a shim between the two hive bodies, hoping the bees would build some interesting burr comb to fill in the empty space. And they did! Here’s some of it, hanging off the bottom of the frame.

This next frame has hardly any burr comb – the structures hanging off the bottom are 100% bee. And that white arc across the top is all capped honey.

Since the bees seemed to be moving right along (and running out of room), we plopped our honey super on top, with the queen excluder (the metal screen in my hands) between it and the hive bodies. This will keep the queen laying in the hive bodies and allow the workers to store honey in the honey super.

Some beekeepers don’t believe in them, but anything that keeps grubs out of your honey sounds good to me.

The bees are still happy and healthy. (At least they were last time we checked). Soon we’ll be going back in to scope out the honey and the mite population.
I hope they haven’t gotten too used to us being gone.
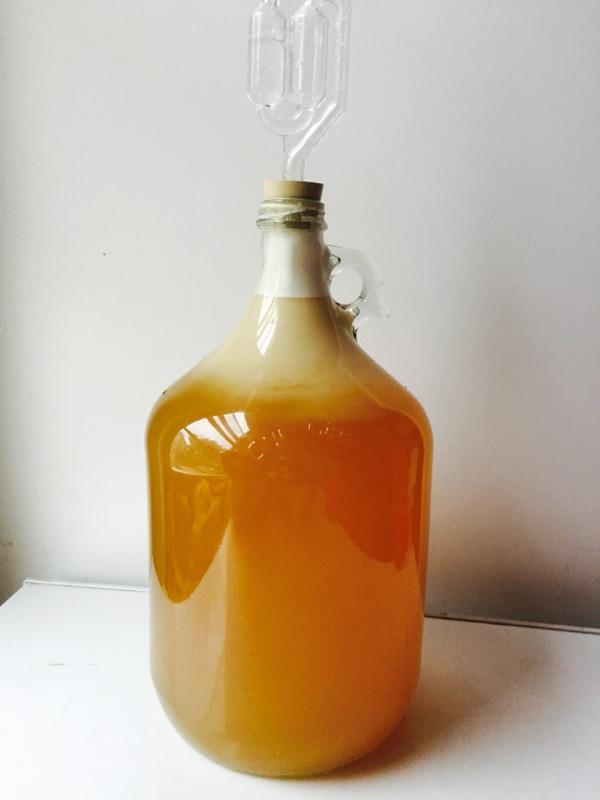
Last November Kim and I started a gallon of mead with our bees’ honey. Since then I’ve been racking it occasionally but mostly forgetting about it. I discovered it again recently and declared it ready to bottle.
It was, like everything I make, extremely dry and boozy, so I back sweetened it with 1/4 cup of honey. Booziness aside, I’m very happy with it. It’s so different from the store honey mead and, dare I say it, better. I’d say it tastes richer and has a stronger honey base. There’s also a lot less of it. I’ve been free with the 5 gallon batch of mead, taking it to parties and pawning it off on friends, because 5 gallons is a lot to have of anything. One gallon, on the other hand, filled just 11 beer bottles. Beer bottles are perfect for gallon batches, because they can be portioned out more slowly.
They’re also perfect for my small homemade labels. Technically this was the prototype for the official label, but I think I like it more.

Ever since we harvested the first batch of honey in August, I’ve had three pounds of the stuff in my kitchen cupboard.
But no more!
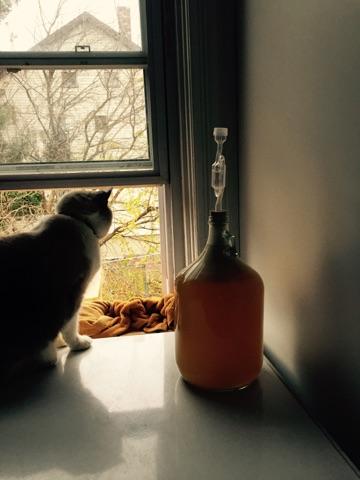
Kim and I finally got into gear and started fermenting it into honey. And Omar, my cat, started modelling it.
We set the honey jar in a warm bath for a few minutes to get it flowing. Even warmed up, it didn’t exactly rush through the funnel.

This gave us plenty of time for photo ops.
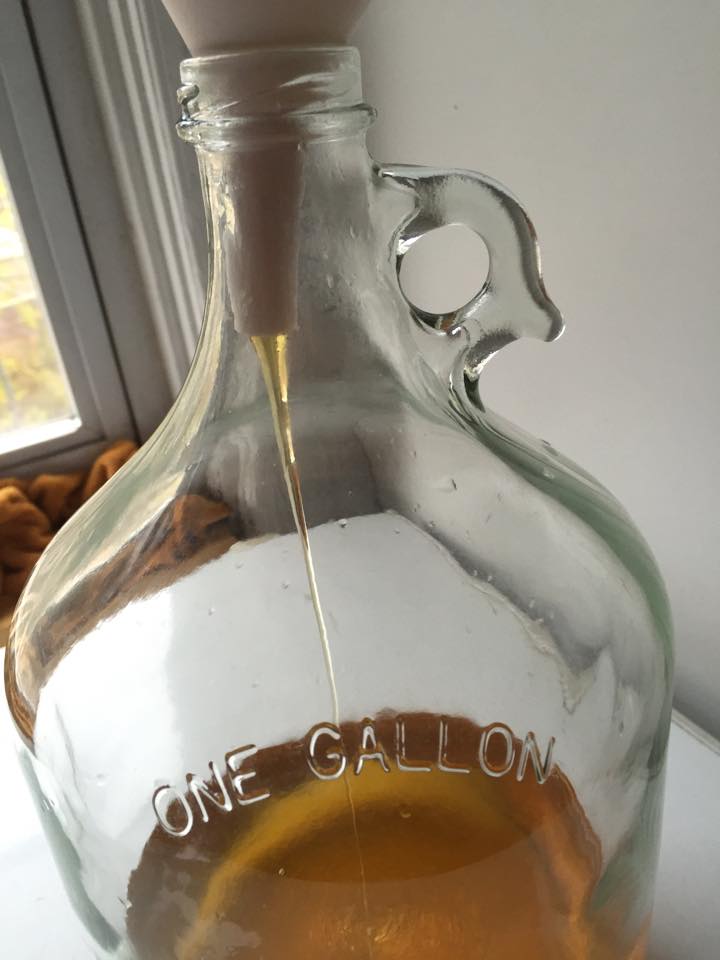
I’d put a few inches of water in the bottom of the jug to begin with, hoping that it would keep the honey from sticking to the bottom. Honey, it turns out, is a lot denser than water. It sank straight to the bottom. Maybe a couple hardy water molecules stuck to the bottom…

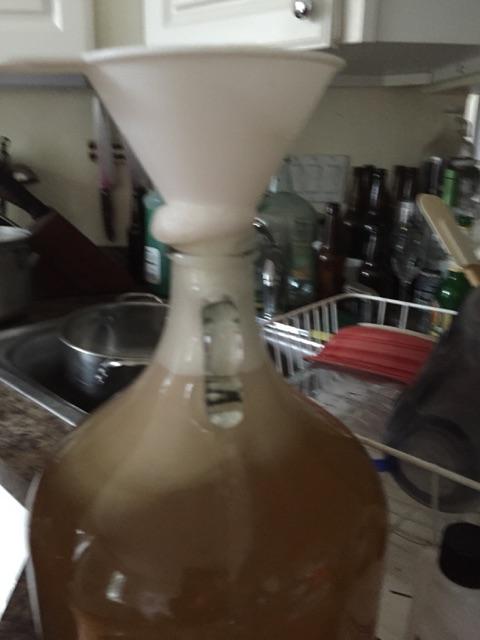
Before the jug was completely full, I gave it a good shake. I missed getting to do this when I did the five gallon batch. This process both mixes the honey and water together and aerates the must.

I got really into it.

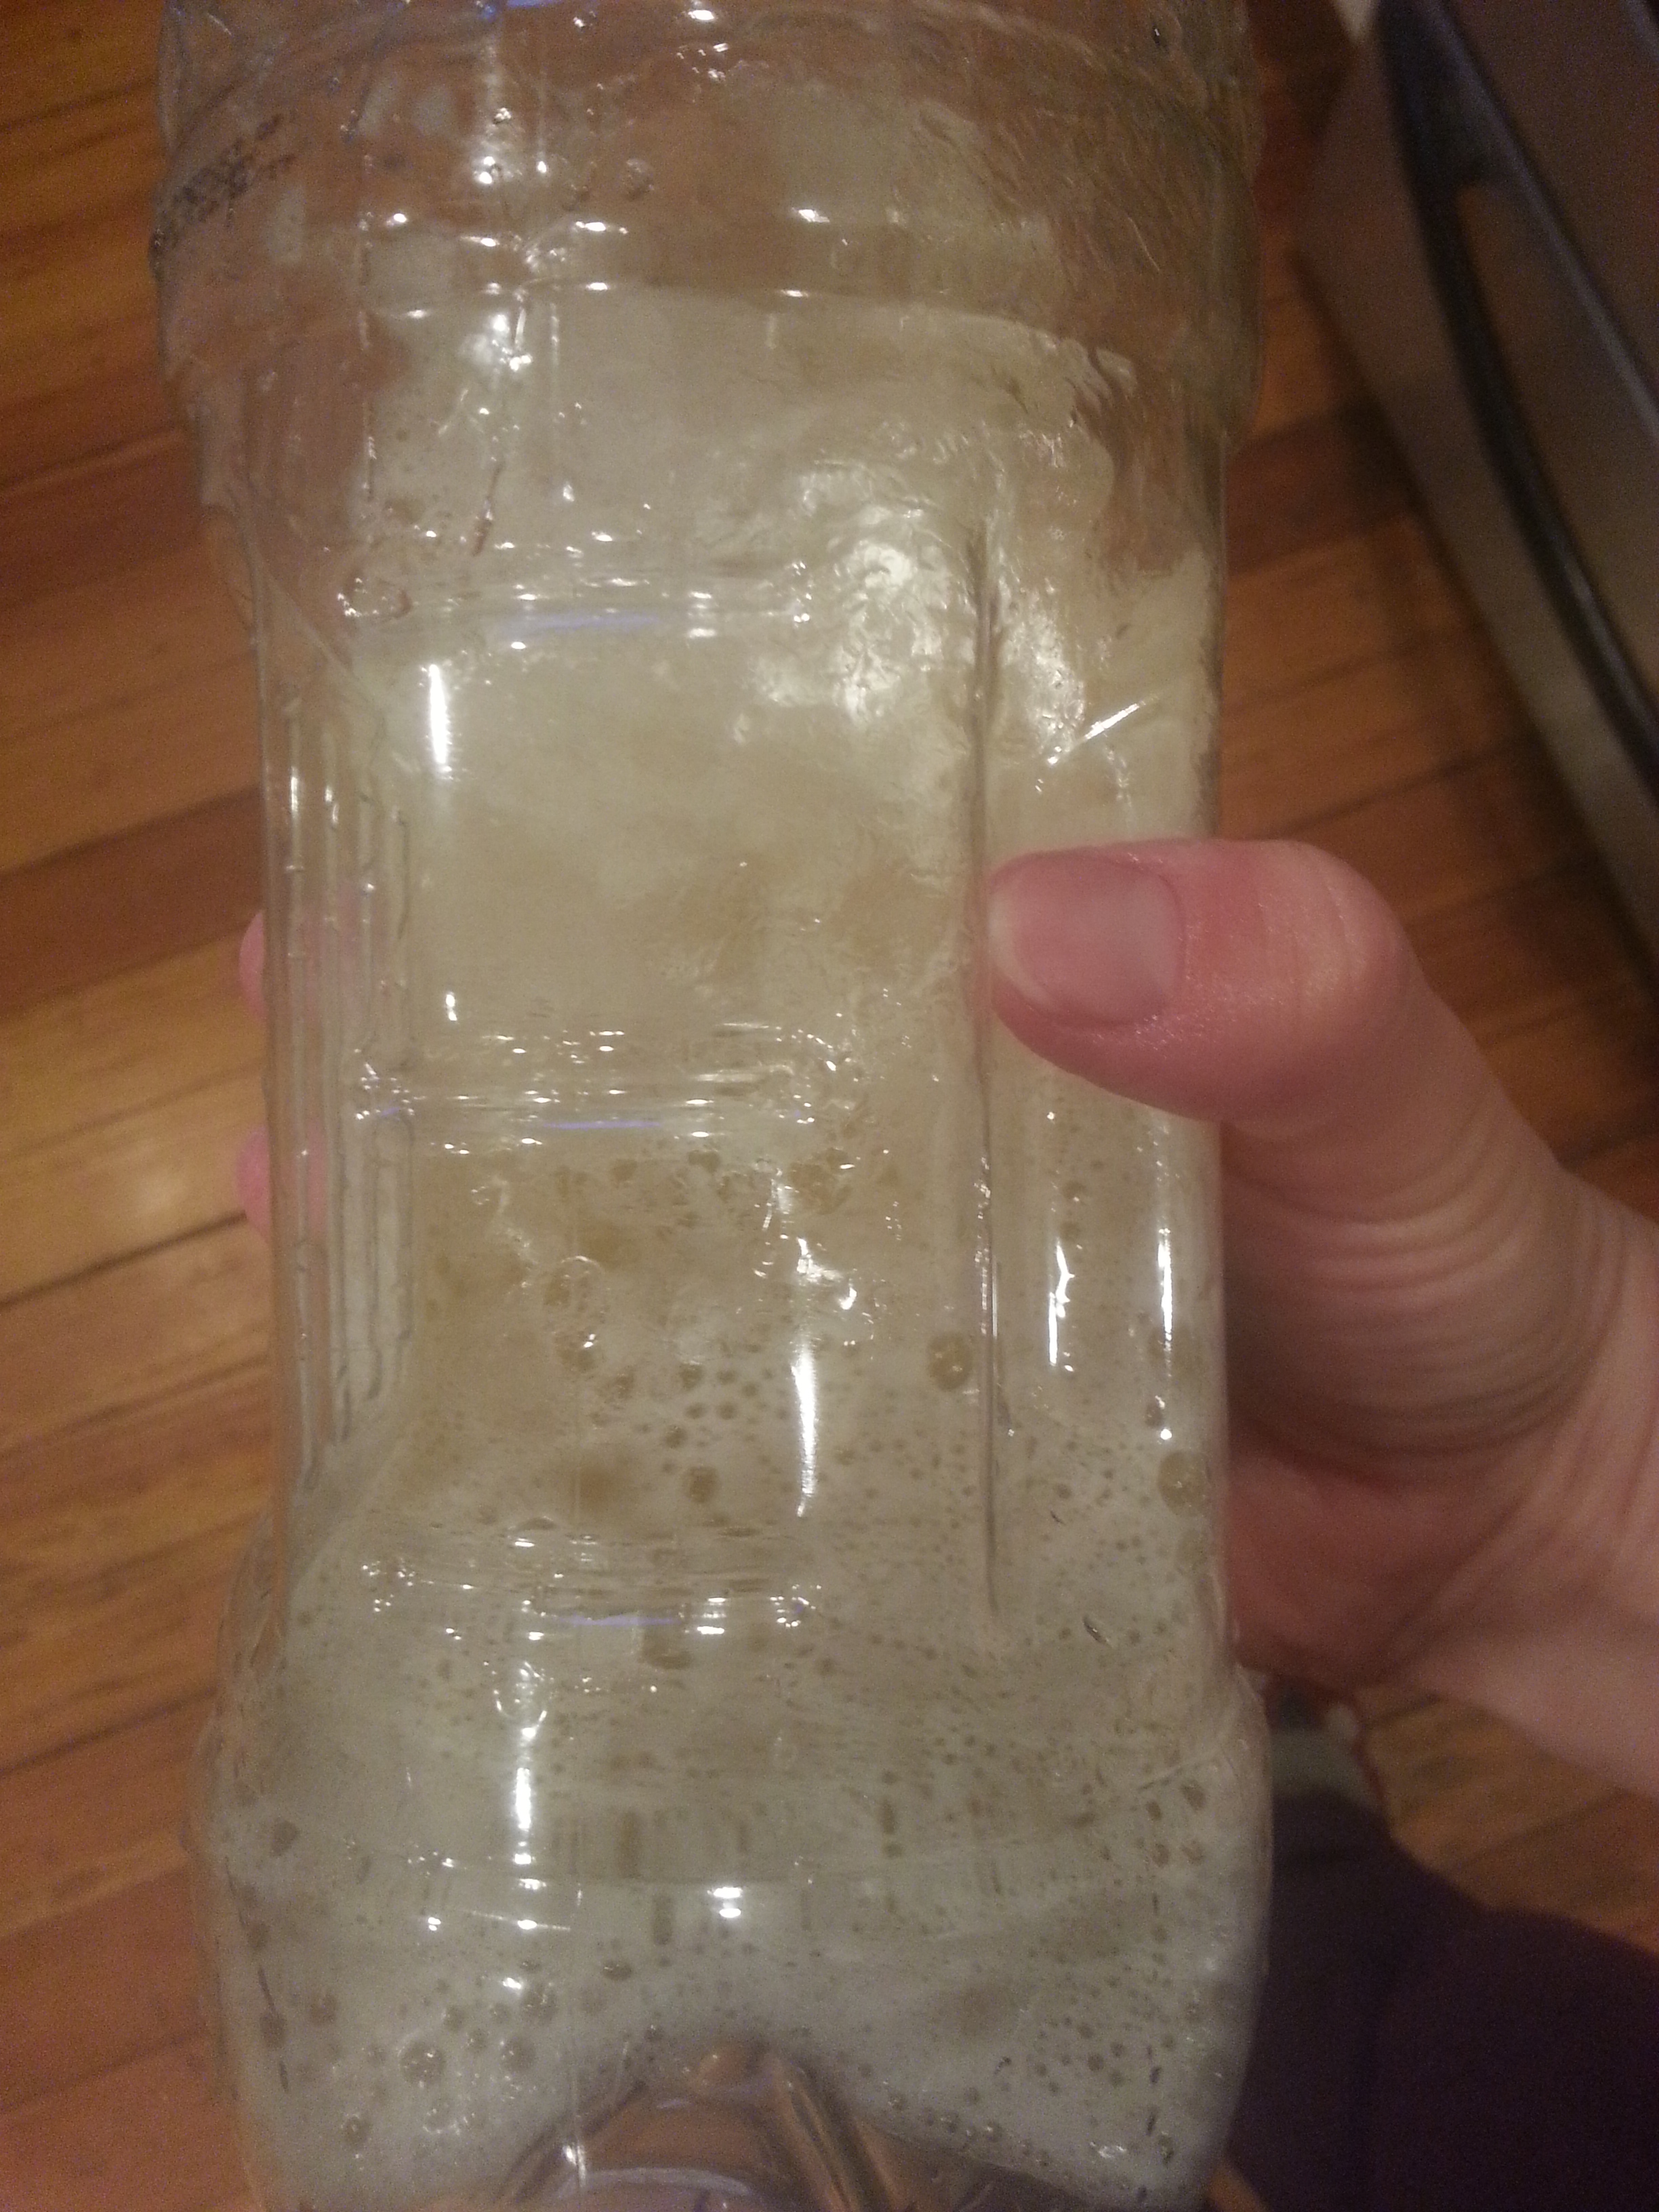
And I may have aerated too vigorously.

With all those bubbles, the primed yeast and nutrient didn’t have much space. I’m having bad flashbacks to my raspberry melomel…
Despite some cramped quarters, the mead is a beautiful color. I’ll have to keep an eye on it to make sure it doesn’t blow its lid.
Everything’s coming up bee.
We went into the hive recently to check on the state of the honey box, and we were shocked to see that it was almost full. These bees are not playing games when it comes to preparedness. It’s bad news for the impending winter, but it’s good news for honey!

We threw in a triangle board and a shim and waited a few days. In that time the bees not only abandoned the honey box, they also set to work on filling in the shim with comb. I’ve been reading a lot about Bee Space lately. It’s the distance we leave between frames so we can pull each out individually without ripping through comb. About a centimeter, it’s the magic distance at which bees won’t fill things in. Bees are all about filling things in – any less than a centimeter is patched up with propolis to prevent drafts. Any more than a centimeter, as we can see here, is fair game for expansion and will be filled in with comb. They built all of this over the course of a weekend. Bees don’t get time off.

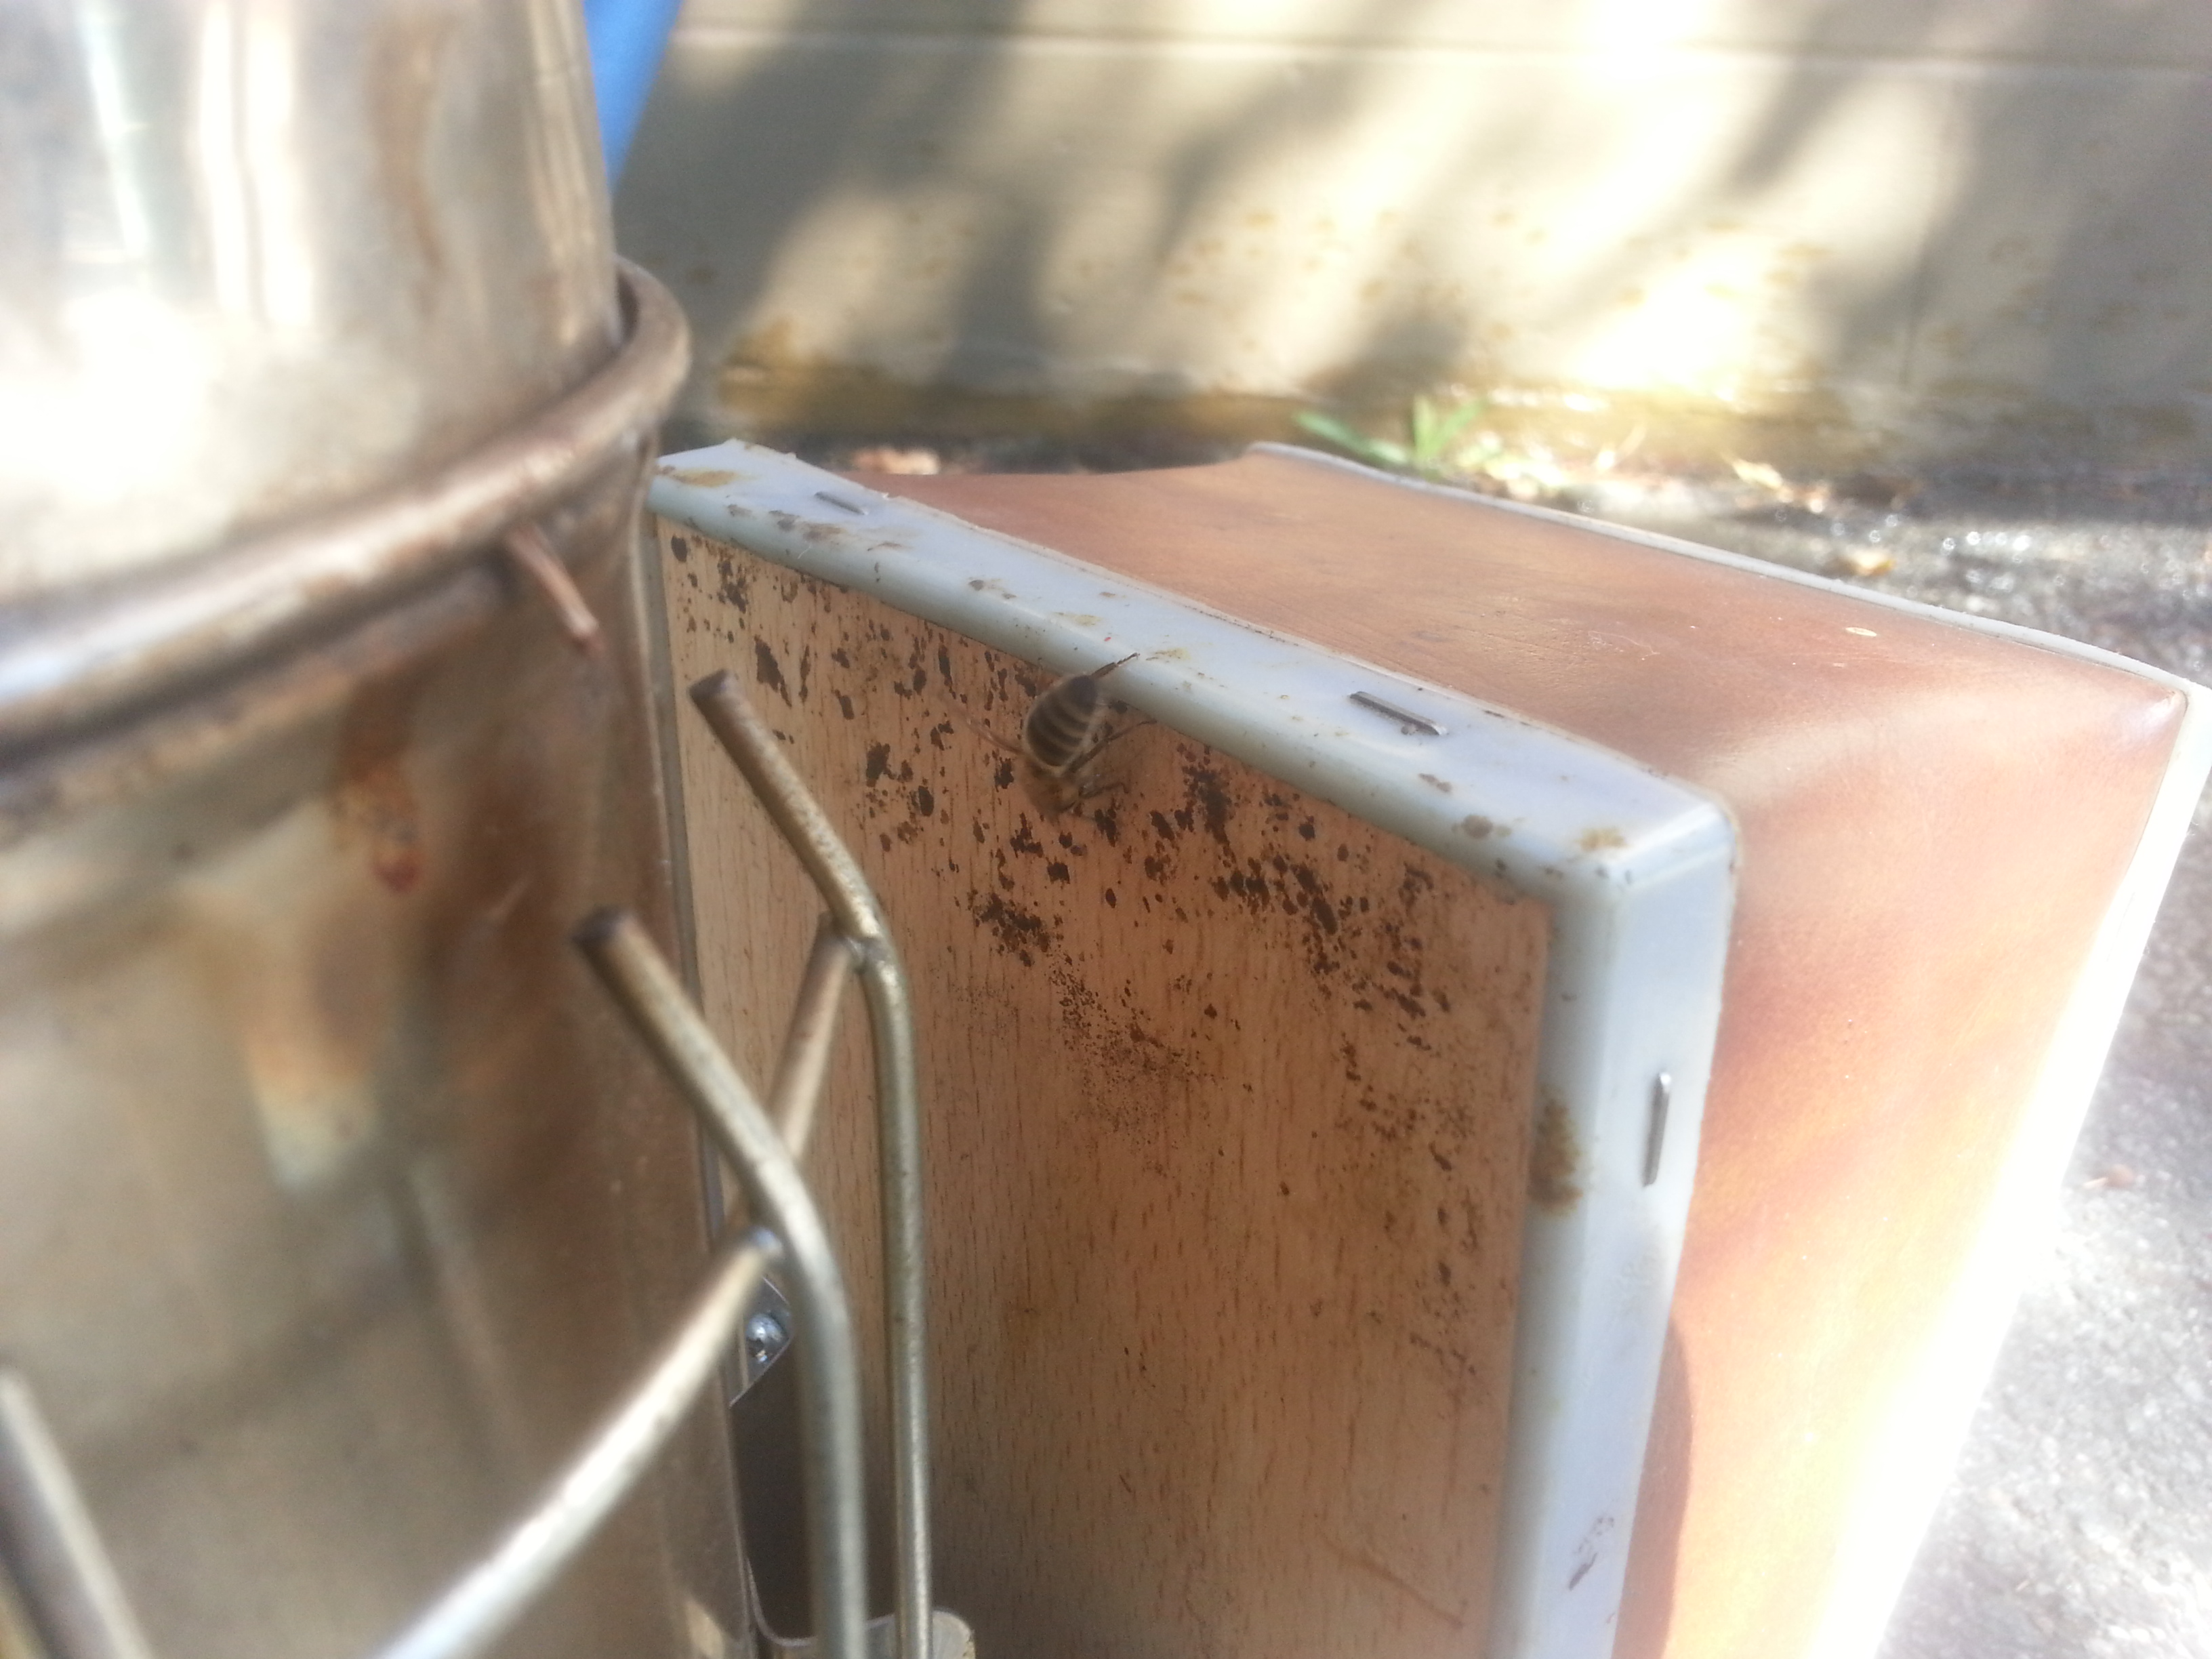
We made off with the honey box, just like last time. With all that burr comb we had to break apart to get inside, though, this theft was a little messier. Some of the equipment got sticky, and the bees were wise to it. As I was putting out the smokers, this little guy was frantically cleaning up a thumbprint of honey.
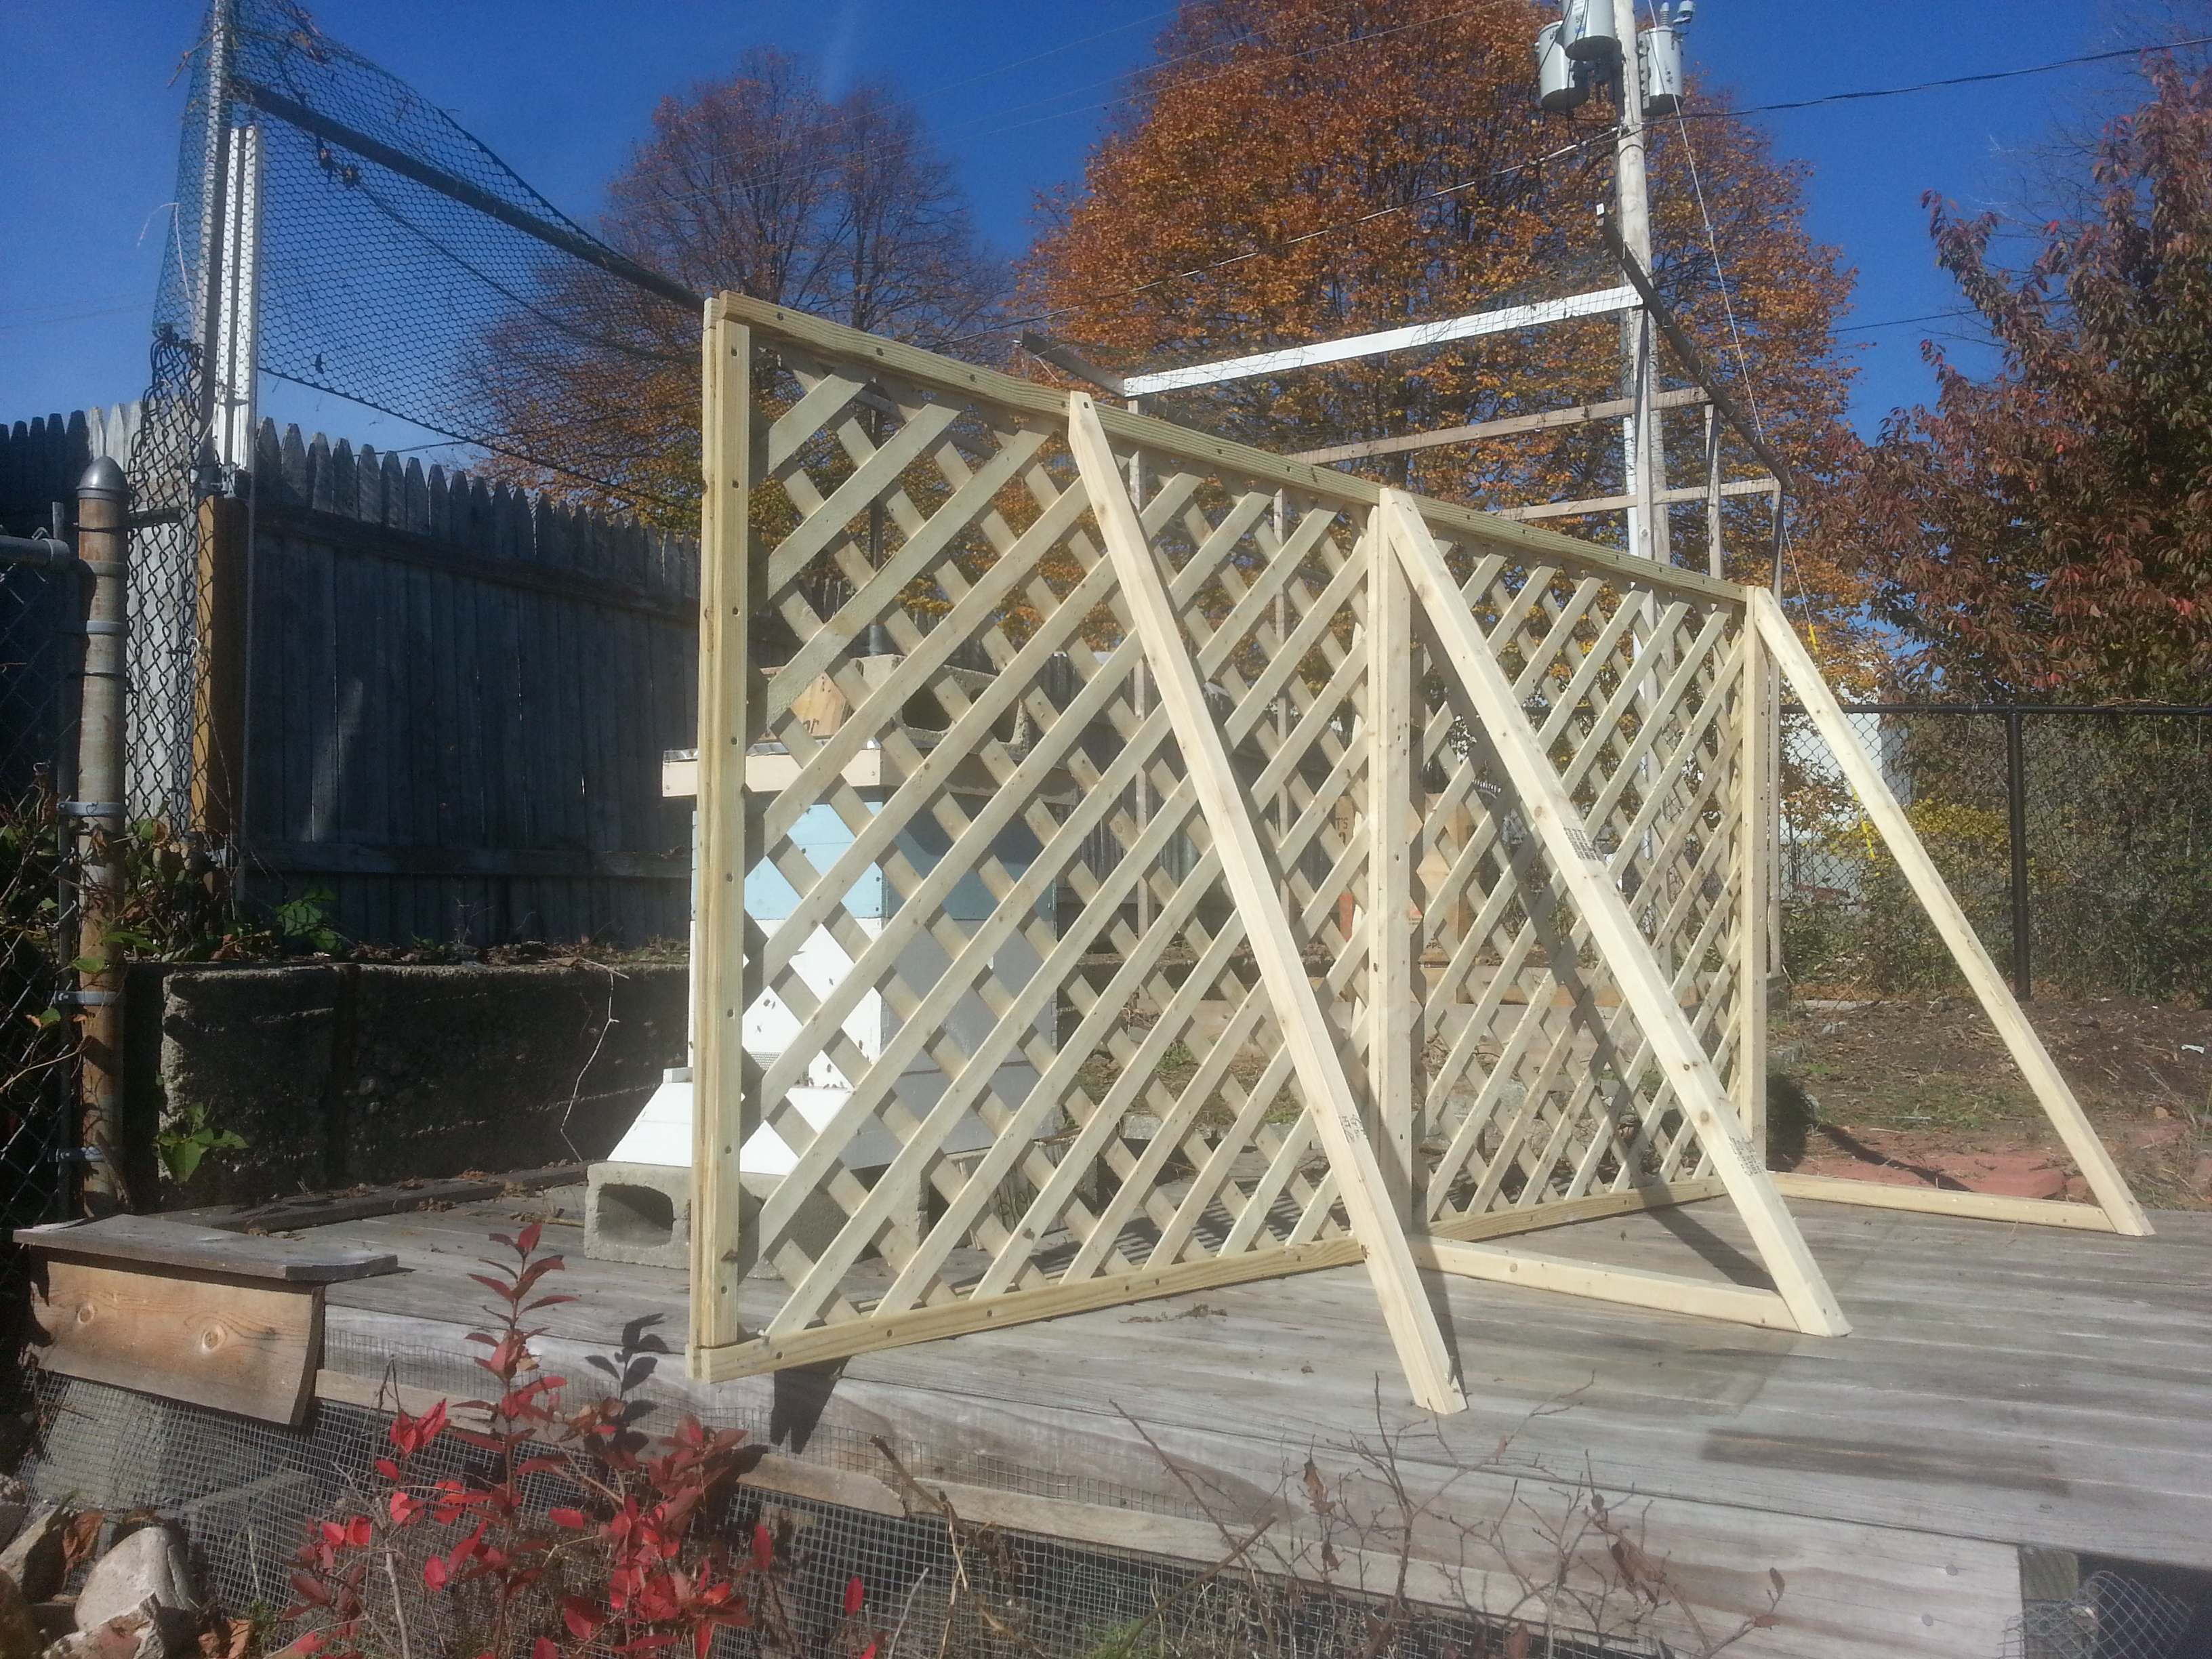
Soon after collecting the honey, we had one heck of a storm. The bees stuck it out like champs, but we were so afraid the hive would get toppled. The fact that we’d just removed the honey box and a foot of height may be what saved us. In order to sleep a little easier, we put up this windbreak. The hive is already nicely protected to the west by a picket fence, and the lattice is at an ESE angle that should break up any gusts coming up the river.
With the hive secure, we could turn our attention to more important things. Like honey! The bees had really done a stellar job collecting, and had filled and capped almost all ten frames.

There were, sadly, a few casualties.

We made sure to get another hot knife. It uncaps frames like a dream. I did drip a drop of honey from it onto my hand, however, and I got decent burn from it. I’m a little worried the heat may affect the quality of our honey…
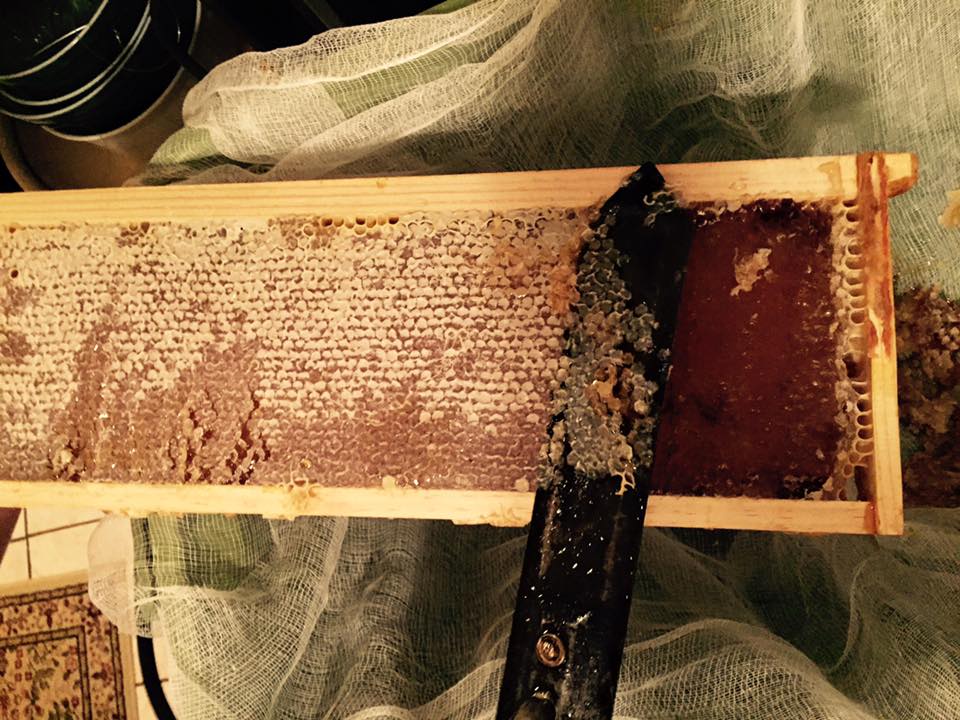
Heat notwithstanding, the honey is gorgeous. It’s so dark and rich it’s impossible to see through. Here it is dripping its way through our filter. Only in the thinnest spots, with the light shining straight through, does it approach a color I might be willing to call “honey.”

We’re pretty excited about it.

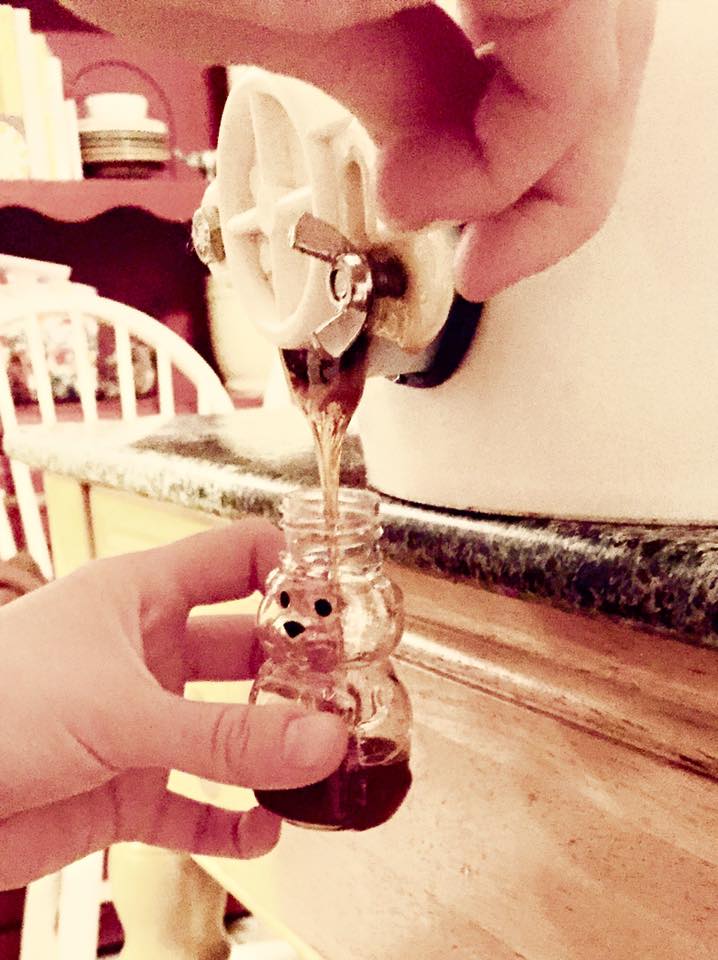
The garden is pairing with a fabulous and very locally-driven restaurant for a cooking class later this month. Kim is speaking at the class and I, purely by chance, won two free tickets to it in the garden’s fundraising raffle. Some may claim nepotism. I’m claiming that I put close to $30 worth of tickets in the cup. I also put my blood sweat and tears into this class, meticulously filling twenty little 3 oz bears to be given as favors.
The honey is the most impressive when you look at it next to the batch we harvested in the summer. I have almost a full jar because I’m a hoarder and can’t bear the thought of it disappearing forever. Both jars were collected from the same hive in exactly the same spot, but two months apart: the jar on the right on August 10th and the jar on the left on October 12th. The difference is, as far as I know, purely floral. Spring and summer mean delicate light flowers like pea and squash blossoms, but late summer and fall mean rougher, darker flowers like Black Eyed Susans and sunflowers.

Am I making all this up? Maybe. But whatever the reason, this honey is so dark it’s almost black, and it tastes, I swear, like elderflowers. The summer stuff was great, but this is a world apart.
As avid readers may know, the last time I tried to make mead in bulk, it wound up inches deep on my basement floor. I could have been drinking it right now…
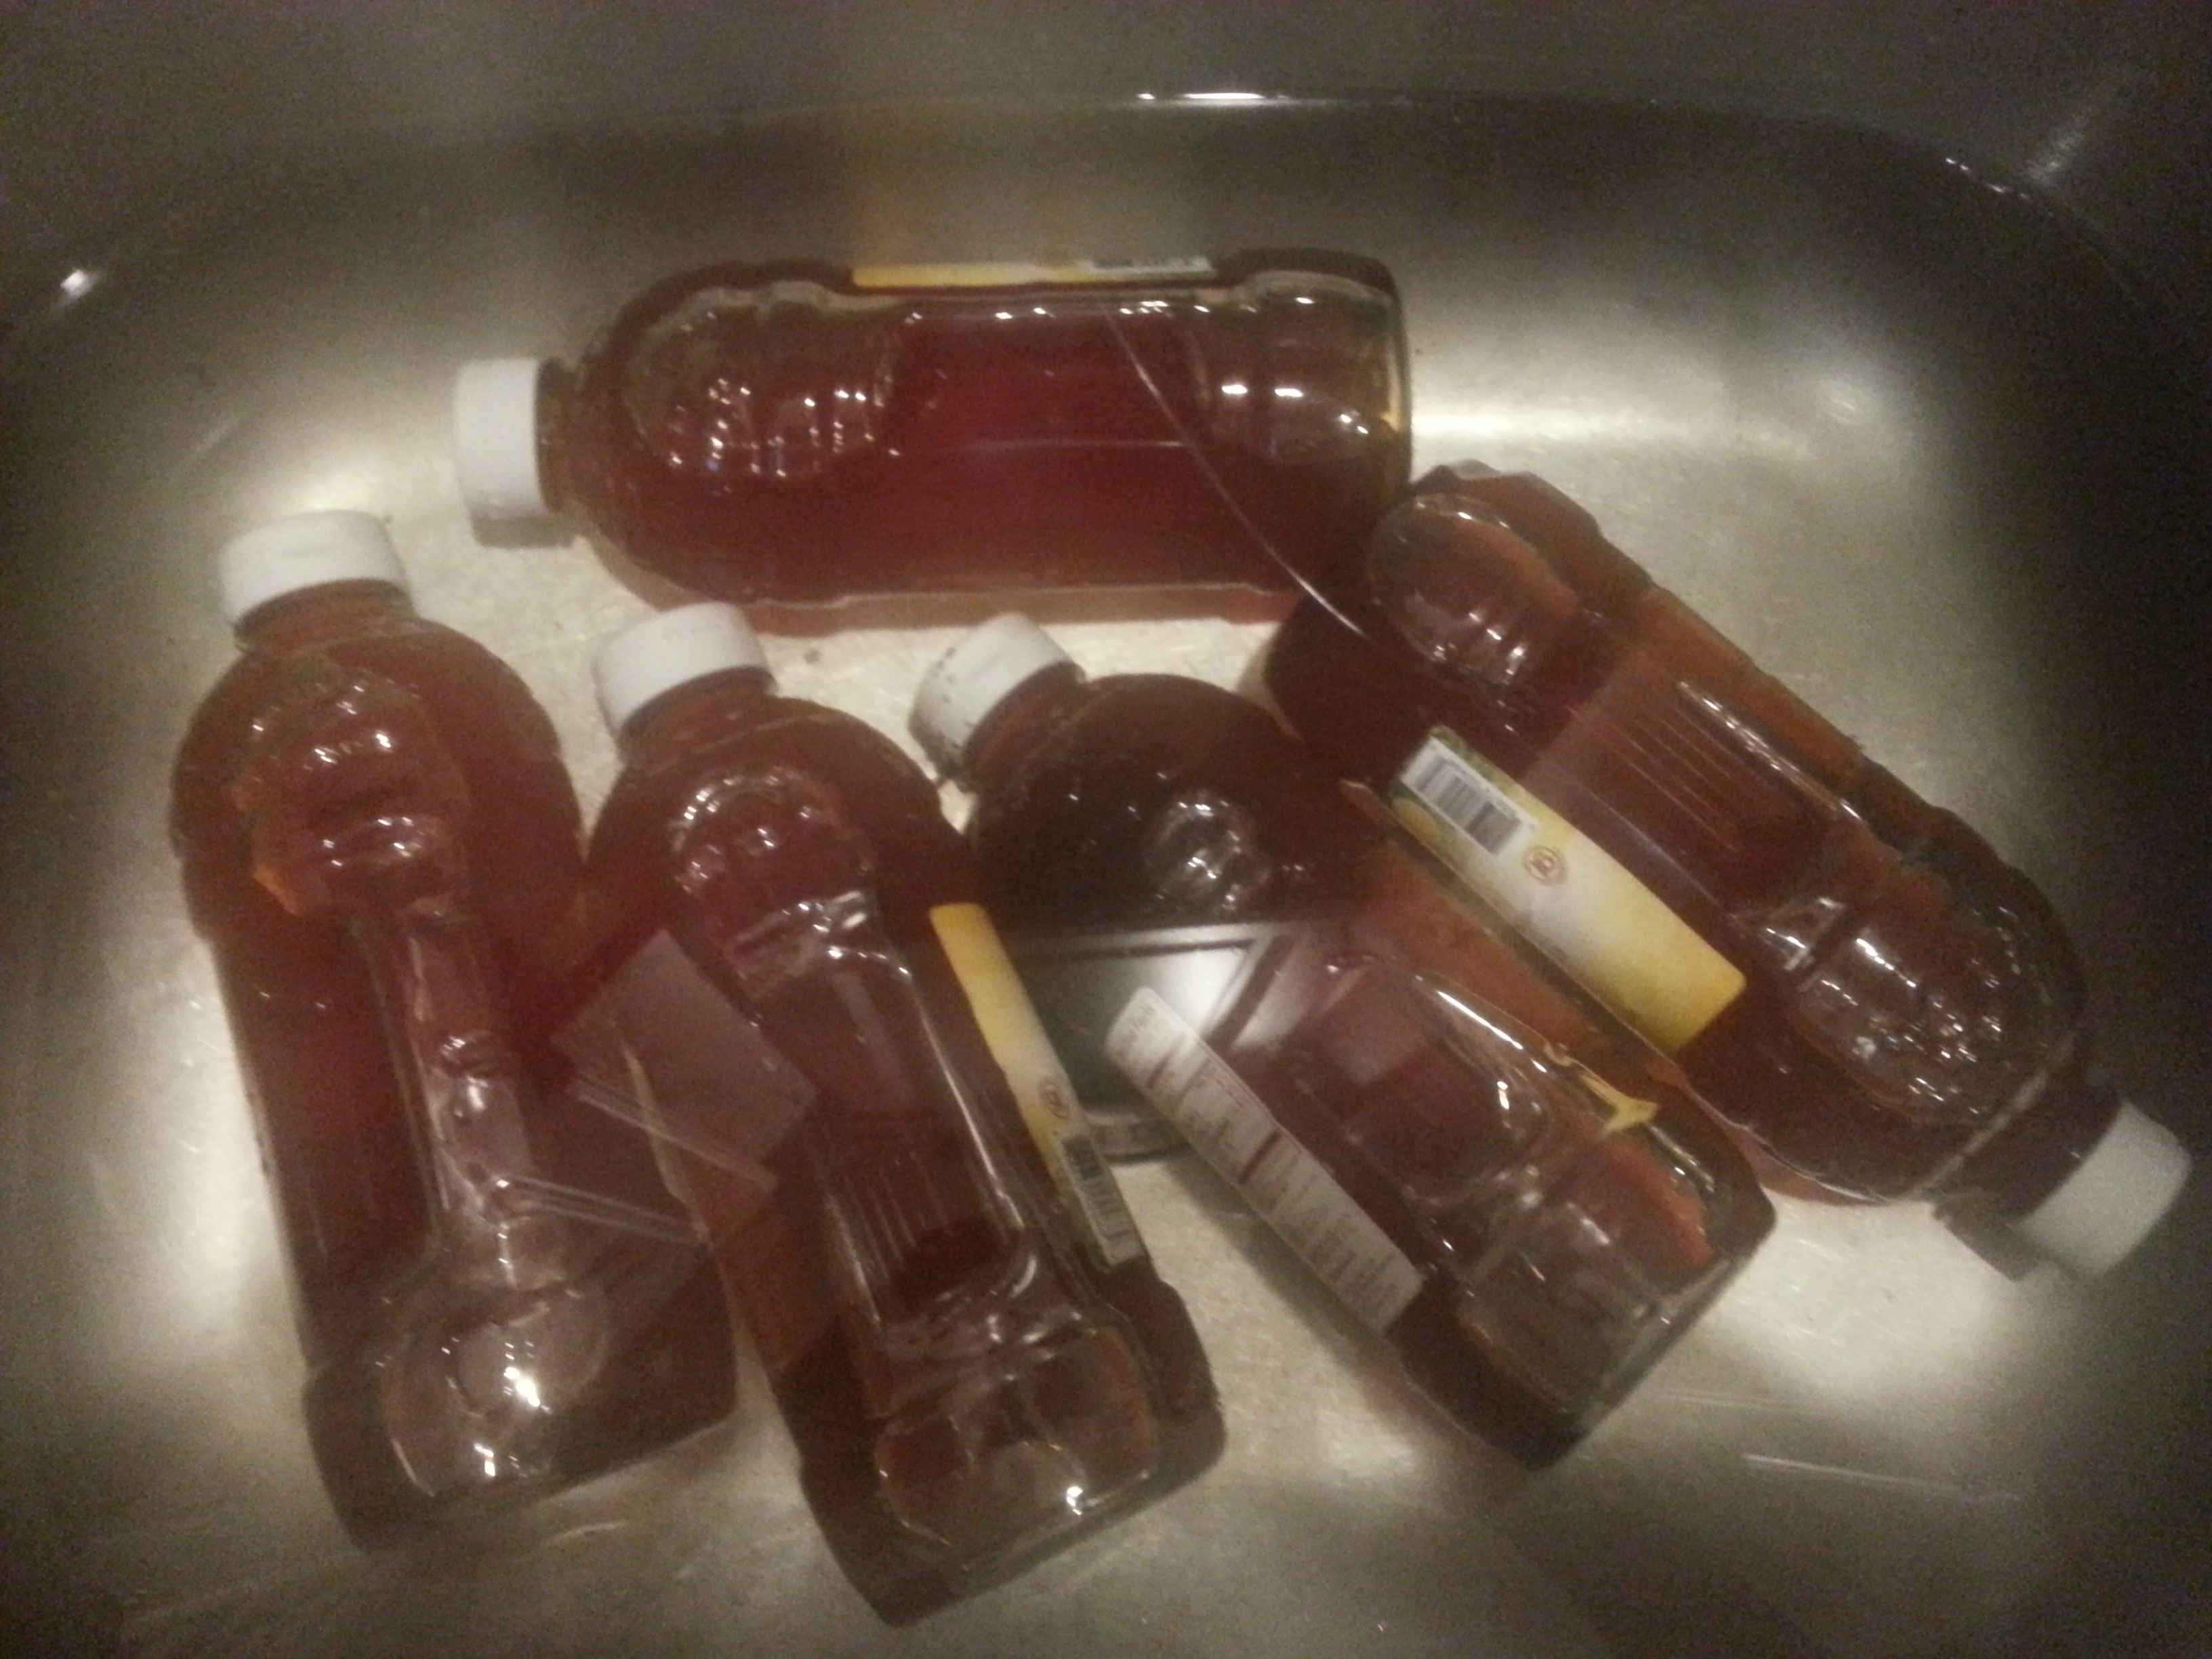
It took me a while to grieve, but I’m finally ready to give it another shot. I am, as always, using the cheapest honey I can find. These handsome three pound bottles came from the bulk store and cost $8 apiece. As you can see, I bought so many they let me keep the box.
The rule of thumb I’ve discovered is that three pounds of honey makes for one gallon of mead. It was six gallons I lost to the honey gods last time, but on this pass I’m going to do a modest five. One of Ben’s birthday expansions was a new five gallon carboy I want to use, and this sixth bottle I’m saving for a strawberry melomel I’ve got in mind.
So that means a paltry five bottles, or fifteen pounds, of honey. That’s heavier than my cat, and he’s fat!
There are very different schools of thought on whether or not to boil honey before fermenting it. Lots of people, including the author of my mead book, believe that you should for sanitation purposes. Plenty of purists are horrified at the thought, because being unheated is what makes raw honey so special and so much better for you. Since my honey was delivered on a pallet and was most assuredly boiled at some point, I’m not too worried about that. Purists of a different sort, however, insist that honey doesn’t need to be boiled because microbes can’t survive in it and it’s essentially sterilized from the moment it comes out of the bee. This school of thought requires less work, so I’m inclined to go with it. All I did was submerge the bottles in a warm bath for a few minutes to get the honey flowing at a rate that wasn’t maddening.
Weight was a big consideration working with five gallons of liquid. I can carry my one gallon batches up and down the stairs all day, but five gallons is a different animal. Not only do I not think I could carry that much mead down two flights of stairs, I would never want to. Just the thought of losing another huge batch, this time on the stairs, brings tears to my eyes. But my basement is dark and scary and the sink, while existent, is far from sanitary. I split the difference and did as much work upstairs as I thought I could manage – two gallons of water and all fifteen pounds of honey. It was heavy going on the starirs, and visions of the bucket’s handle breaking flashed before my eyes, but I made it.

The warm bath worked like a charm, and the honey flowed right out.

Once each bottle was empty, I ran a little bit of water into it, shook it like there was no tomorrow, and added it to the bucket. This caught a lot of that pesky honey clinging to the walls and, I hope, really oxygenated the must.
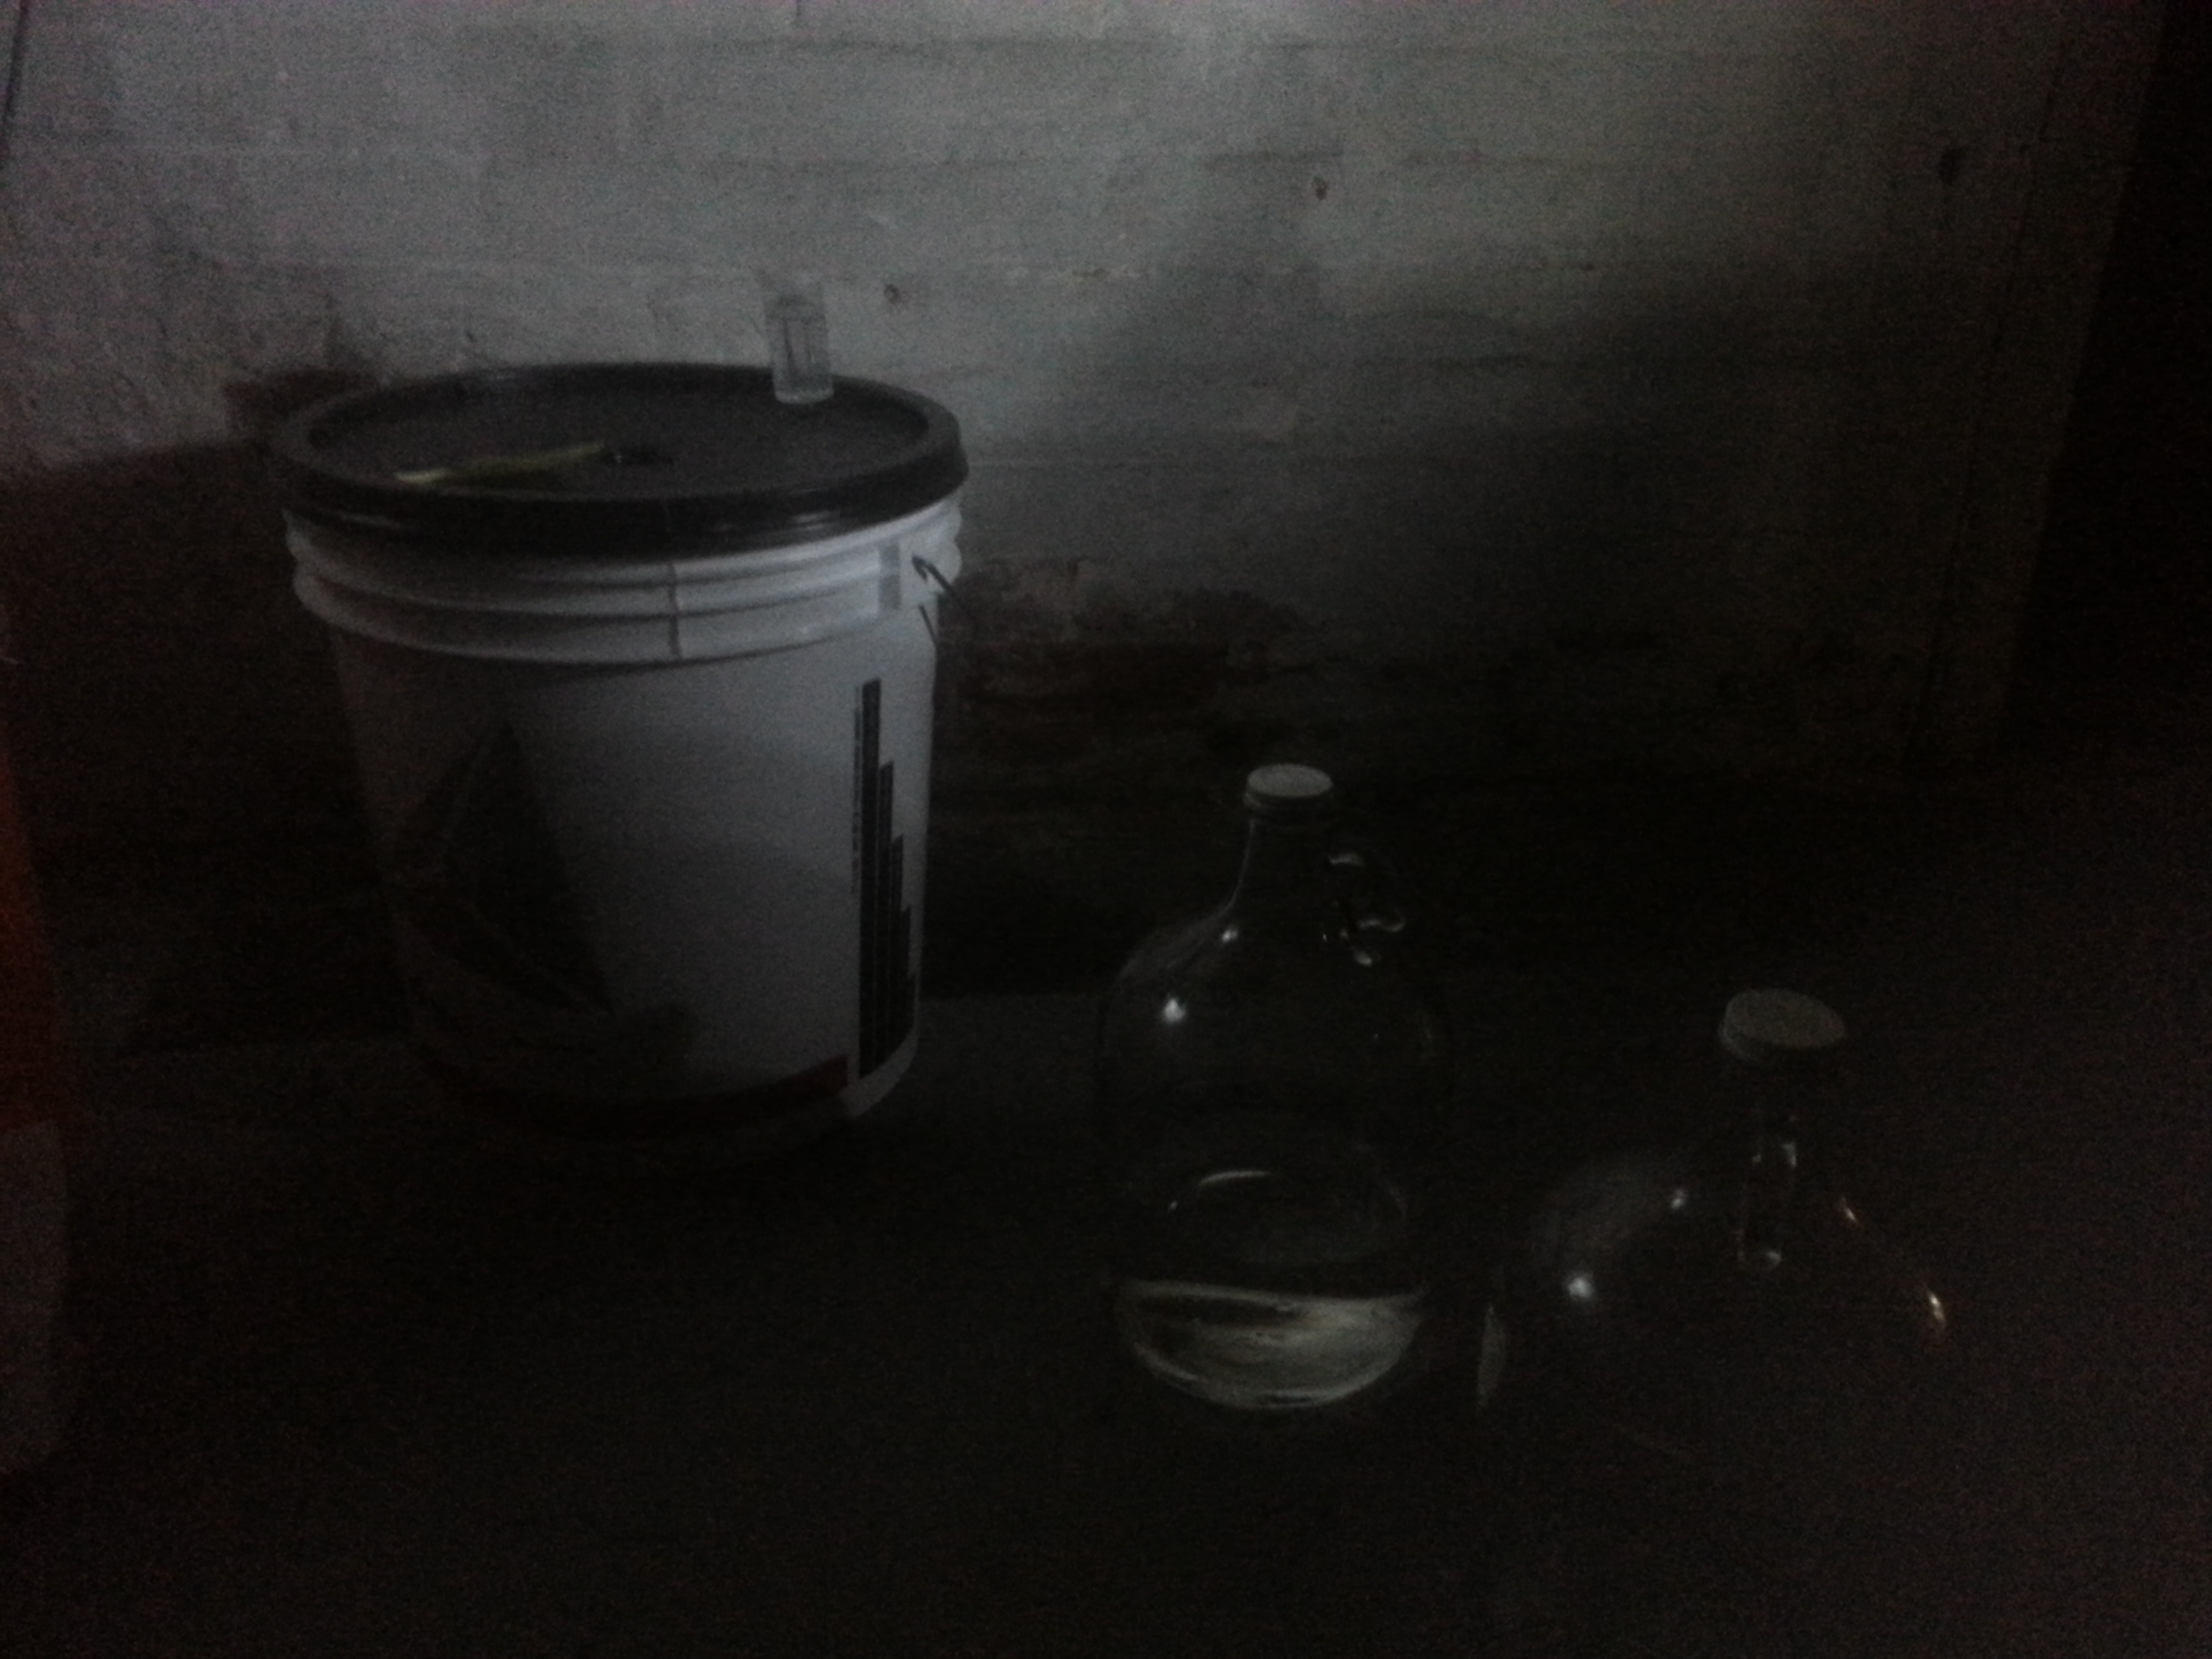
I wrangled the bucket down to the set of Saw VII and added the final gallon and change of water. I mixed the honey and water like crazy, added two packets of rehydrated yeast, secured the lid and airlock, and left it to work its magic.
Now it just has to pass the next couple months not on the floor, and we’re in business!
