The Tragedy of the Hoop House

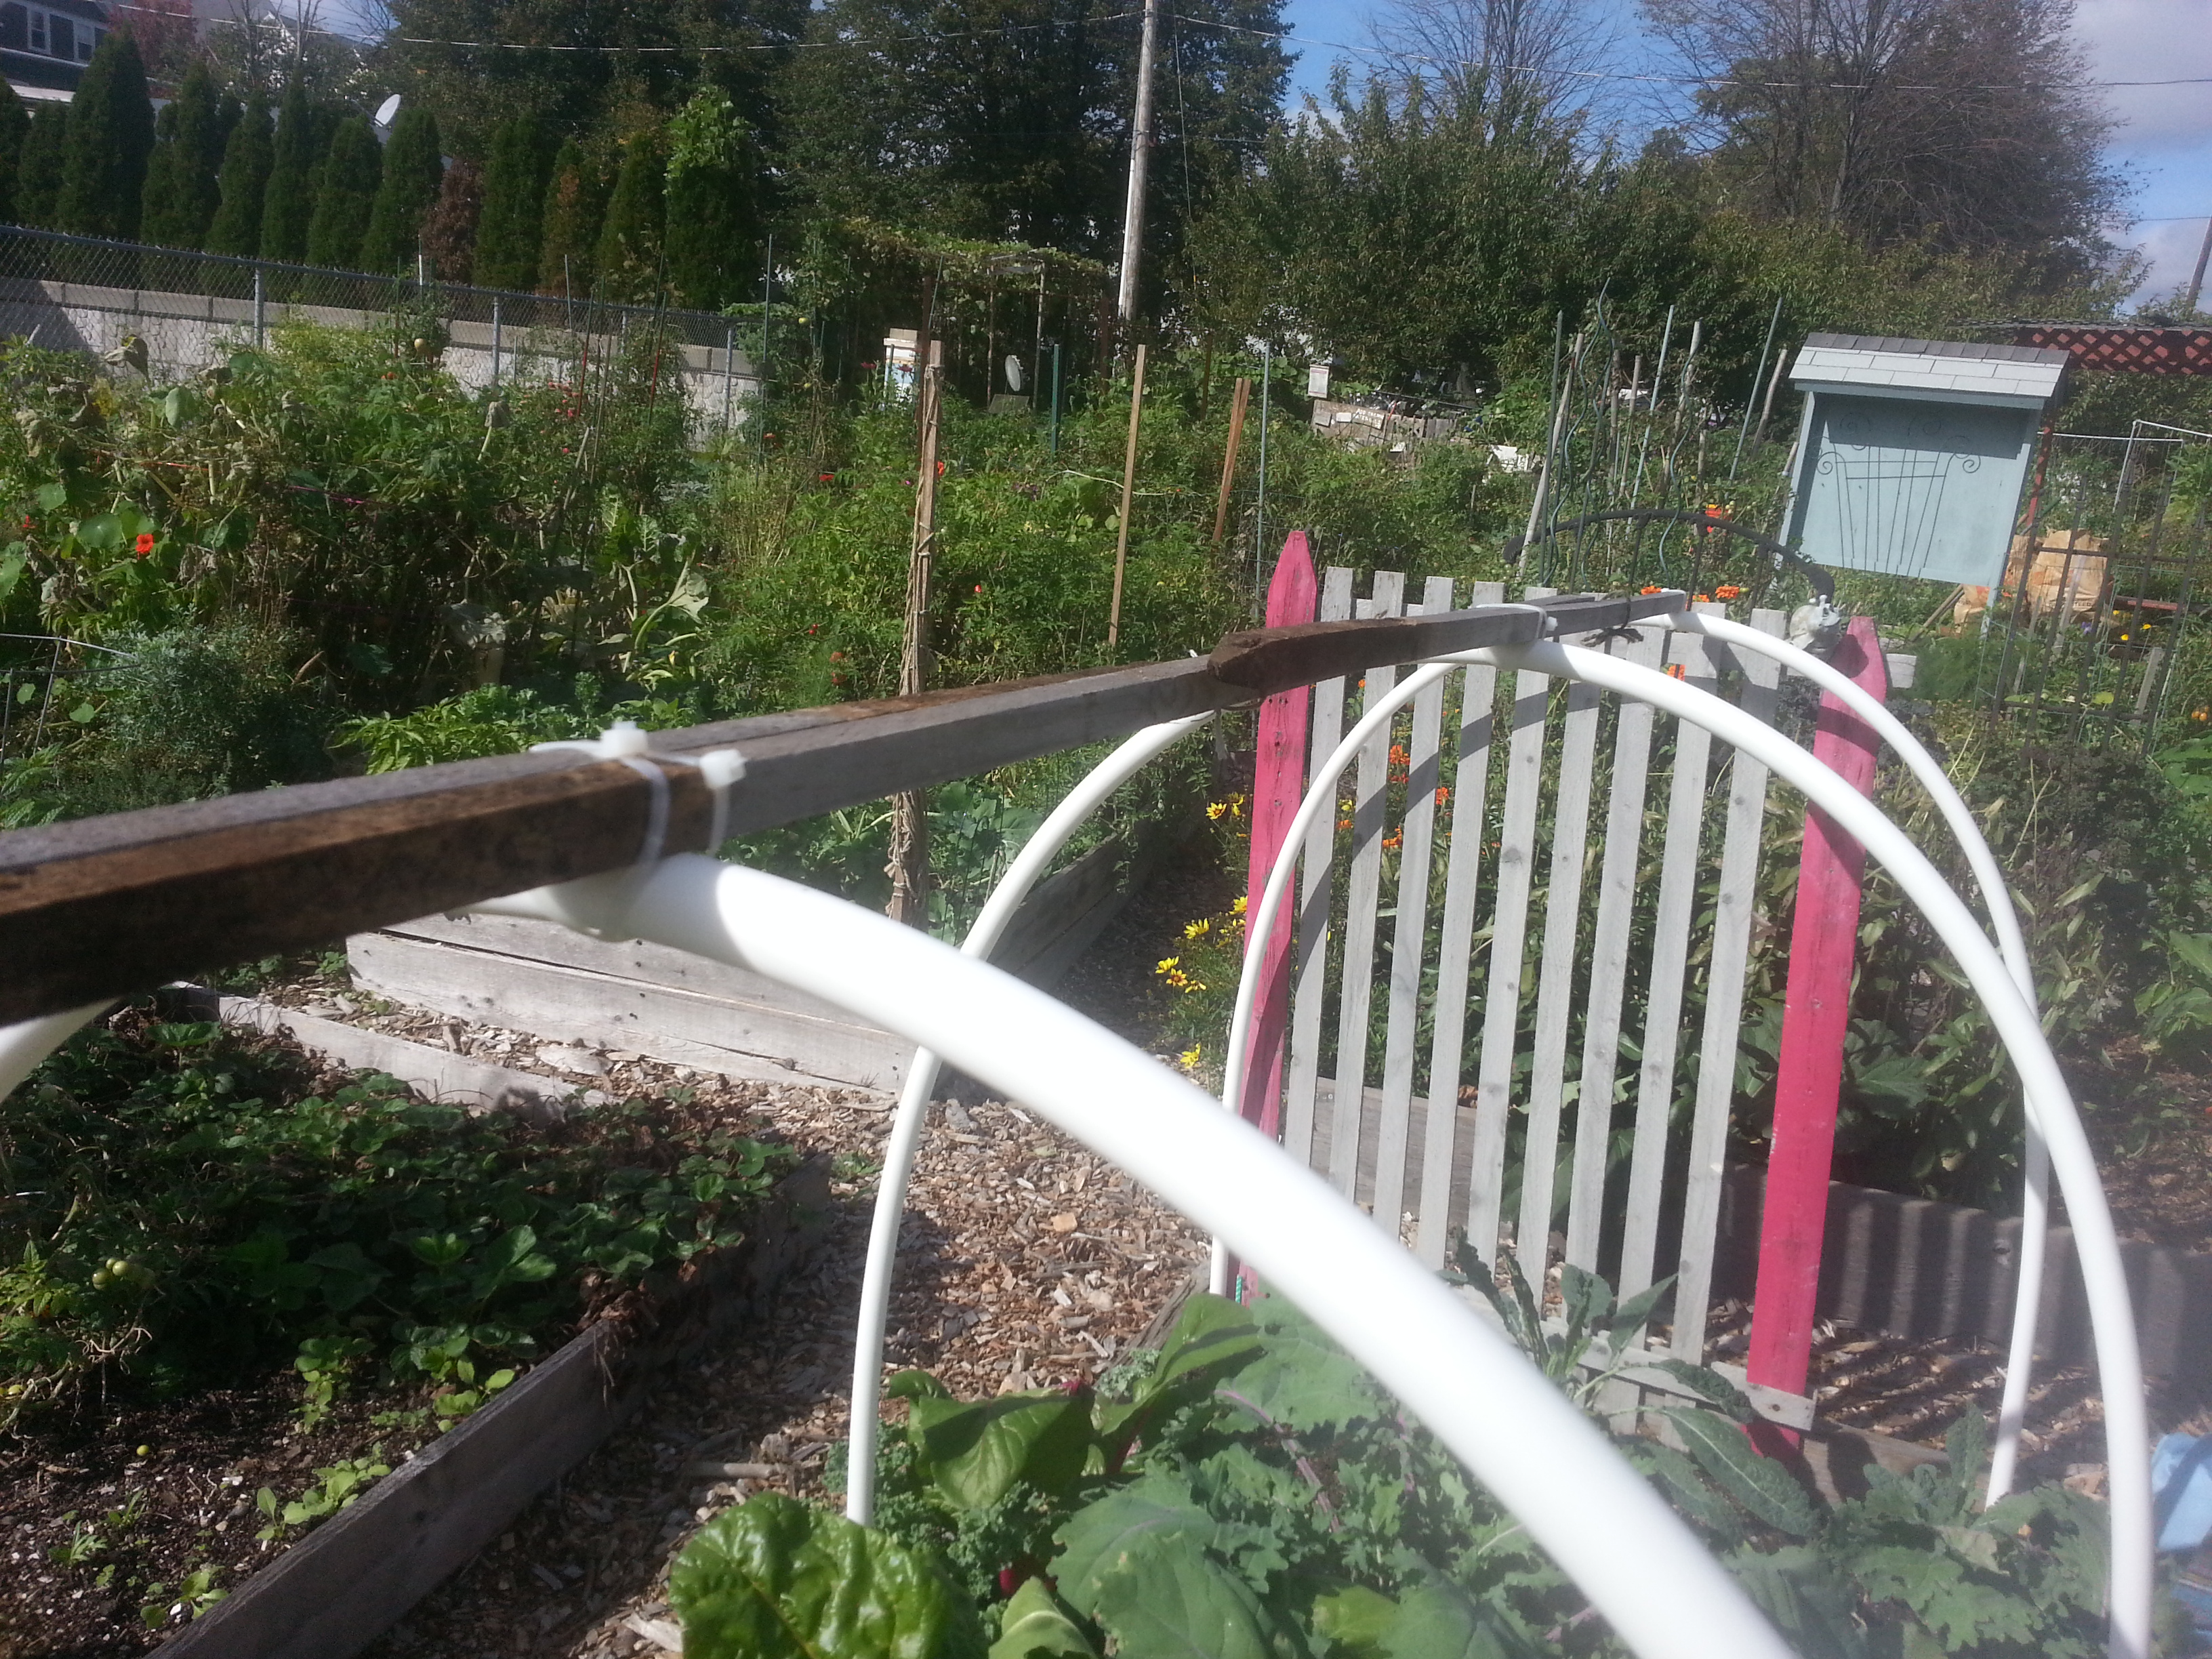
Remember my hoop house? Remember my palpable excitement and hope for summer vegetables well into the winter?

I remember, too.

20151019_102158_HDR

Sadly, it was not meant to be.

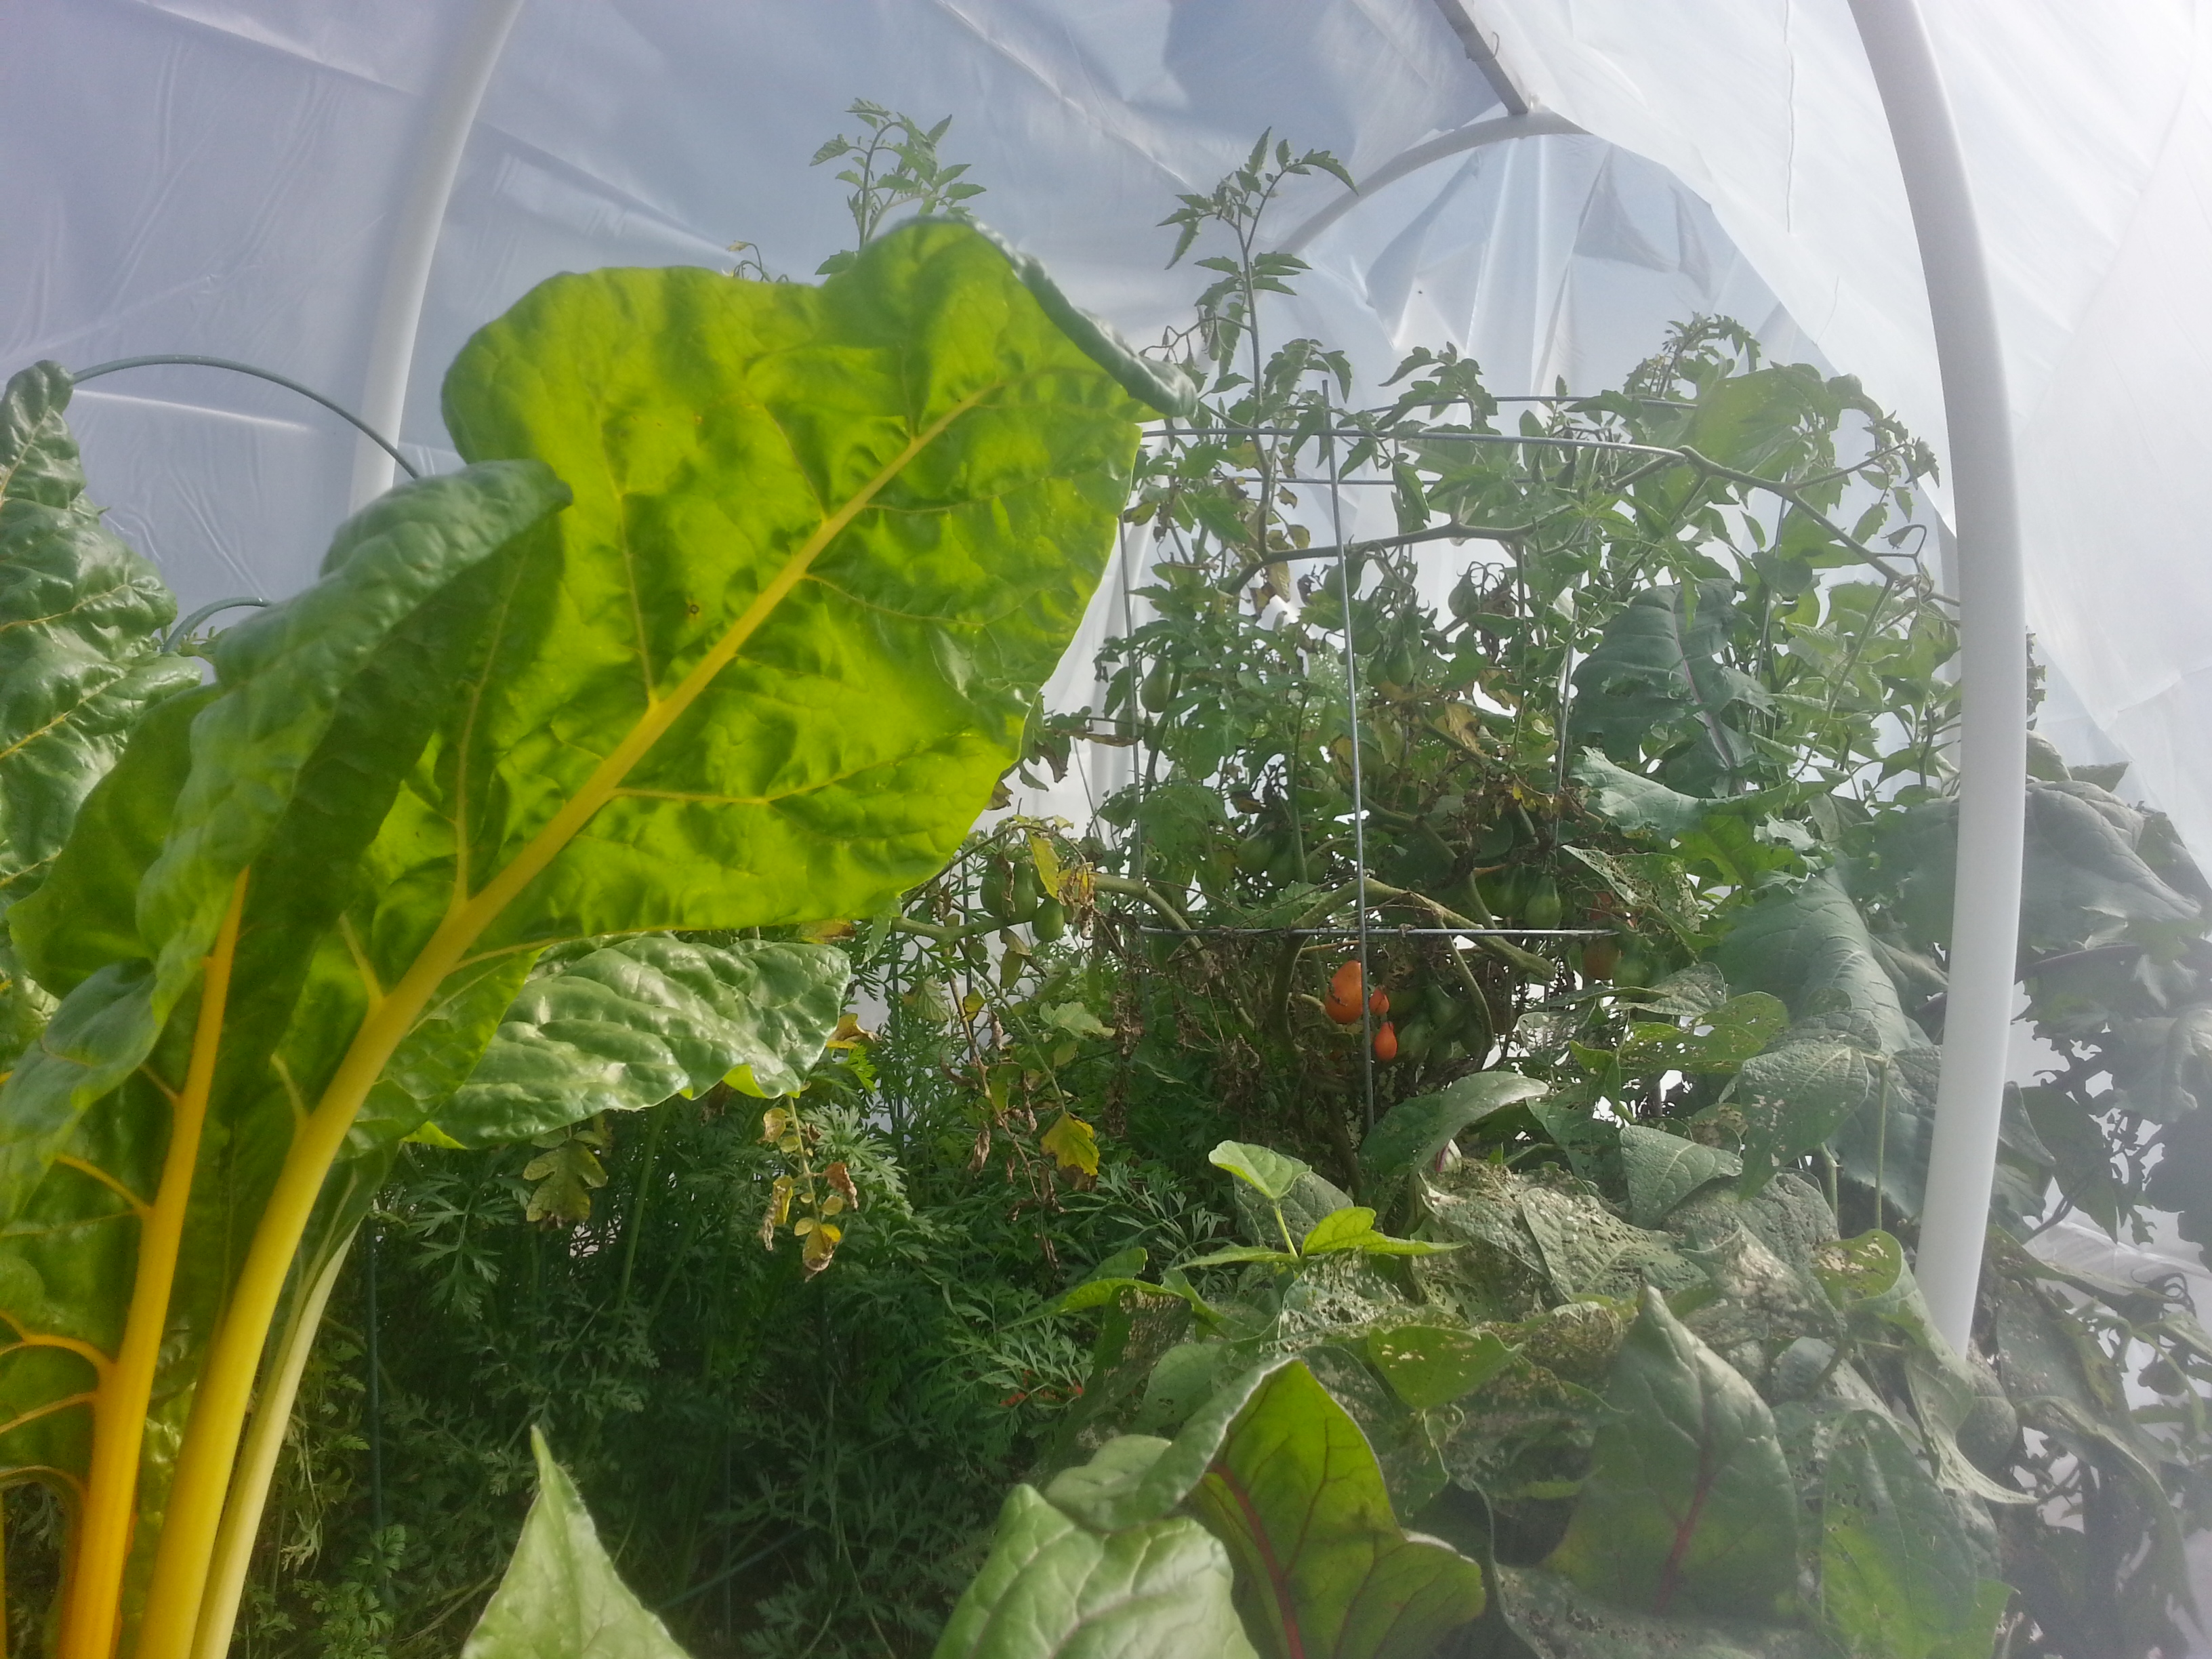
I think I severely overestimated the hoop house’s ability to store heat. I’d read so many warnings about overheating, I made sure to leave the ventilation flaps open when the sun was up. On the night of the first frost, I dutifully went down (after the sun had set) and closed things up snugly. It was dark, so I don’t know if my plants were already dead when I tucked them in for the night, but it’s a pretty striking image.

20151019_102318

In retrospect, it makes sense that if the air inside the hoop house is cold when you close it up at night, it’s not going to heat up much. Plants produce a tiny bit of warmth when they respire, but nothing like a breathing animal would.

I remember covering blueberry bushes with my dad to protect the blossoms from late spring frost, and I was under the impression that this would have a similar effect. I think the difference is that we draped sheets over the blueberries, making a barrier directly between the blossom and the cold air, blocking heat transfer. The hoop house is a big room, with lots of head space for cold air to swirl around.

We also covered the blueberries before the sun set.

The pepper plants, though wilted, still kept their vivid green color. I thought maybe they could be saved, until I actually touched the peppers.

20151019_102438_HDR

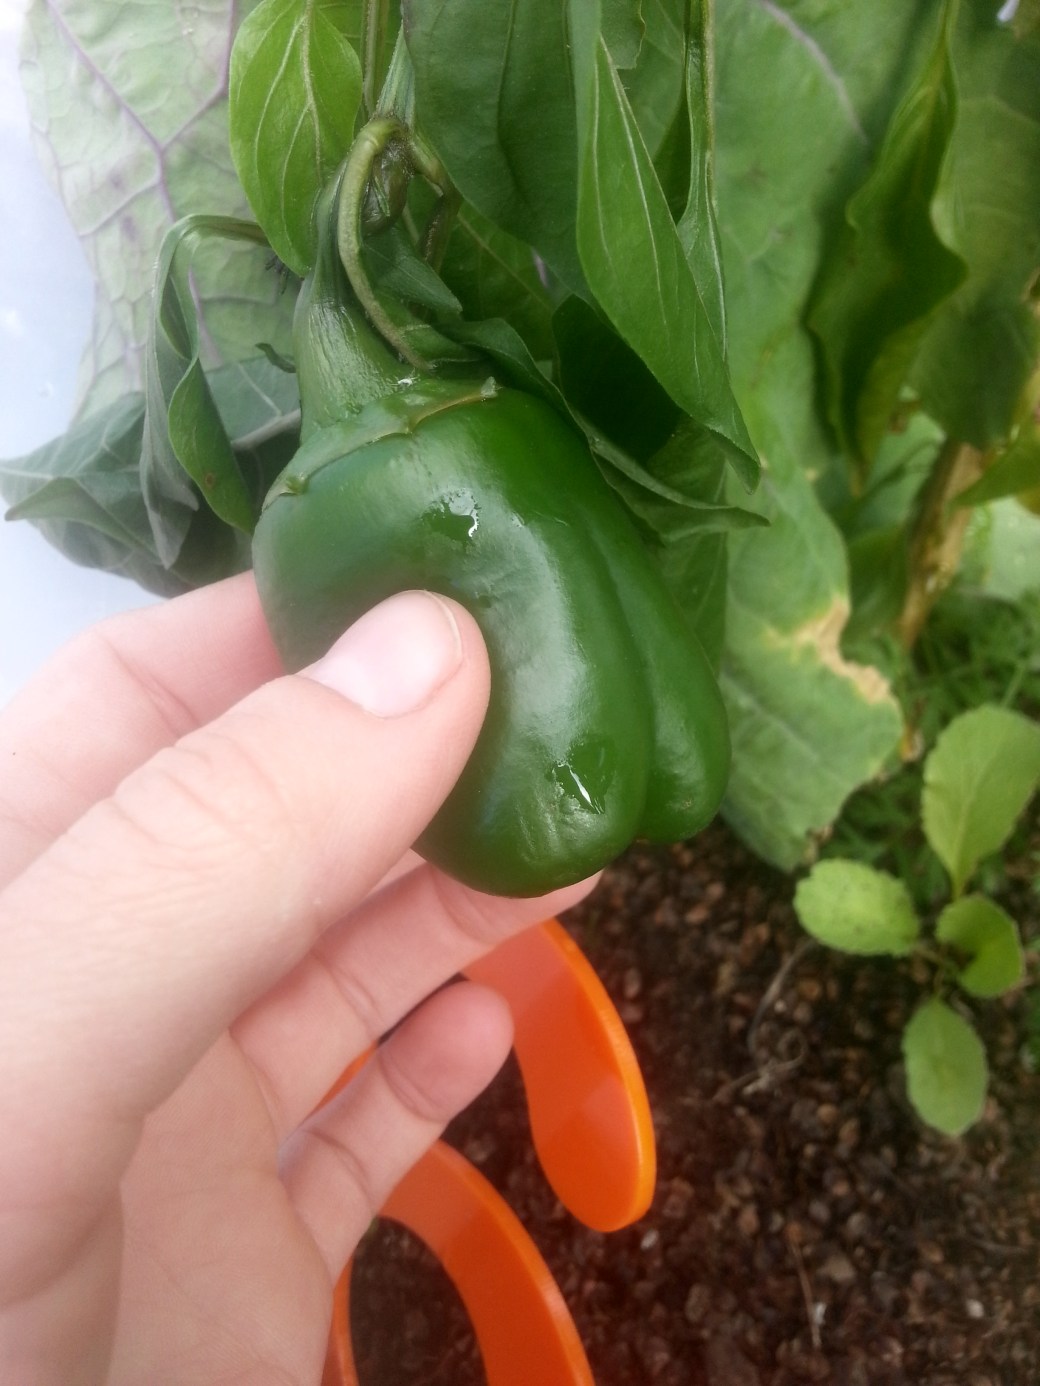
It was like squeezing a stocking full of Cool Whip. The slightest pressure made it distort, and I had to be careful not to put my thumb right through it. A stocking full of Cool Whip would have been sturdier.

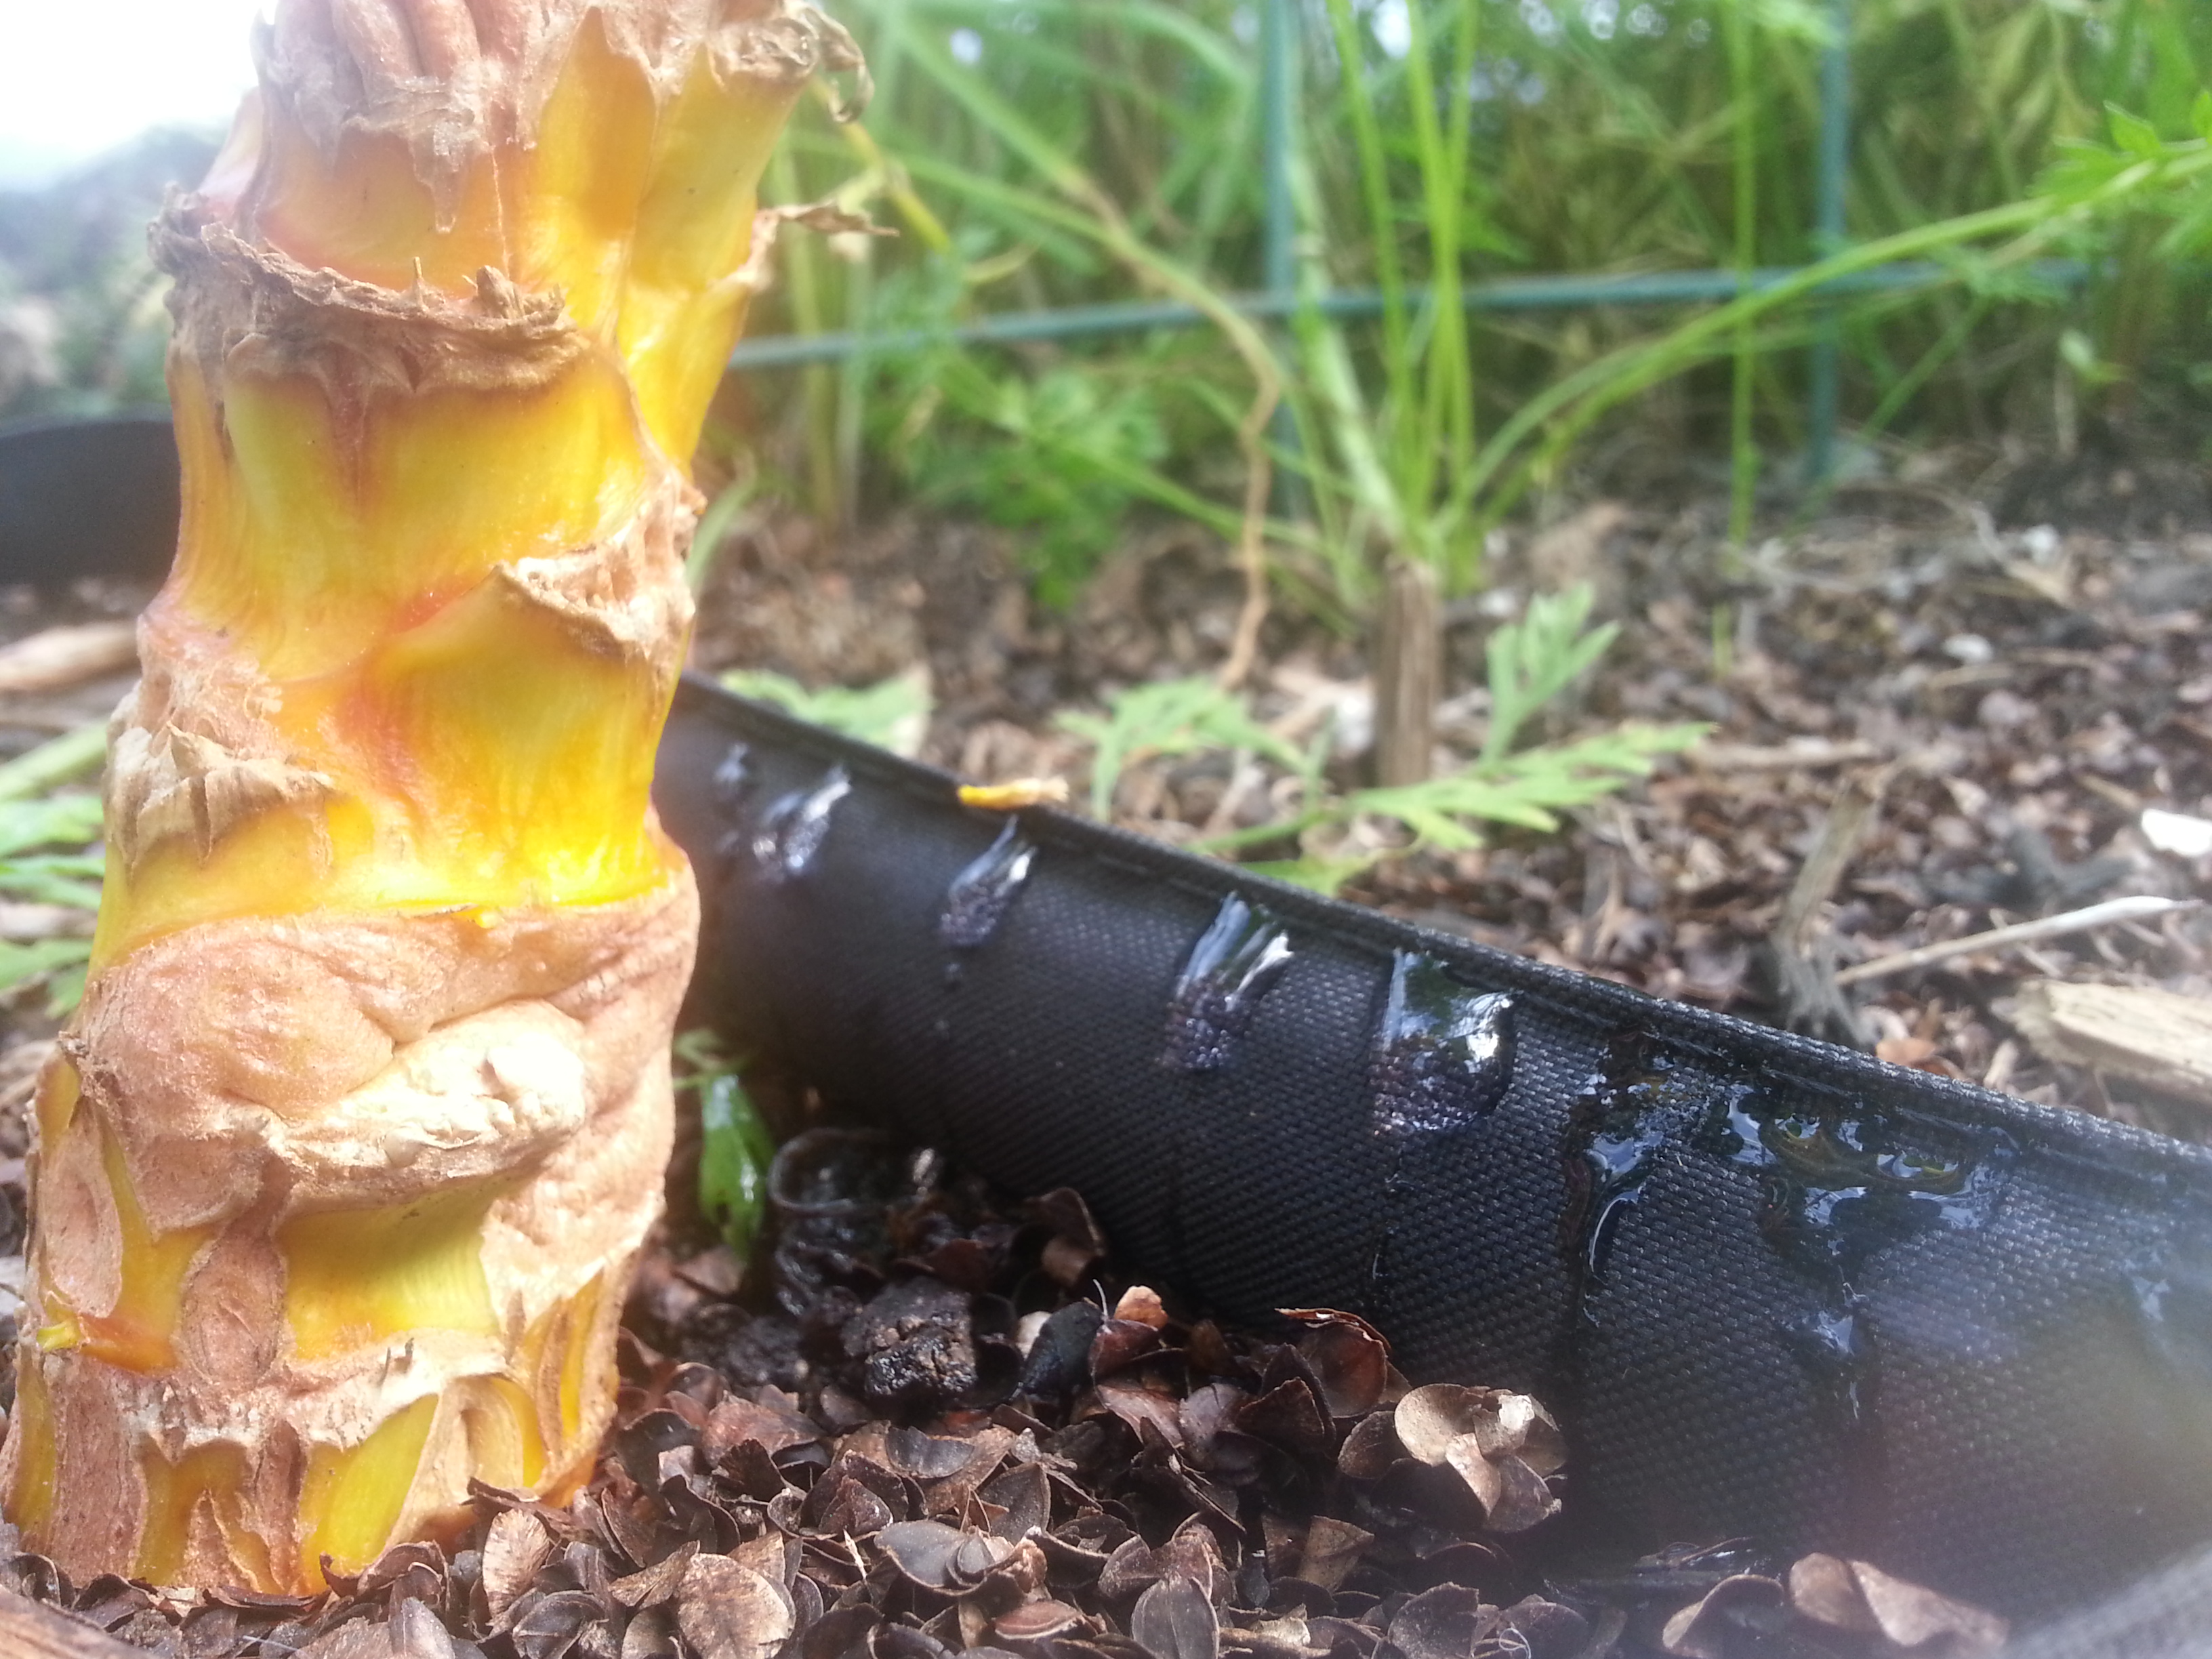
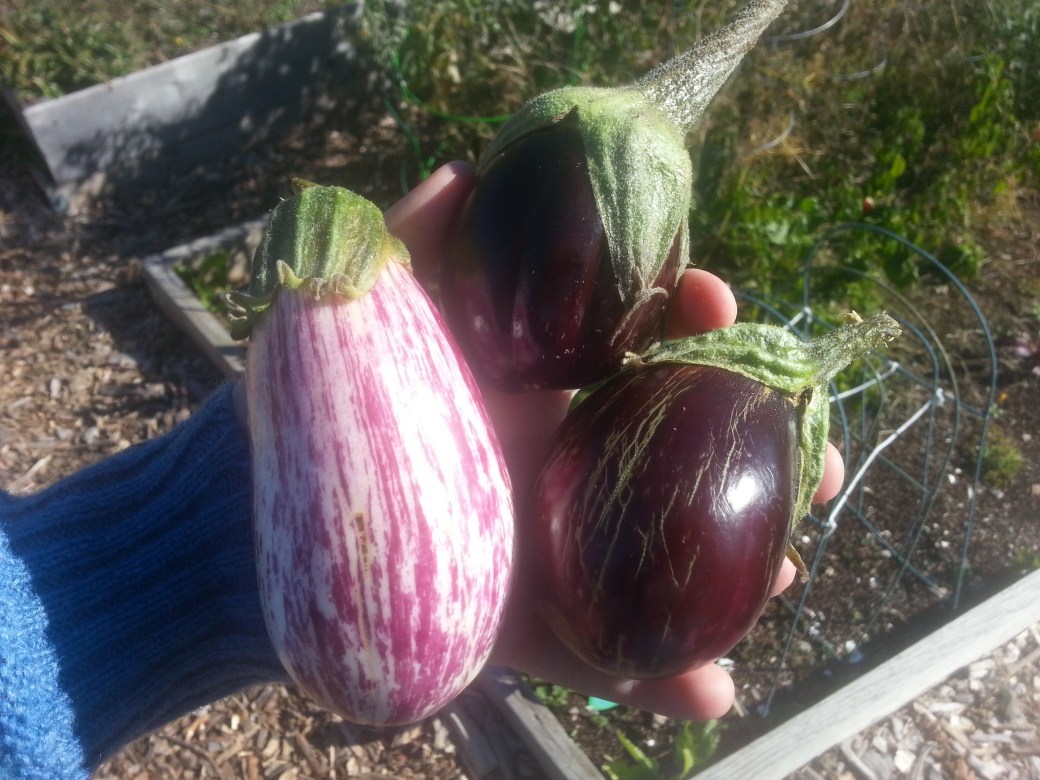
The eggplant plants were stone dead, but the fruit fared better. I managed to salvage three small ones.

20151019_103146

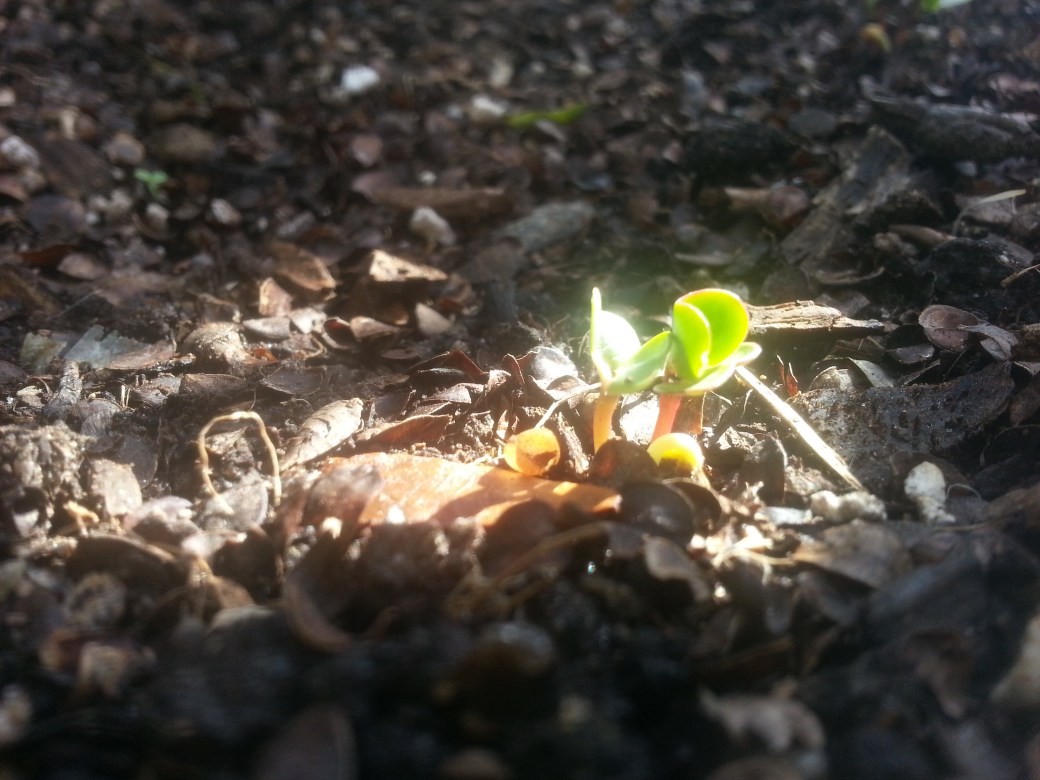
I left the plants in the ground for a week in case of a miracle, but none came. The cold weather plants, of course, don’t know what all the fuss is about and have been doing fine. With any luck I can keep them going and the hoop house won’t be a total bust. Going all-in on greens and roots, I ripped out the frosted plants and sowed some seeds. They came right up! I have tiny lettuces.

20151103_122340

And tiny radishes. I’m a little worried about the shortening of days. Even if they’re warm enough, these guys may not have enough sunlight to grow. We’ll have to wait and see.

20151103_122232

Funnily enough, the plants that did survive were only an afterthought. I brought all my healthiest specimens down to the “safety” of the hoop house, but they wouldn’t all fit.

20151121_113637_HDR

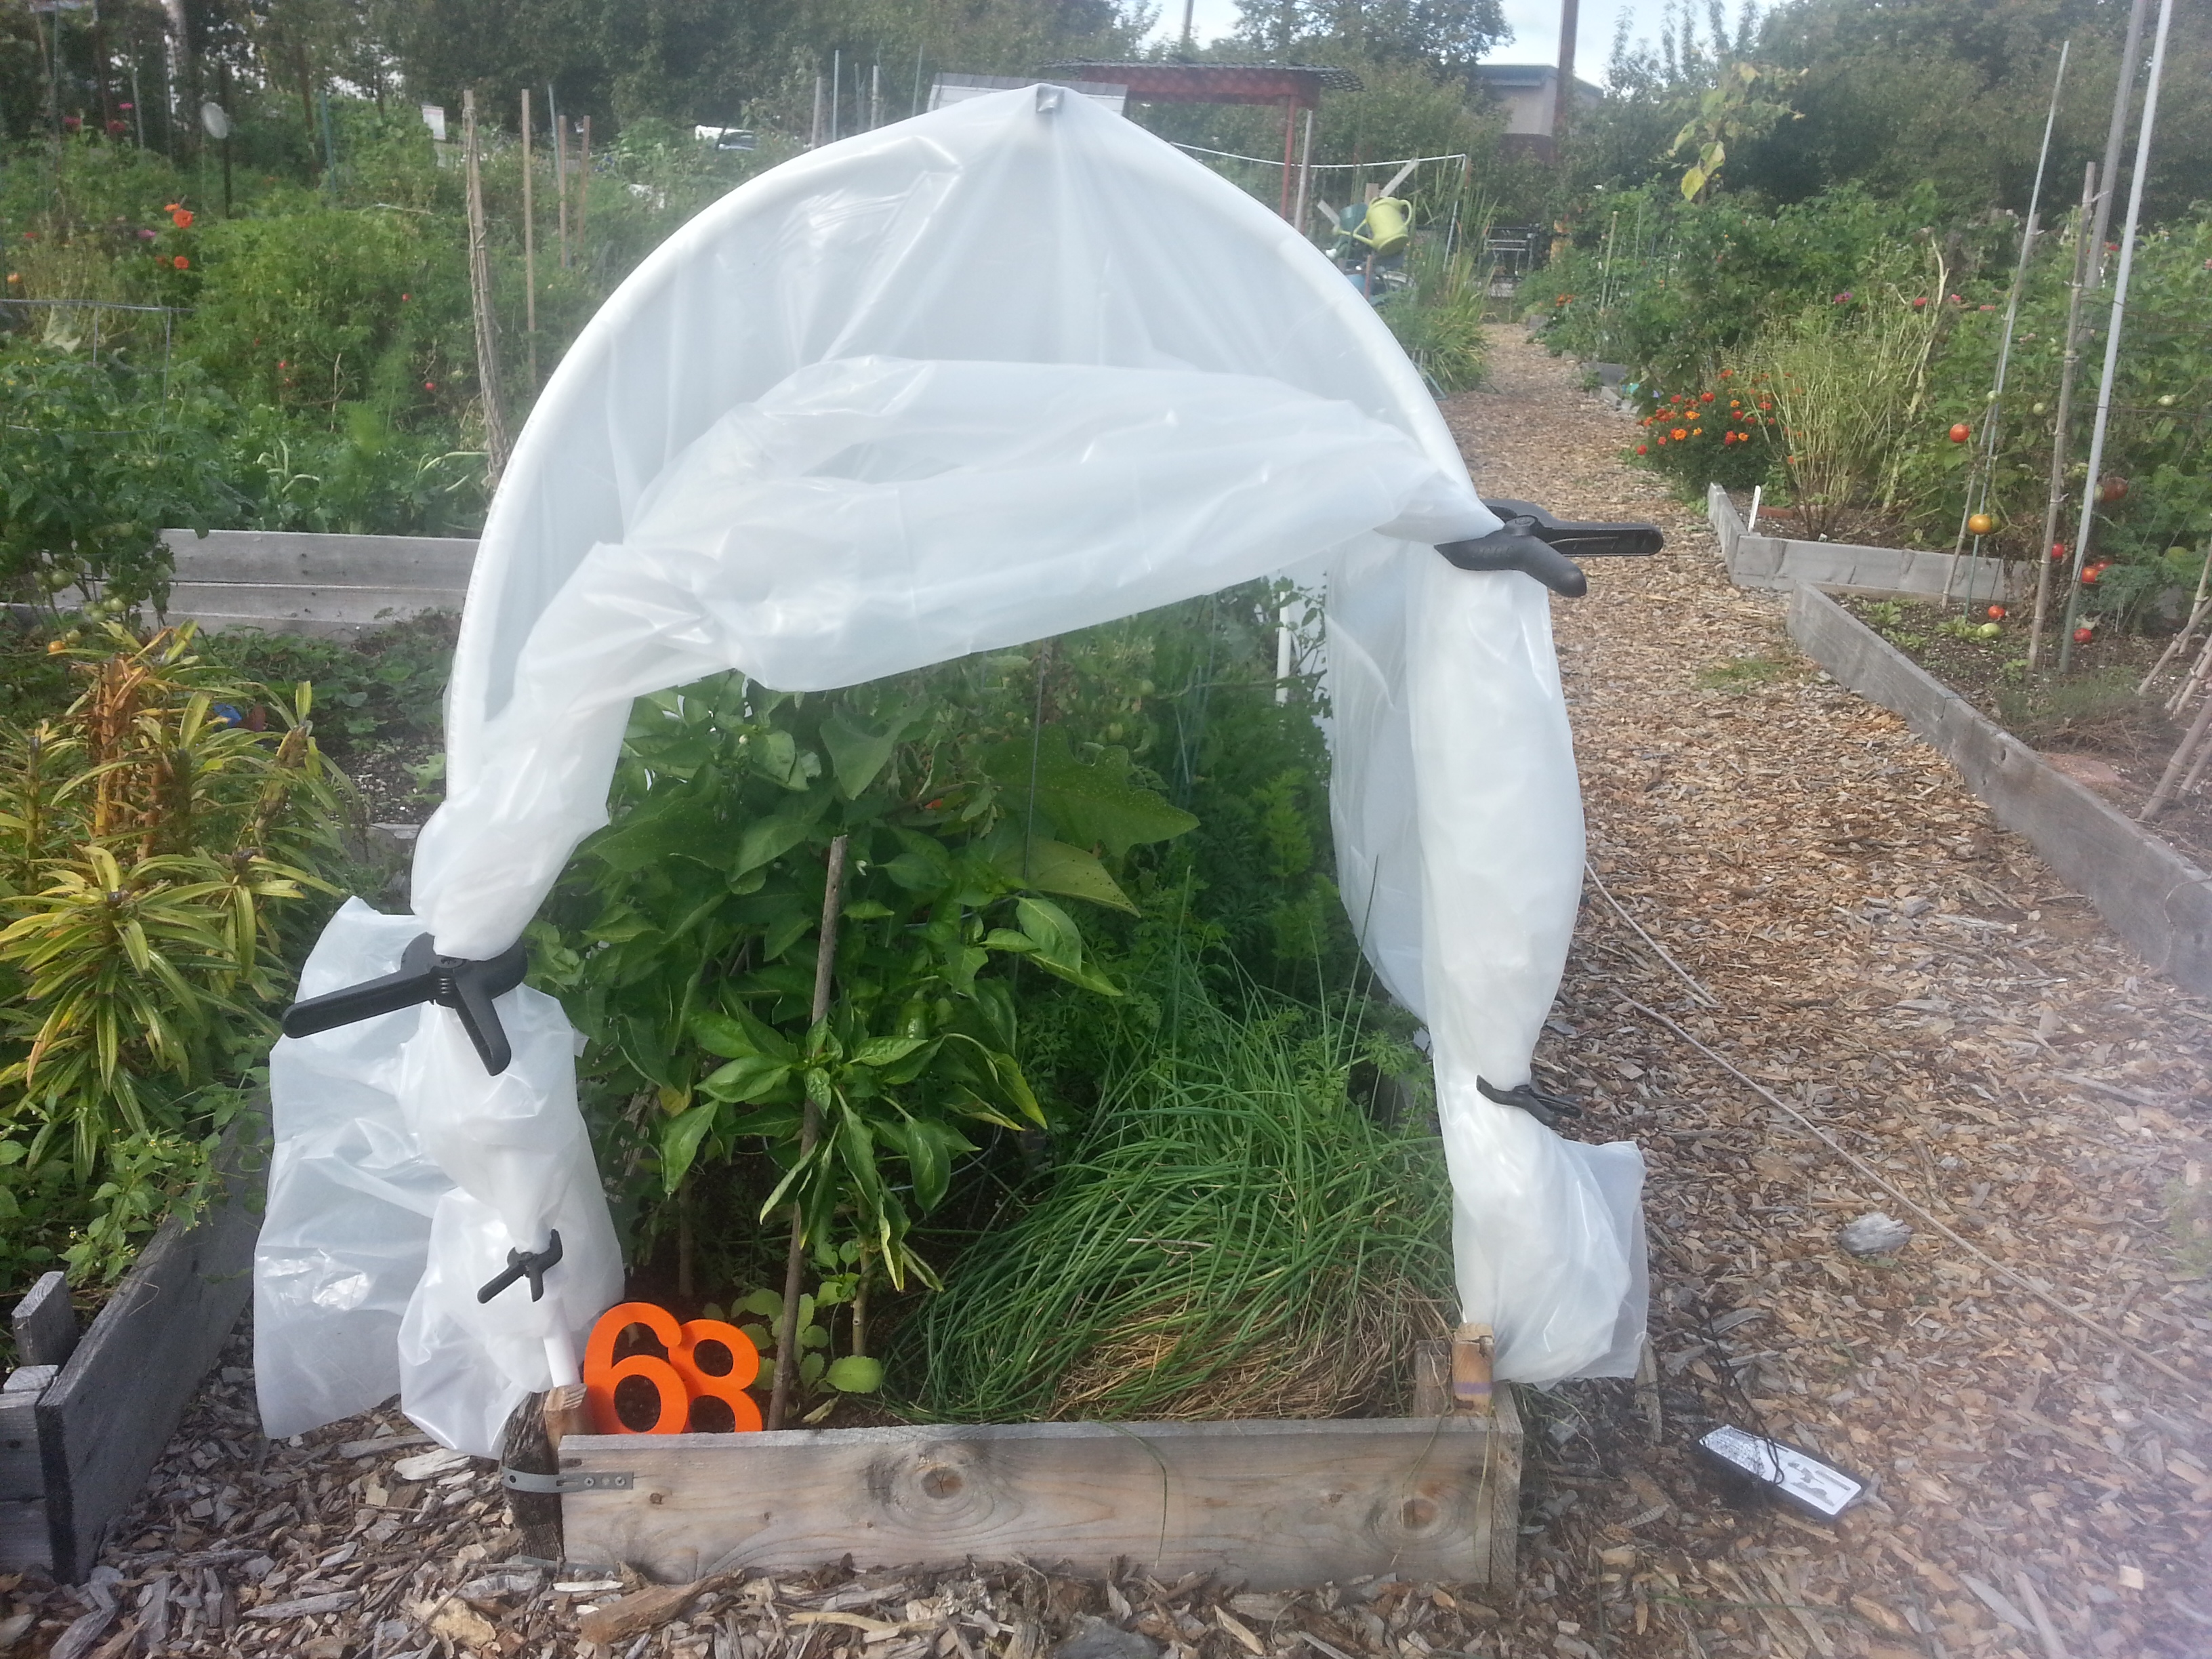
The scragglers had to stay up by the house, where I hastily covered them with the leftover plastic the day before the frost to give them a fighting chance. I didn’t attach the plastic tightly, and they had air circulation all night. They also had something I never even considered: a shared wall with our house. They made it through the first frost and subsequent frosts with no problem.

20151121_113503_HDR

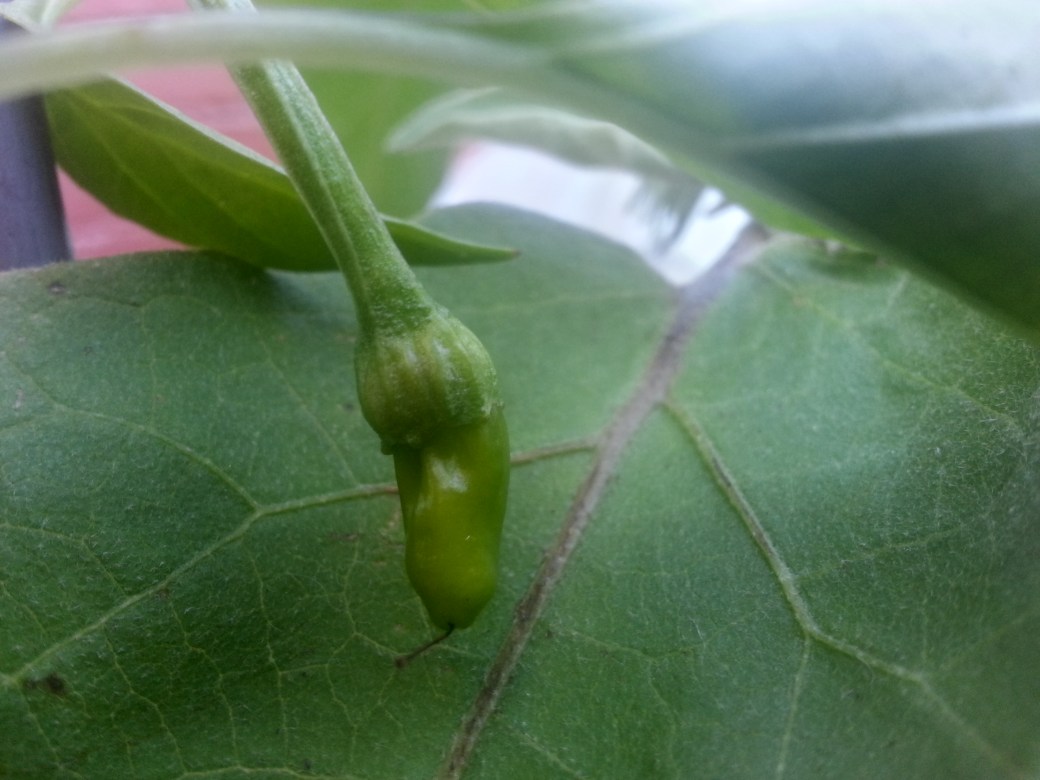
I even have a brand new baby pepper.

Home Grown Mead

Ever since we harvested the first batch of honey in August, I’ve had three pounds of the stuff in my kitchen cupboard.

But no more!

Kim and I finally got into gear and started fermenting it into honey. And Omar, my cat, started modelling it.

IMG_67891

We set the honey jar in a warm bath for a few minutes to get it flowing. Even warmed up, it didn’t exactly rush through the funnel.

12226693_10206864015230472_61958411_n

This gave us plenty of time for photo ops.

12233210_10206864015070468_1629905283_n

I’d put a few inches of water in the bottom of the jug to begin with, hoping that it would keep the honey from sticking to the bottom. Honey, it turns out, is a lot denser than water. It sank straight to the bottom. Maybe a couple hardy water molecules stuck to the bottom…

12233385_10206864014870463_831296376_n

Before the jug was completely full, I gave it a good shake. I missed getting to do this when I did the five gallon batch. This process both mixes the honey and water together and aerates the must.

12231468_10206864015110469_96600873_n

I got really into it.

IMG_90861

And I may have aerated too vigorously.

12231528_10206864015190471_1254464608_n

With all those bubbles, the primed yeast and nutrient didn’t have much space. I’m having bad flashbacks to my raspberry melomel…

IMG_69191

Despite some cramped quarters, the mead is a beautiful color. I’ll have to keep an eye on it to make sure it doesn’t blow its lid.

IMG_44401

Honey Take Two

Everything’s coming up bee.

We went into the hive recently to check on the state of the honey box, and we were shocked to see that it was almost full. These bees are not playing games when it comes to preparedness. It’s bad news for the impending winter, but it’s good news for honey!

20151012_115907

We threw in a triangle board and a shim and waited a few days. In that time the bees not only abandoned the honey box, they also set to work on filling in the shim with comb. I’ve been reading a lot about Bee Space lately. It’s the distance we leave between frames so we can pull each out individually without ripping through comb. About a centimeter, it’s the magic distance at which bees won’t fill things in. Bees are all about filling things in – any less than a centimeter is patched up with propolis to prevent drafts. Any more than a centimeter, as we can see here, is fair game for expansion and will be filled in with comb. They built all of this over the course of a weekend. Bees don’t get time off.

20151012_115939

We made off with the honey box, just like last time. With all that burr comb we had to break apart to get inside, though, this theft was a little messier. Some of the equipment got sticky, and the bees were wise to it. As I was putting out the smokers, this little guy was frantically cleaning up a thumbprint of honey.

20151012_121758

Soon after collecting the honey, we had one heck of a storm. The bees stuck it out like champs, but we were so afraid the hive would get toppled. The fact that we’d just removed the honey box and a foot of height may be what saved us. In order to sleep a little easier, we put up this windbreak. The hive is already nicely protected to the west by a picket fence, and the lattice is at an ESE angle that should break up any gusts coming up the river.

20151031_115211

With the hive secure, we could turn our attention to more important things. Like honey! The bees had really done a stellar job collecting, and had filled and capped almost all ten frames.

knife

There were, sadly, a few casualties.

20151103_180315

We made sure to get another hot knife. It uncaps frames like a dream. I did drip a drop of honey from it onto my hand, however, and I got decent burn from it. I’m a little worried the heat may affect the quality of our honey…

knife2

Heat notwithstanding, the honey is gorgeous. It’s so dark and rich it’s impossible to see through. Here it is dripping its way through our filter. Only in the thinnest spots, with the light shining straight through, does it approach a color I might be willing to call “honey.”

20151103_183612

We’re pretty excited about it.

20151103_180437

The garden is pairing with a fabulous and very locally-driven restaurant for a cooking class later this month. Kim is speaking at the class and I, purely by chance, won two free tickets to it in the garden’s fundraising raffle. Some may claim nepotism. I’m claiming that I put close to $30 worth of tickets in the cup. I also put my blood sweat and tears into this class, meticulously filling twenty little 3 oz bears to be given as favors.

bear

The honey is the most impressive when you look at it next to the batch we harvested in the summer. I have almost a full jar because I’m a hoarder and can’t bear the thought of it disappearing forever. Both jars were collected from the same hive in exactly the same spot, but two months apart: the jar on the right on August 10th and the jar on the left on October 12th. The difference is, as far as I know, purely floral. Spring and summer mean delicate light flowers like pea and squash blossoms, but late summer and fall mean rougher, darker flowers like Black Eyed Susans and sunflowers.

20151110_110152_HDR

Am I making all this up? Maybe. But whatever the reason, this honey is so dark it’s almost black, and it tastes, I swear, like elderflowers. The summer stuff was great, but this is a world apart.

Mead Take Two

As avid readers may know, the20151028_171114_HDR 
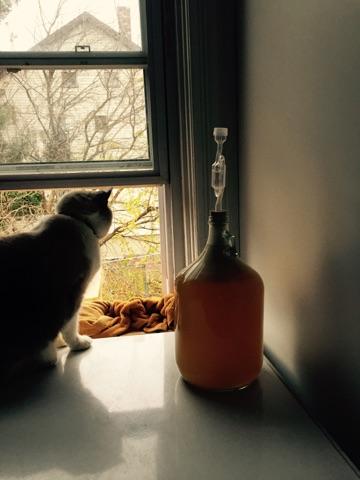
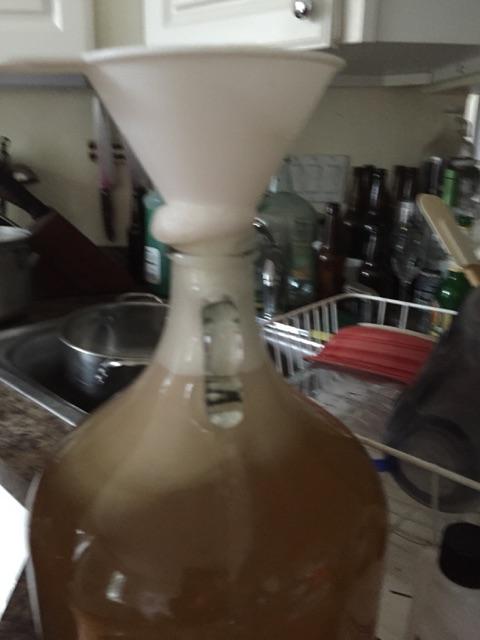
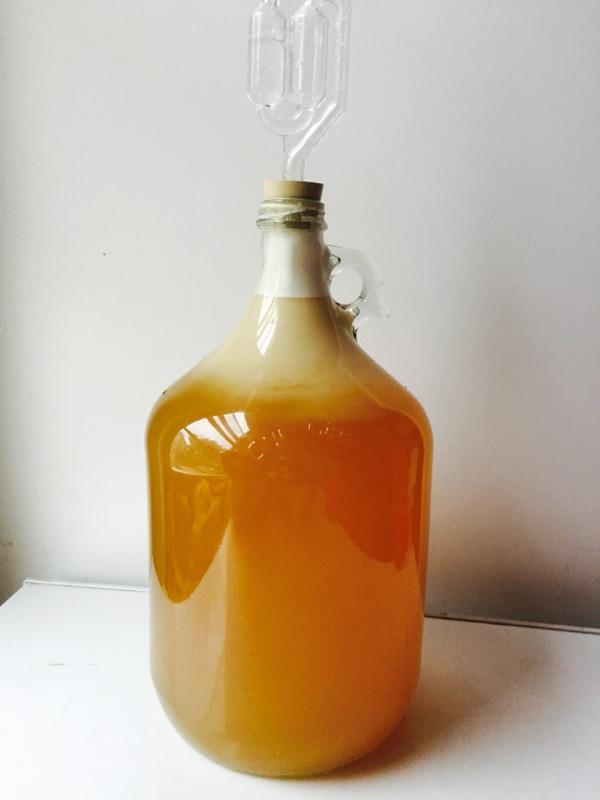
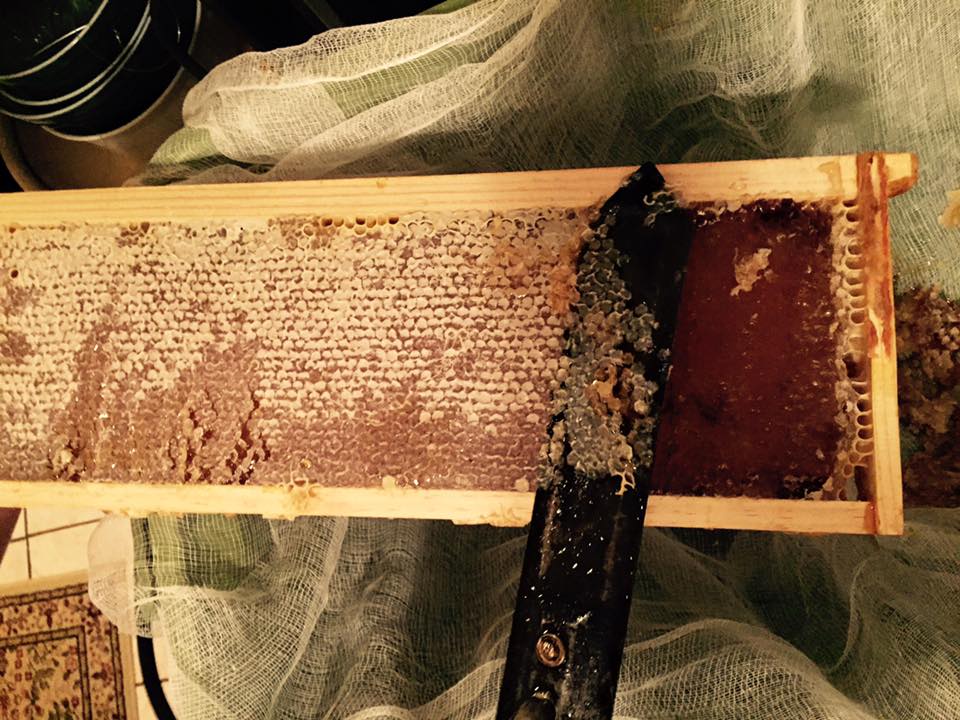
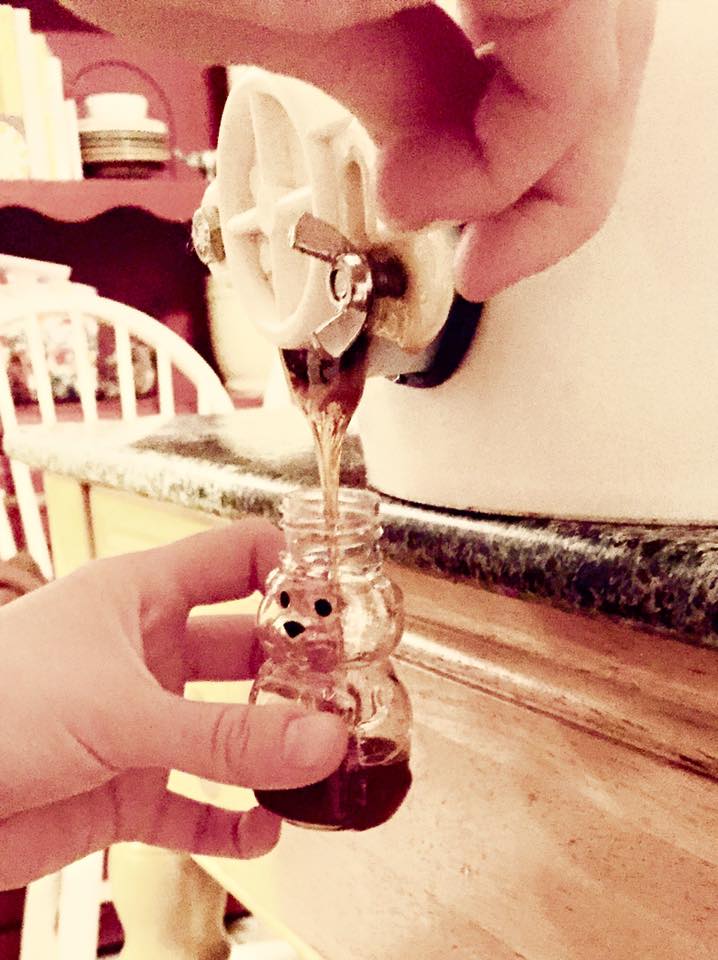
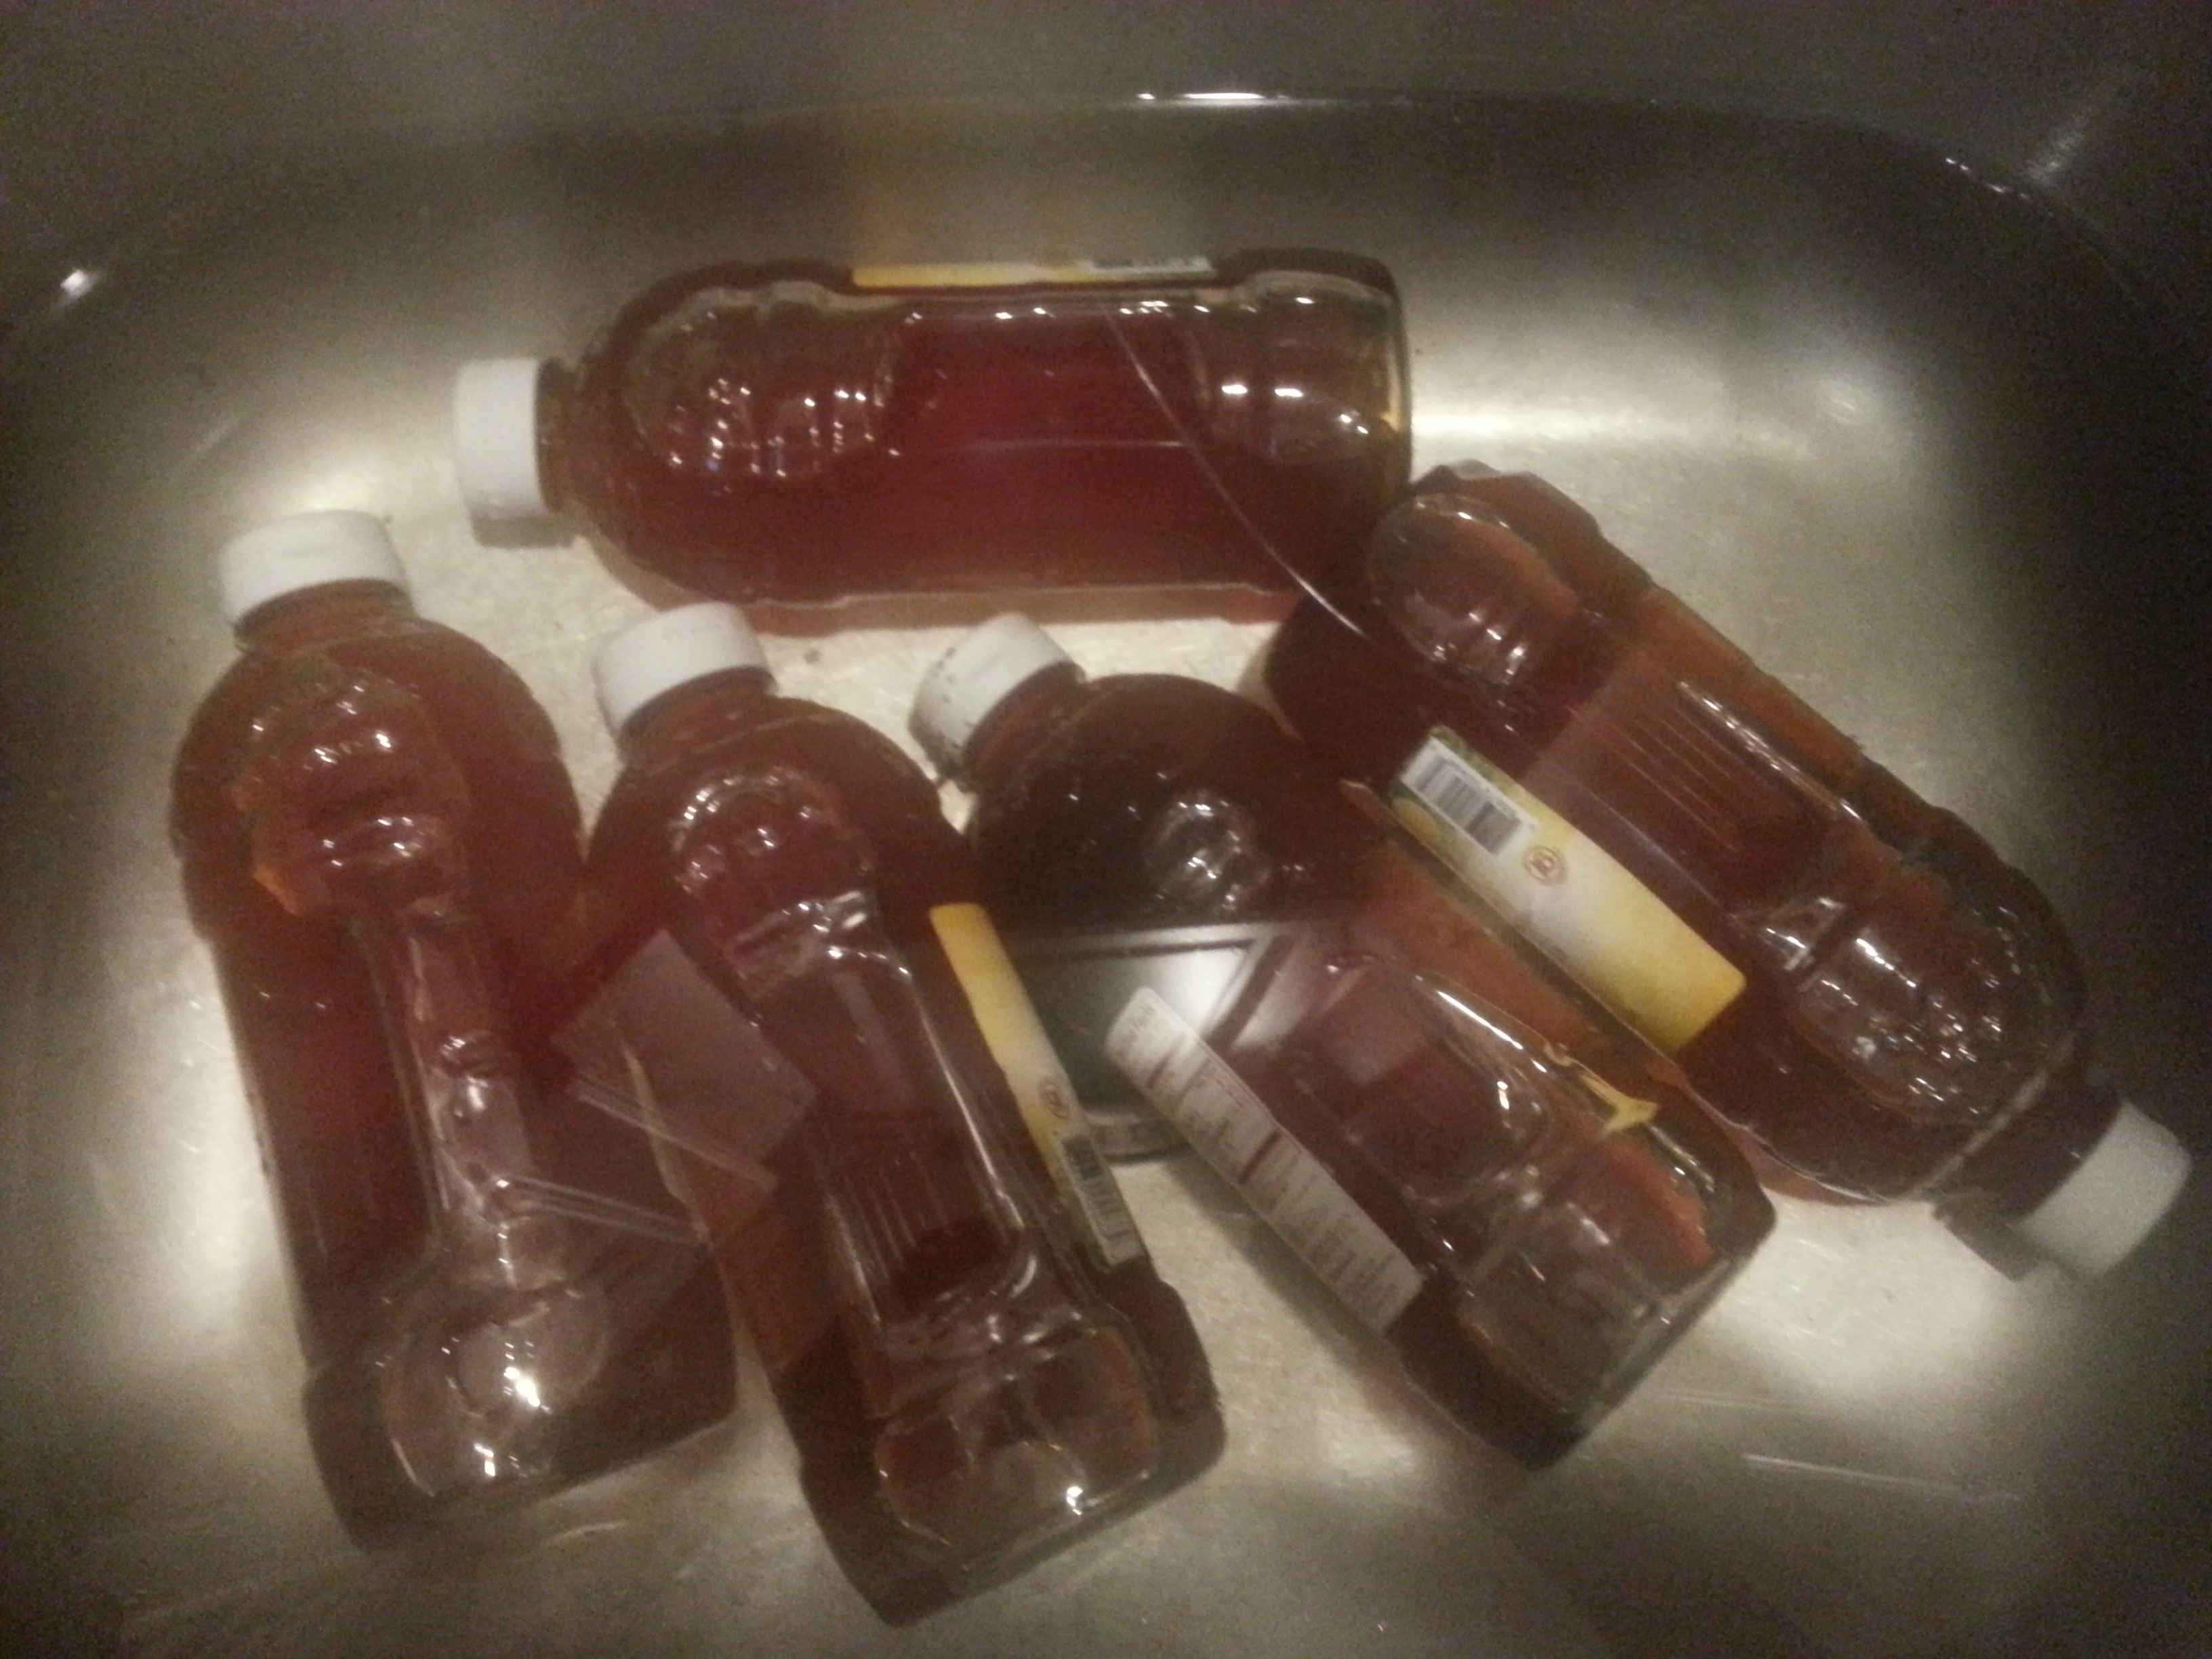
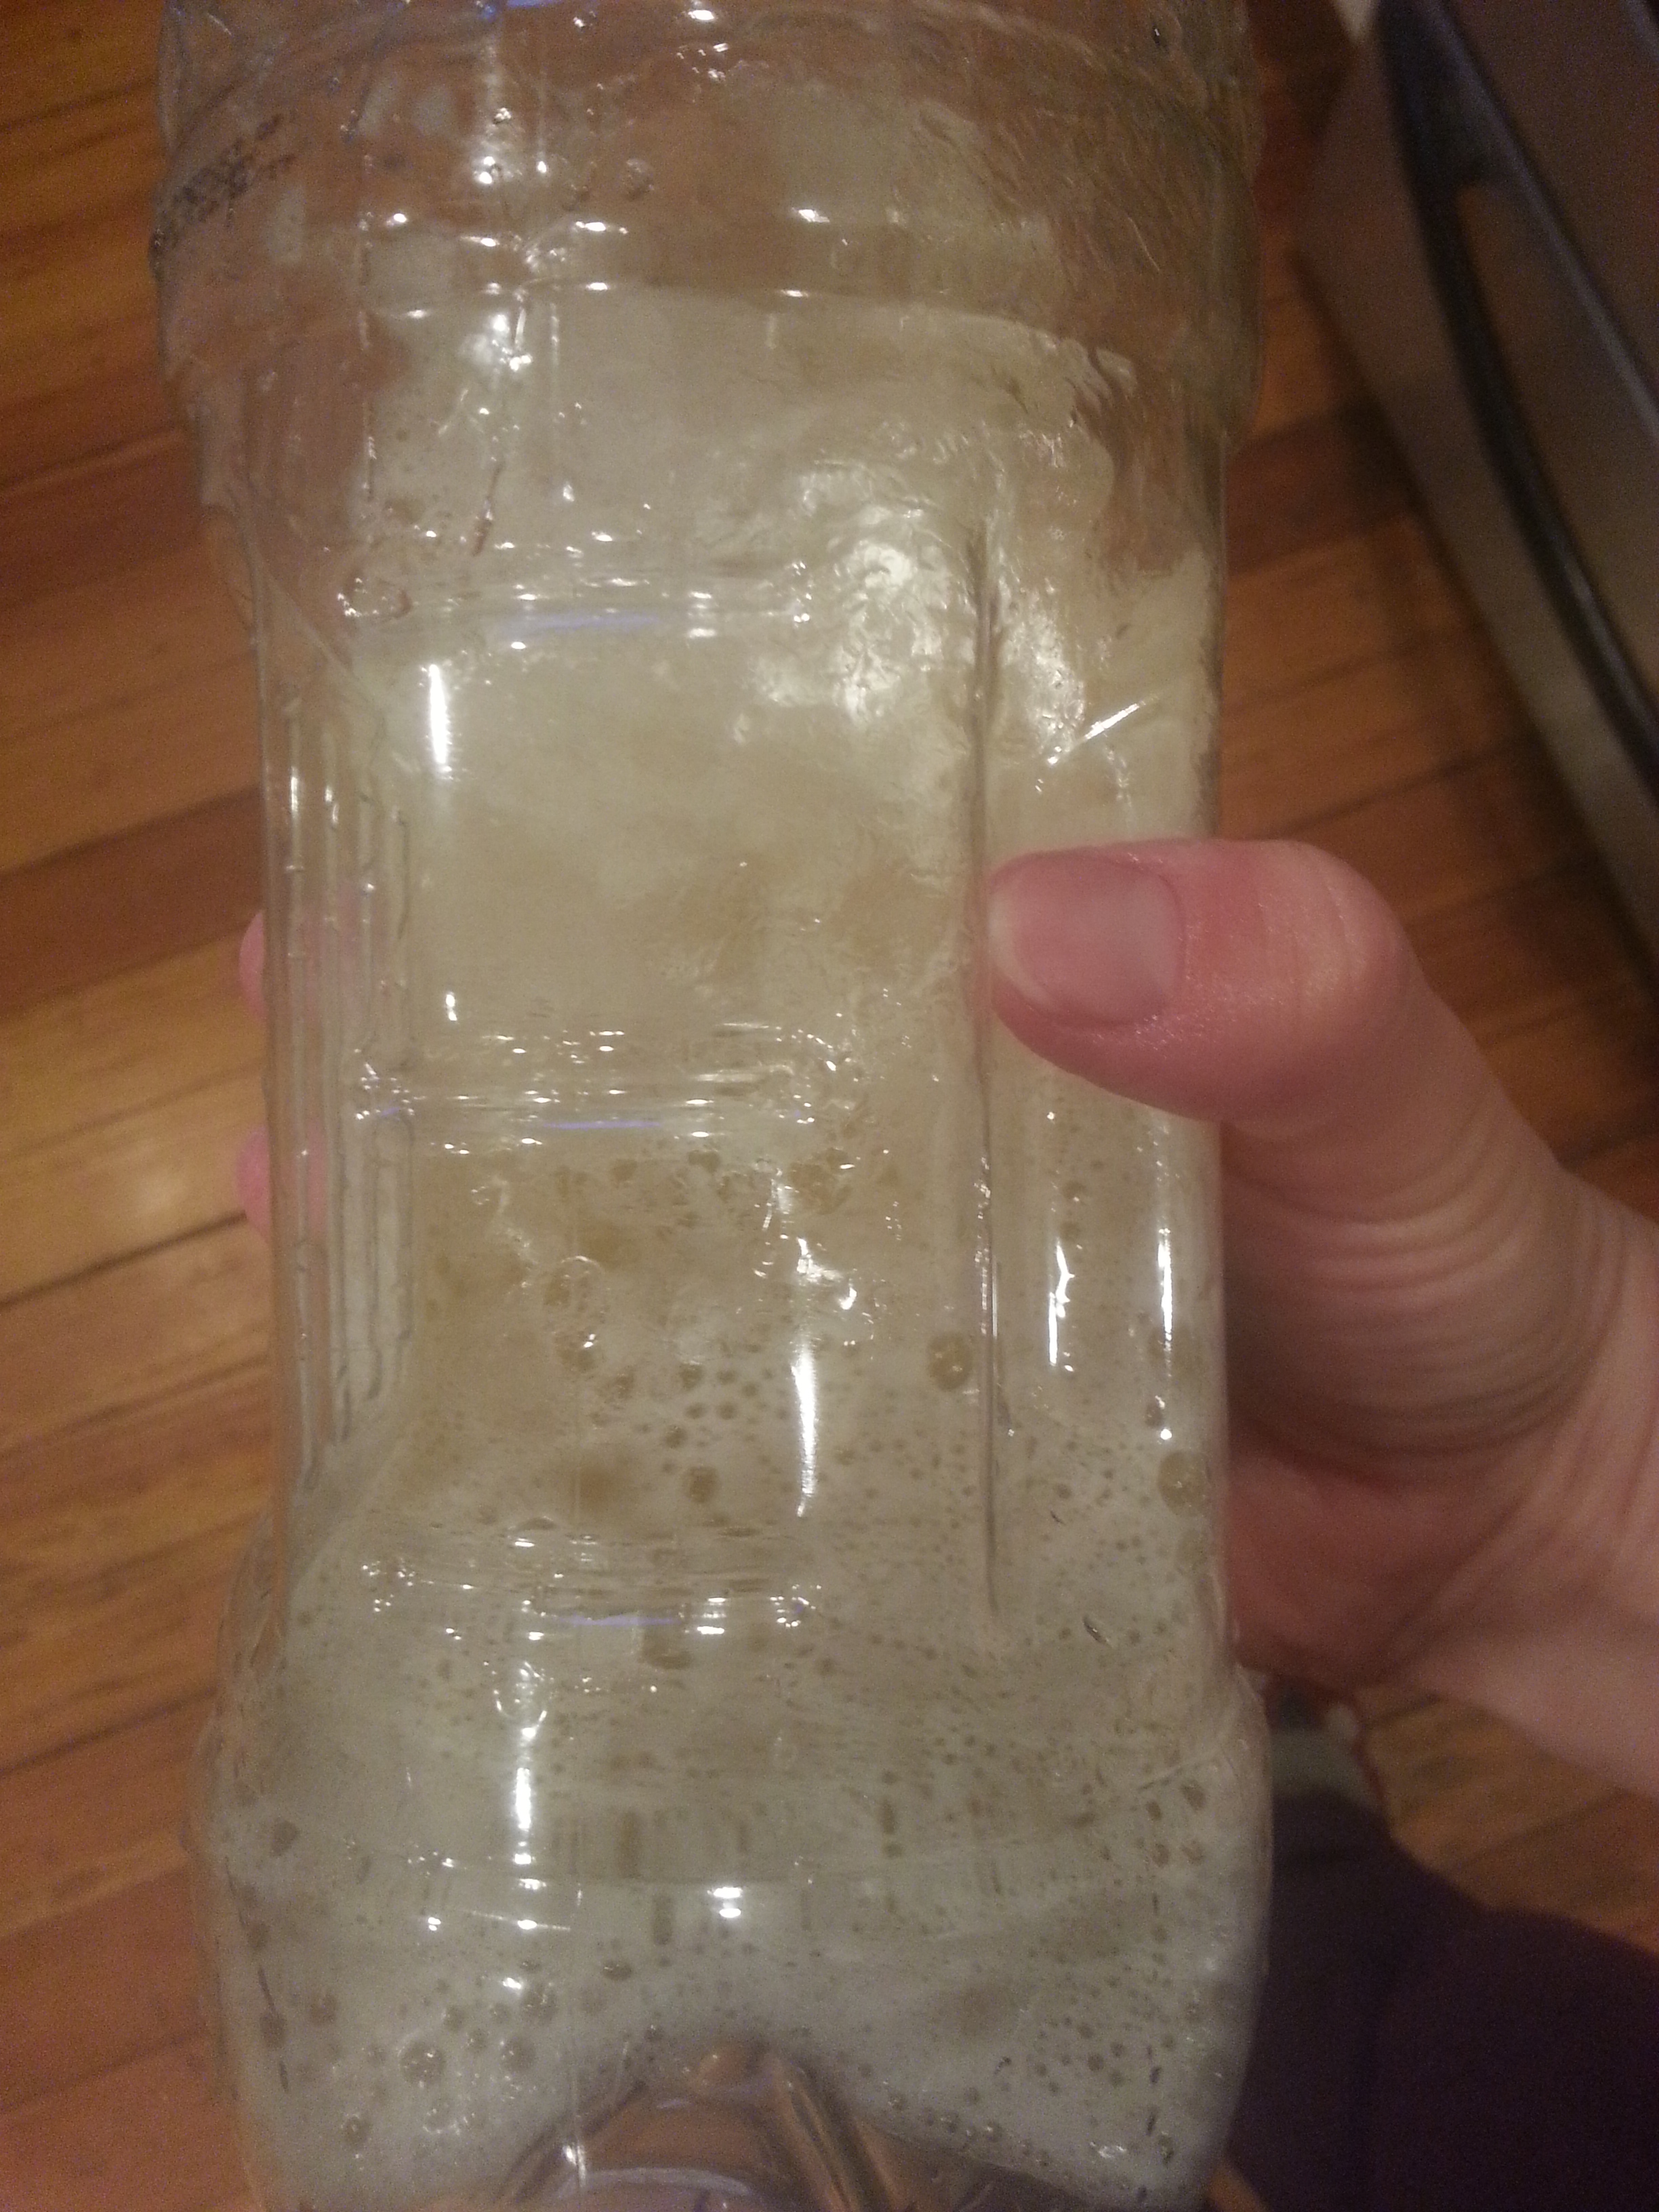
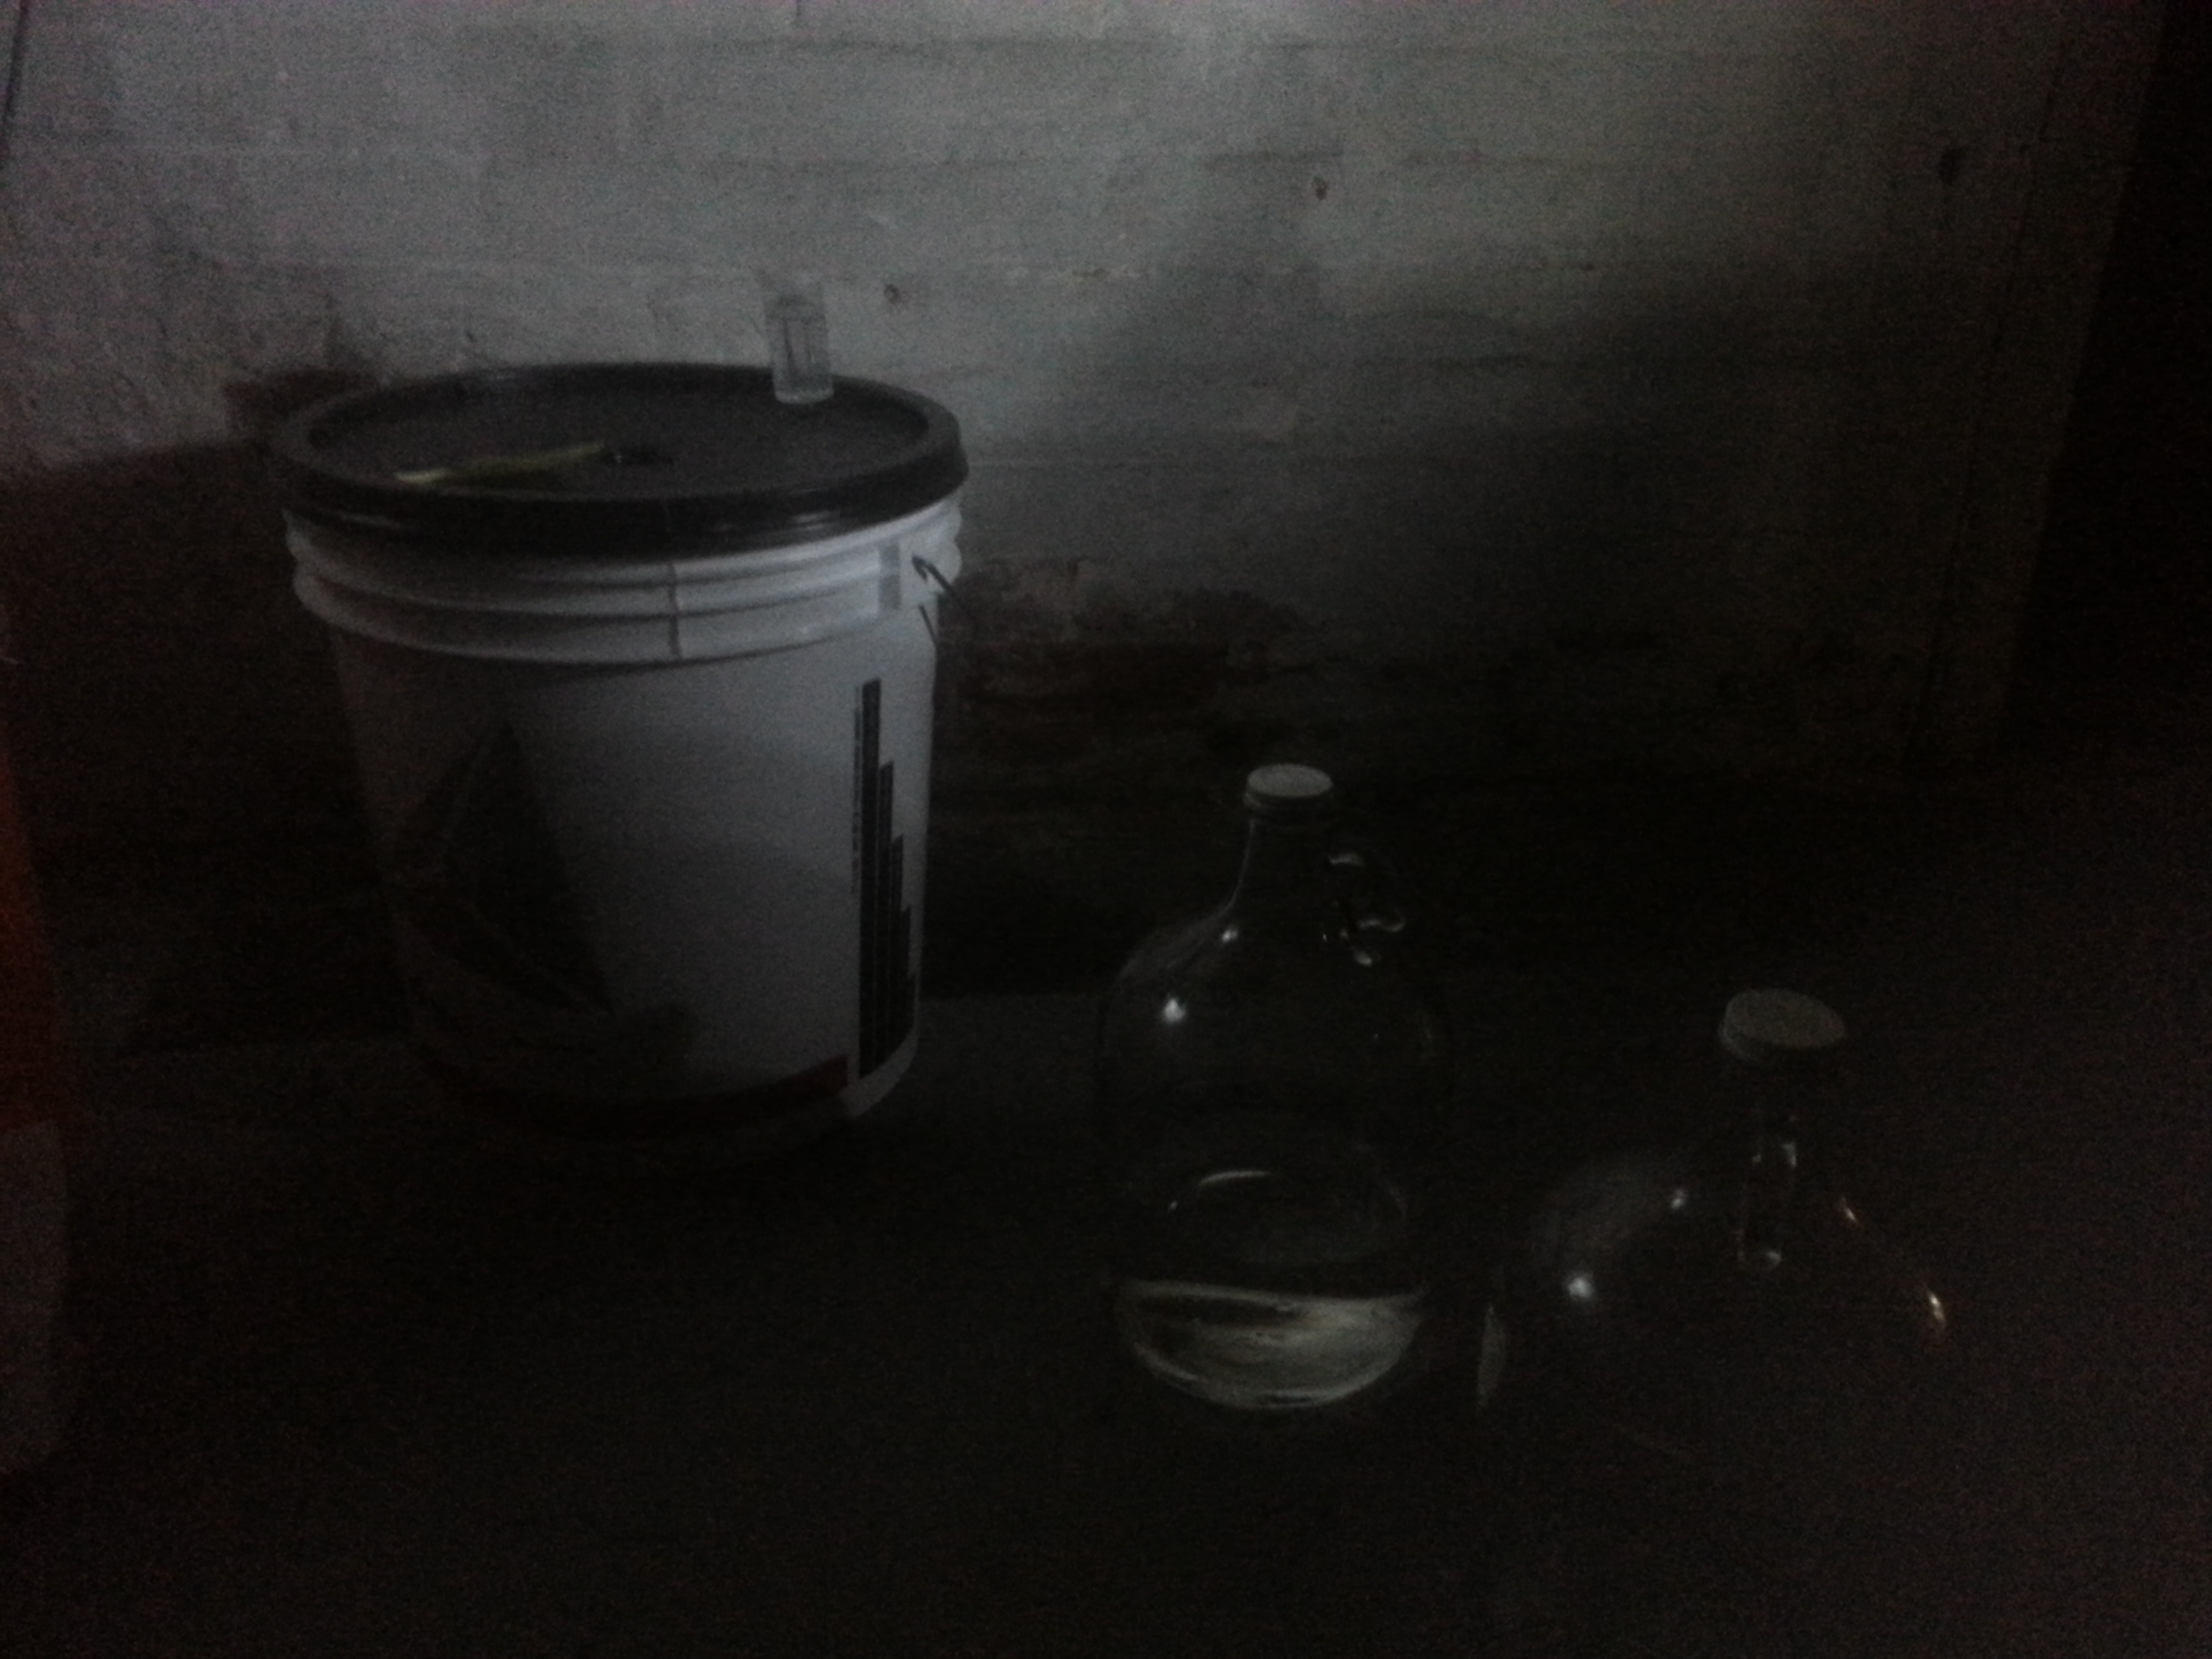
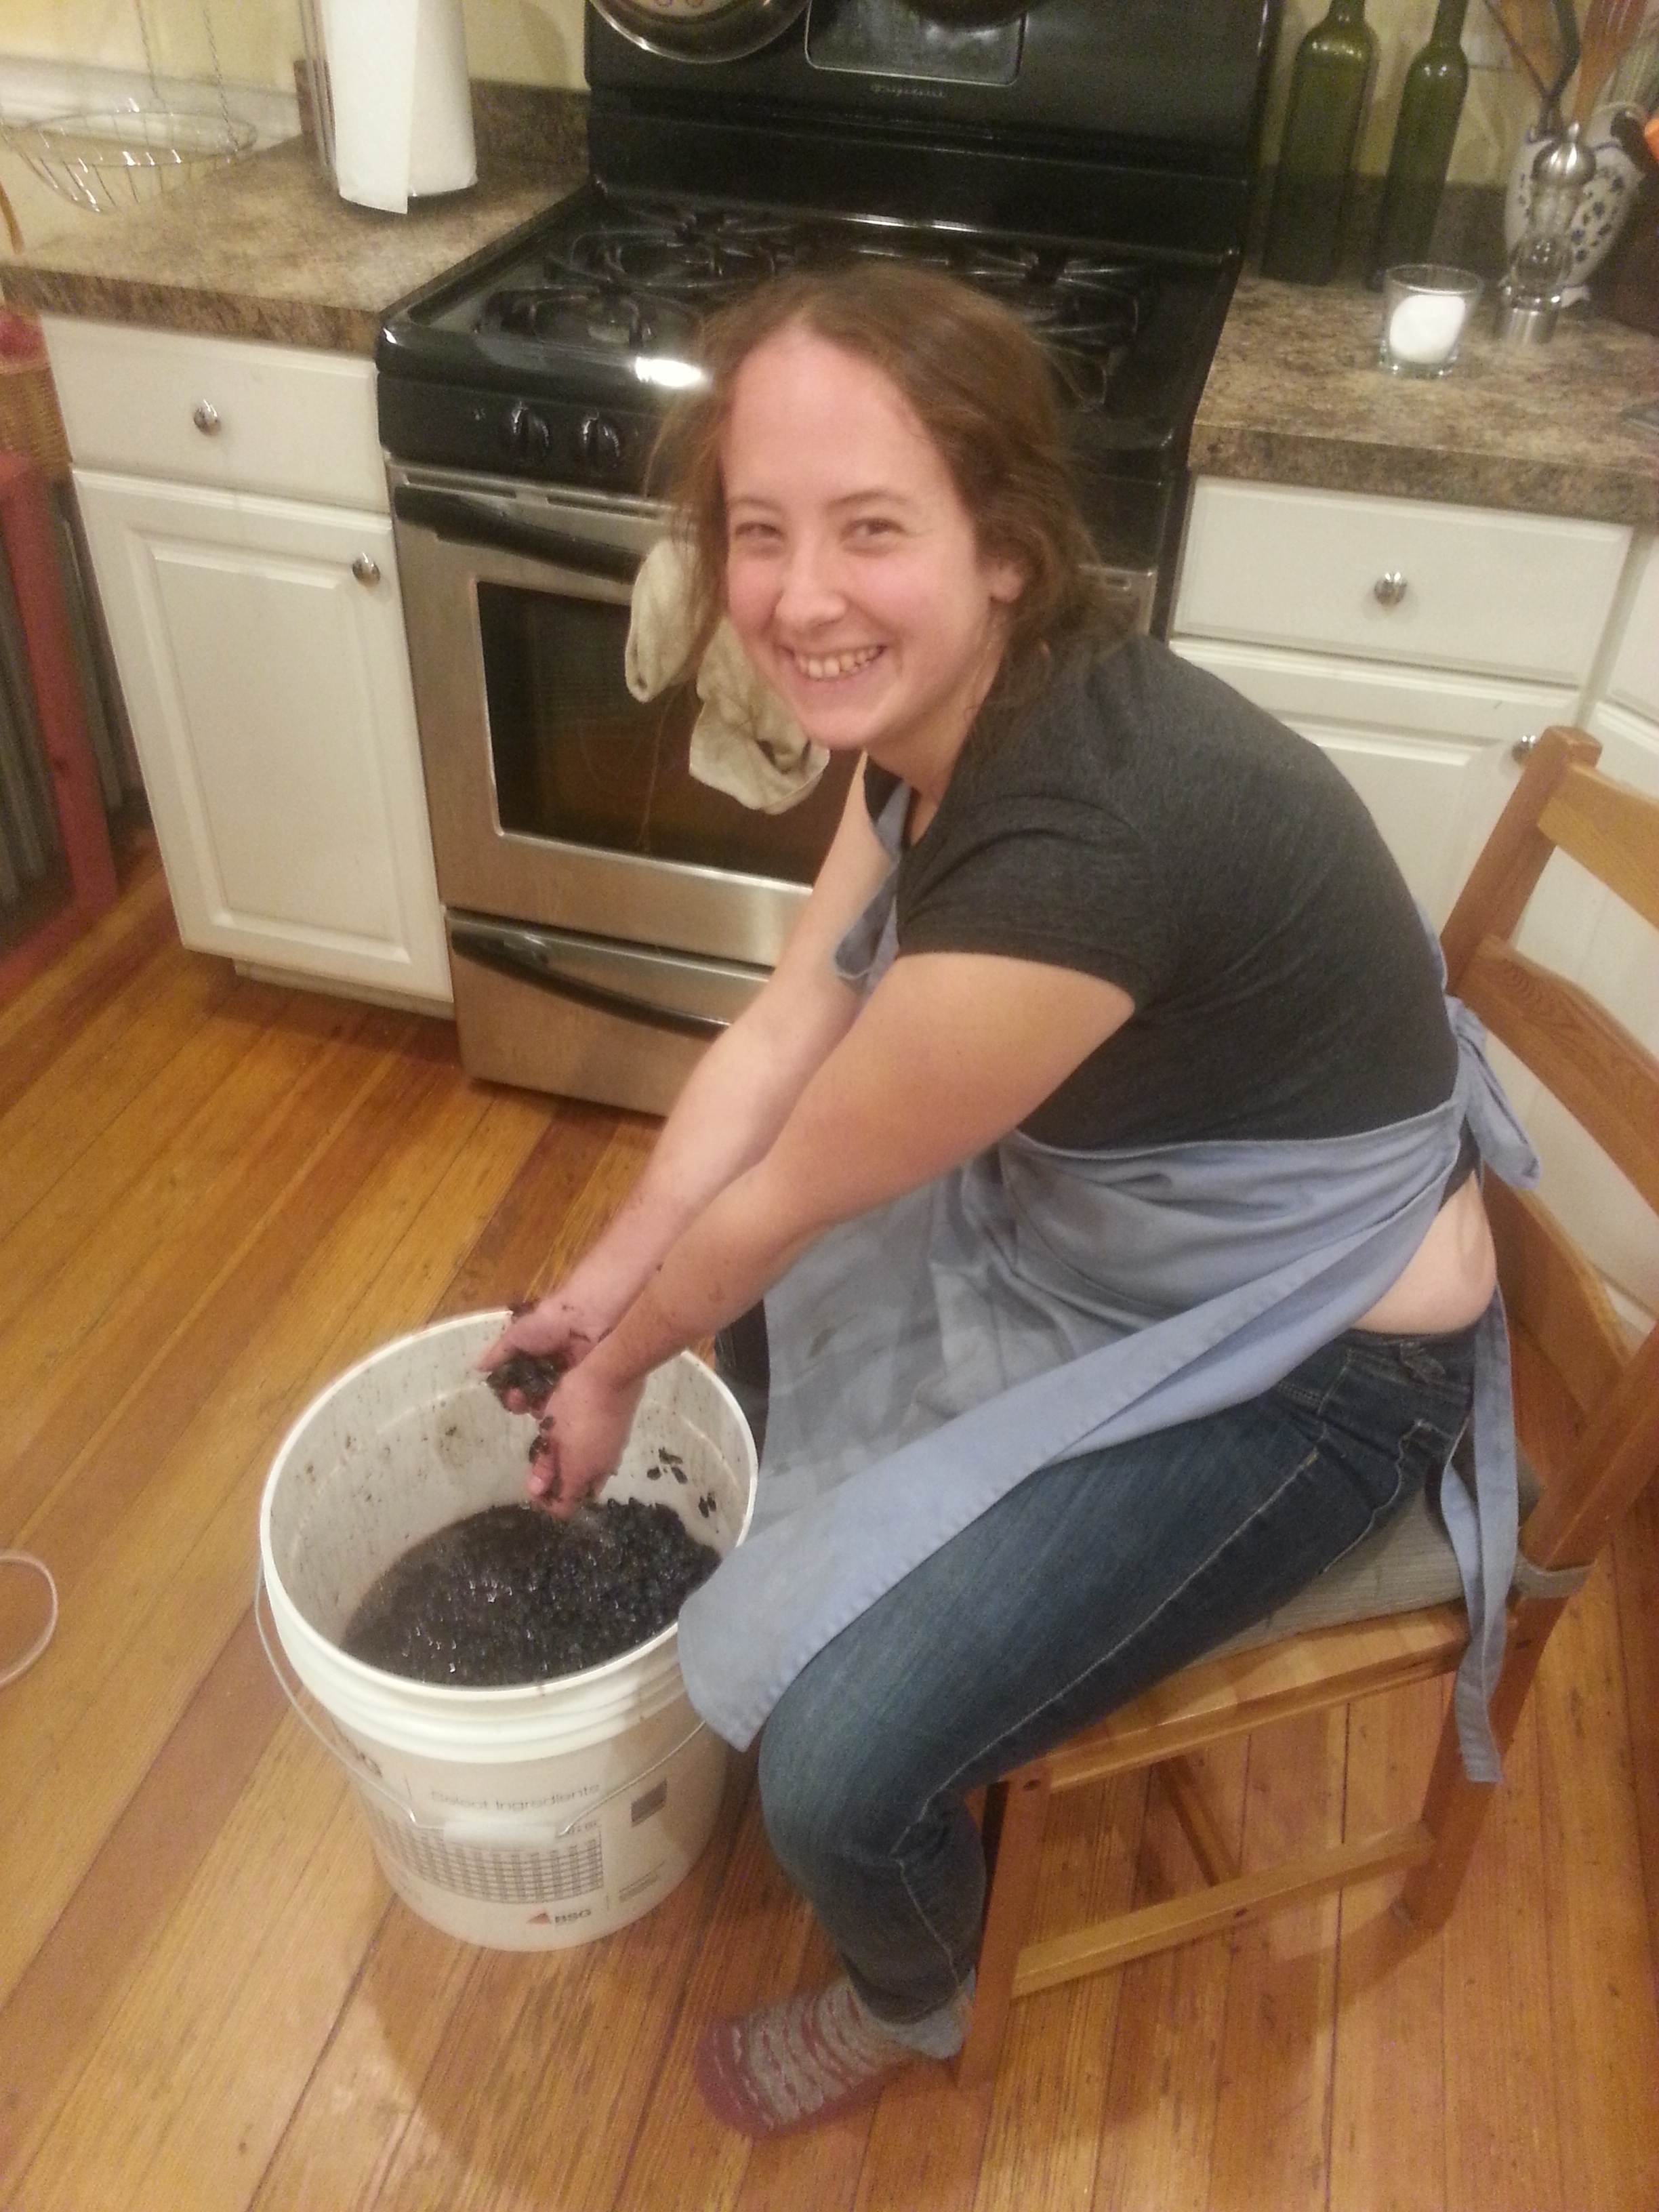
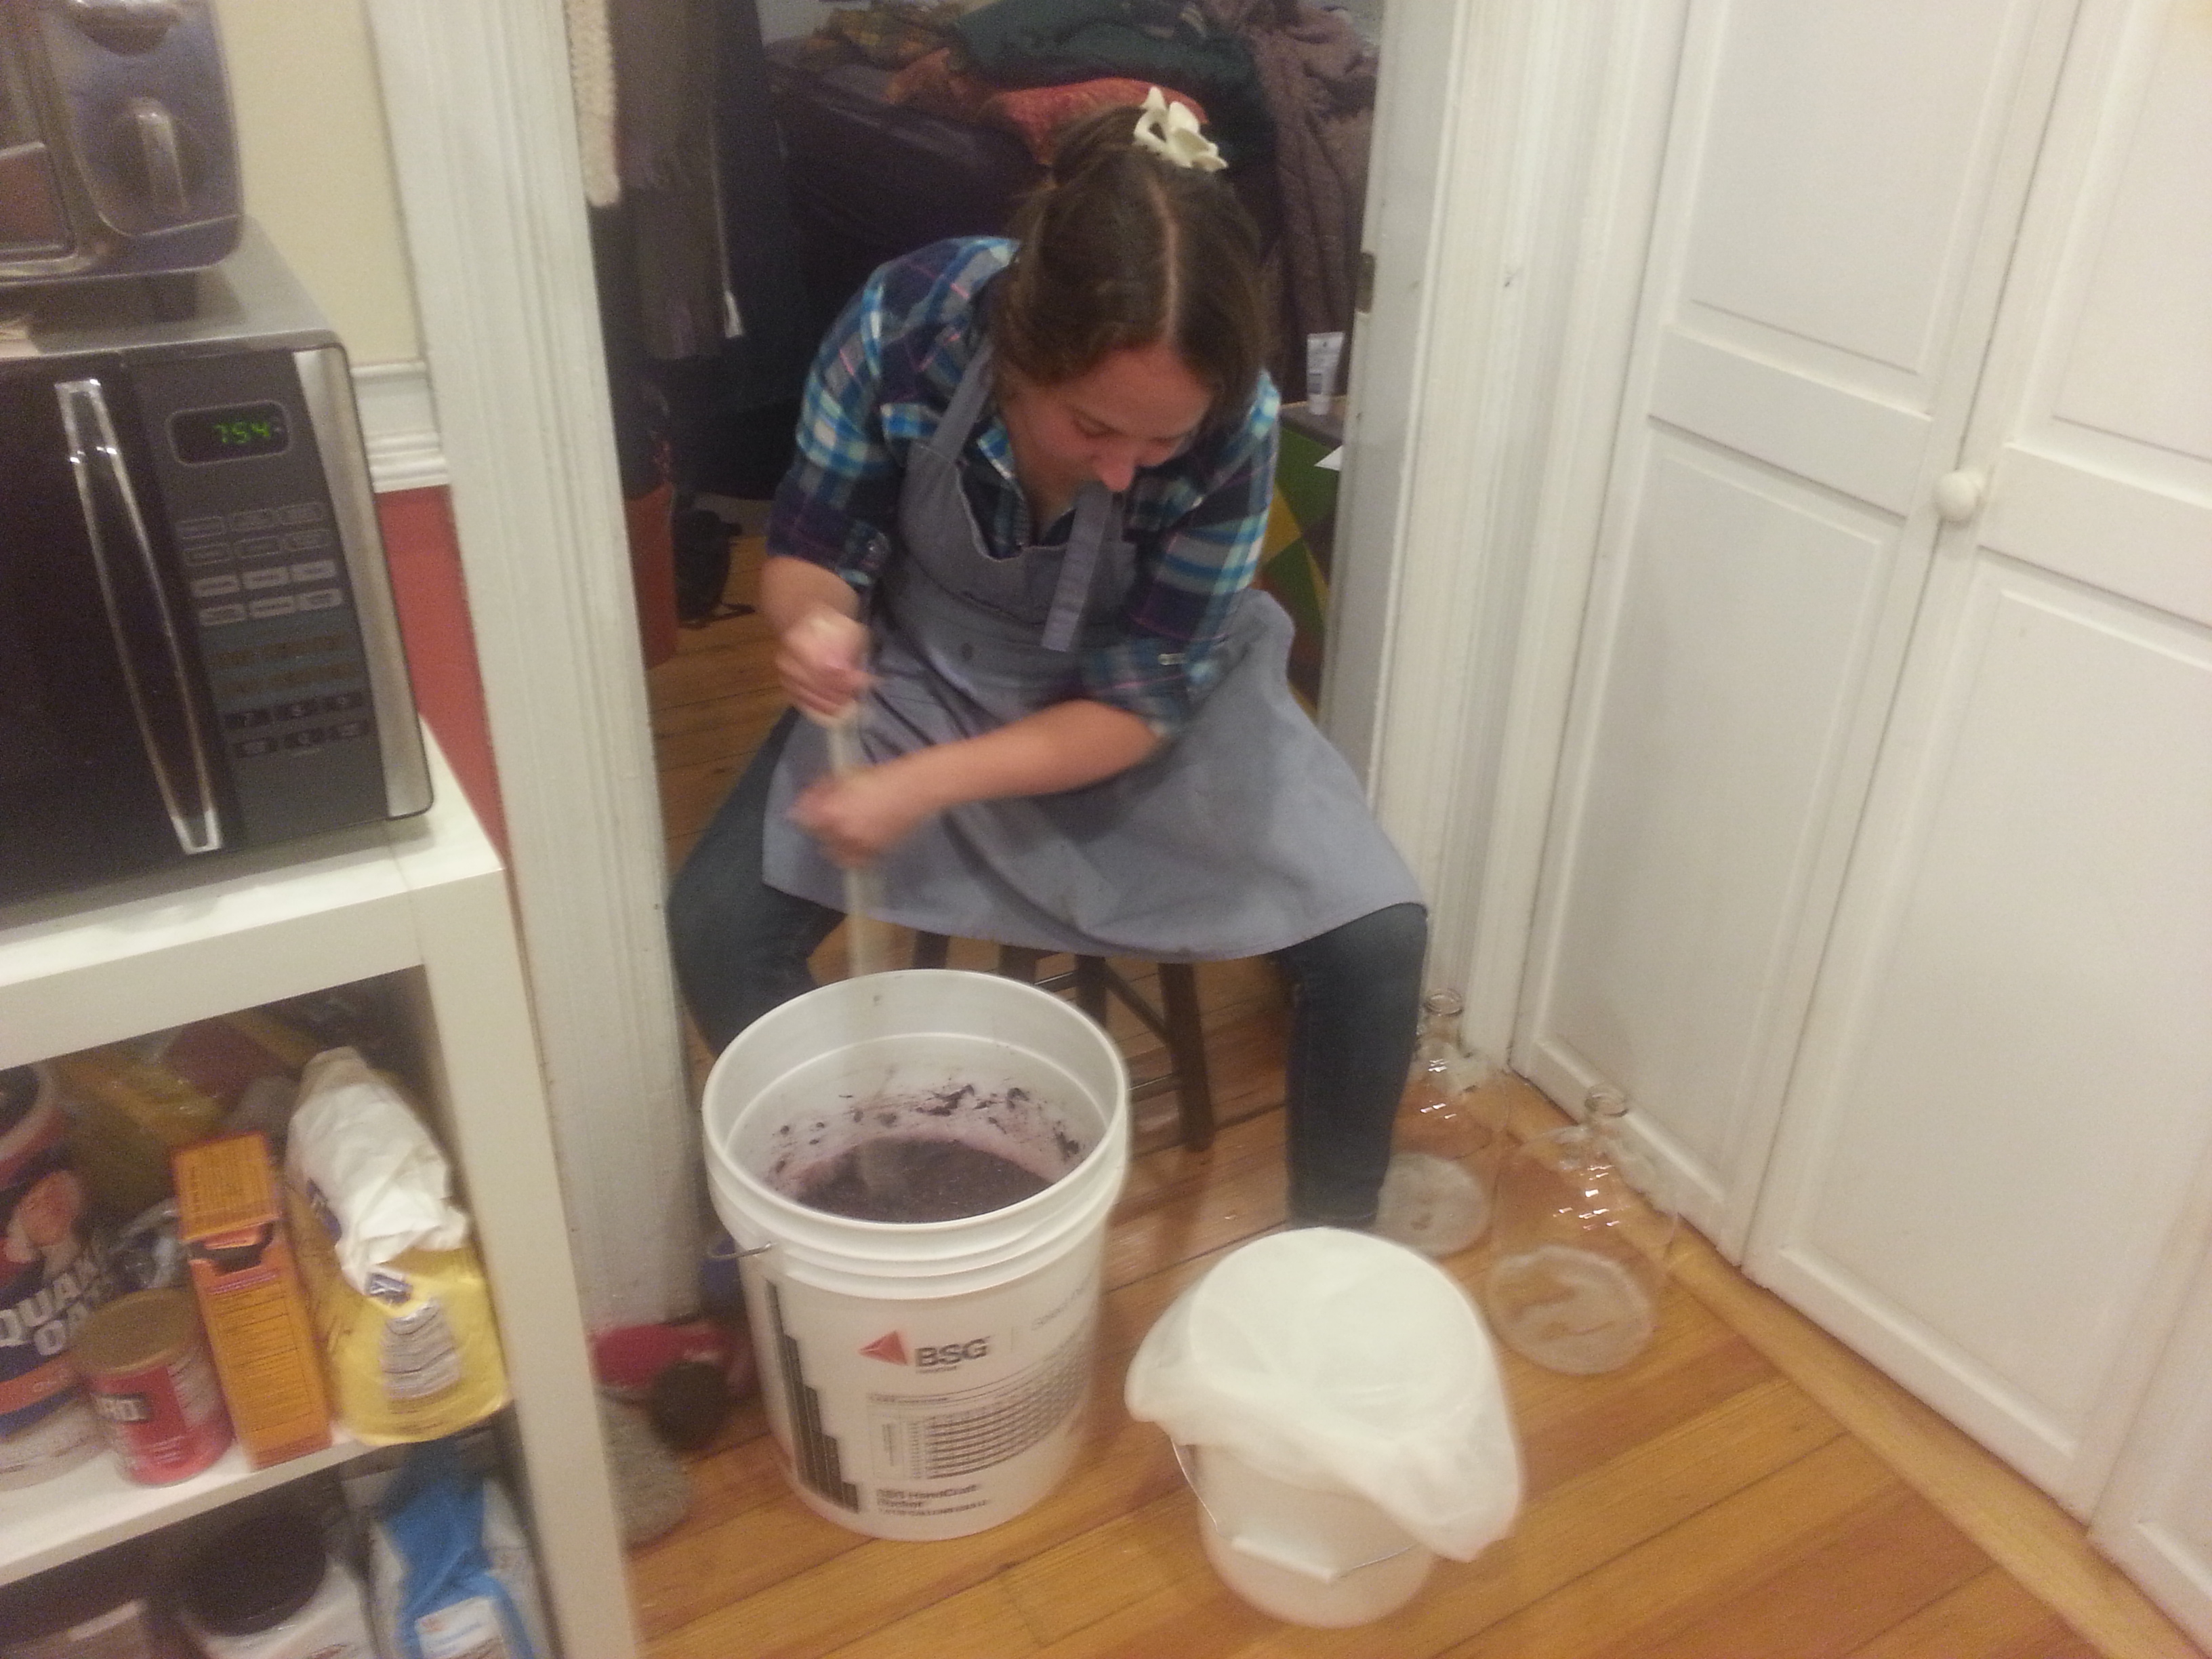
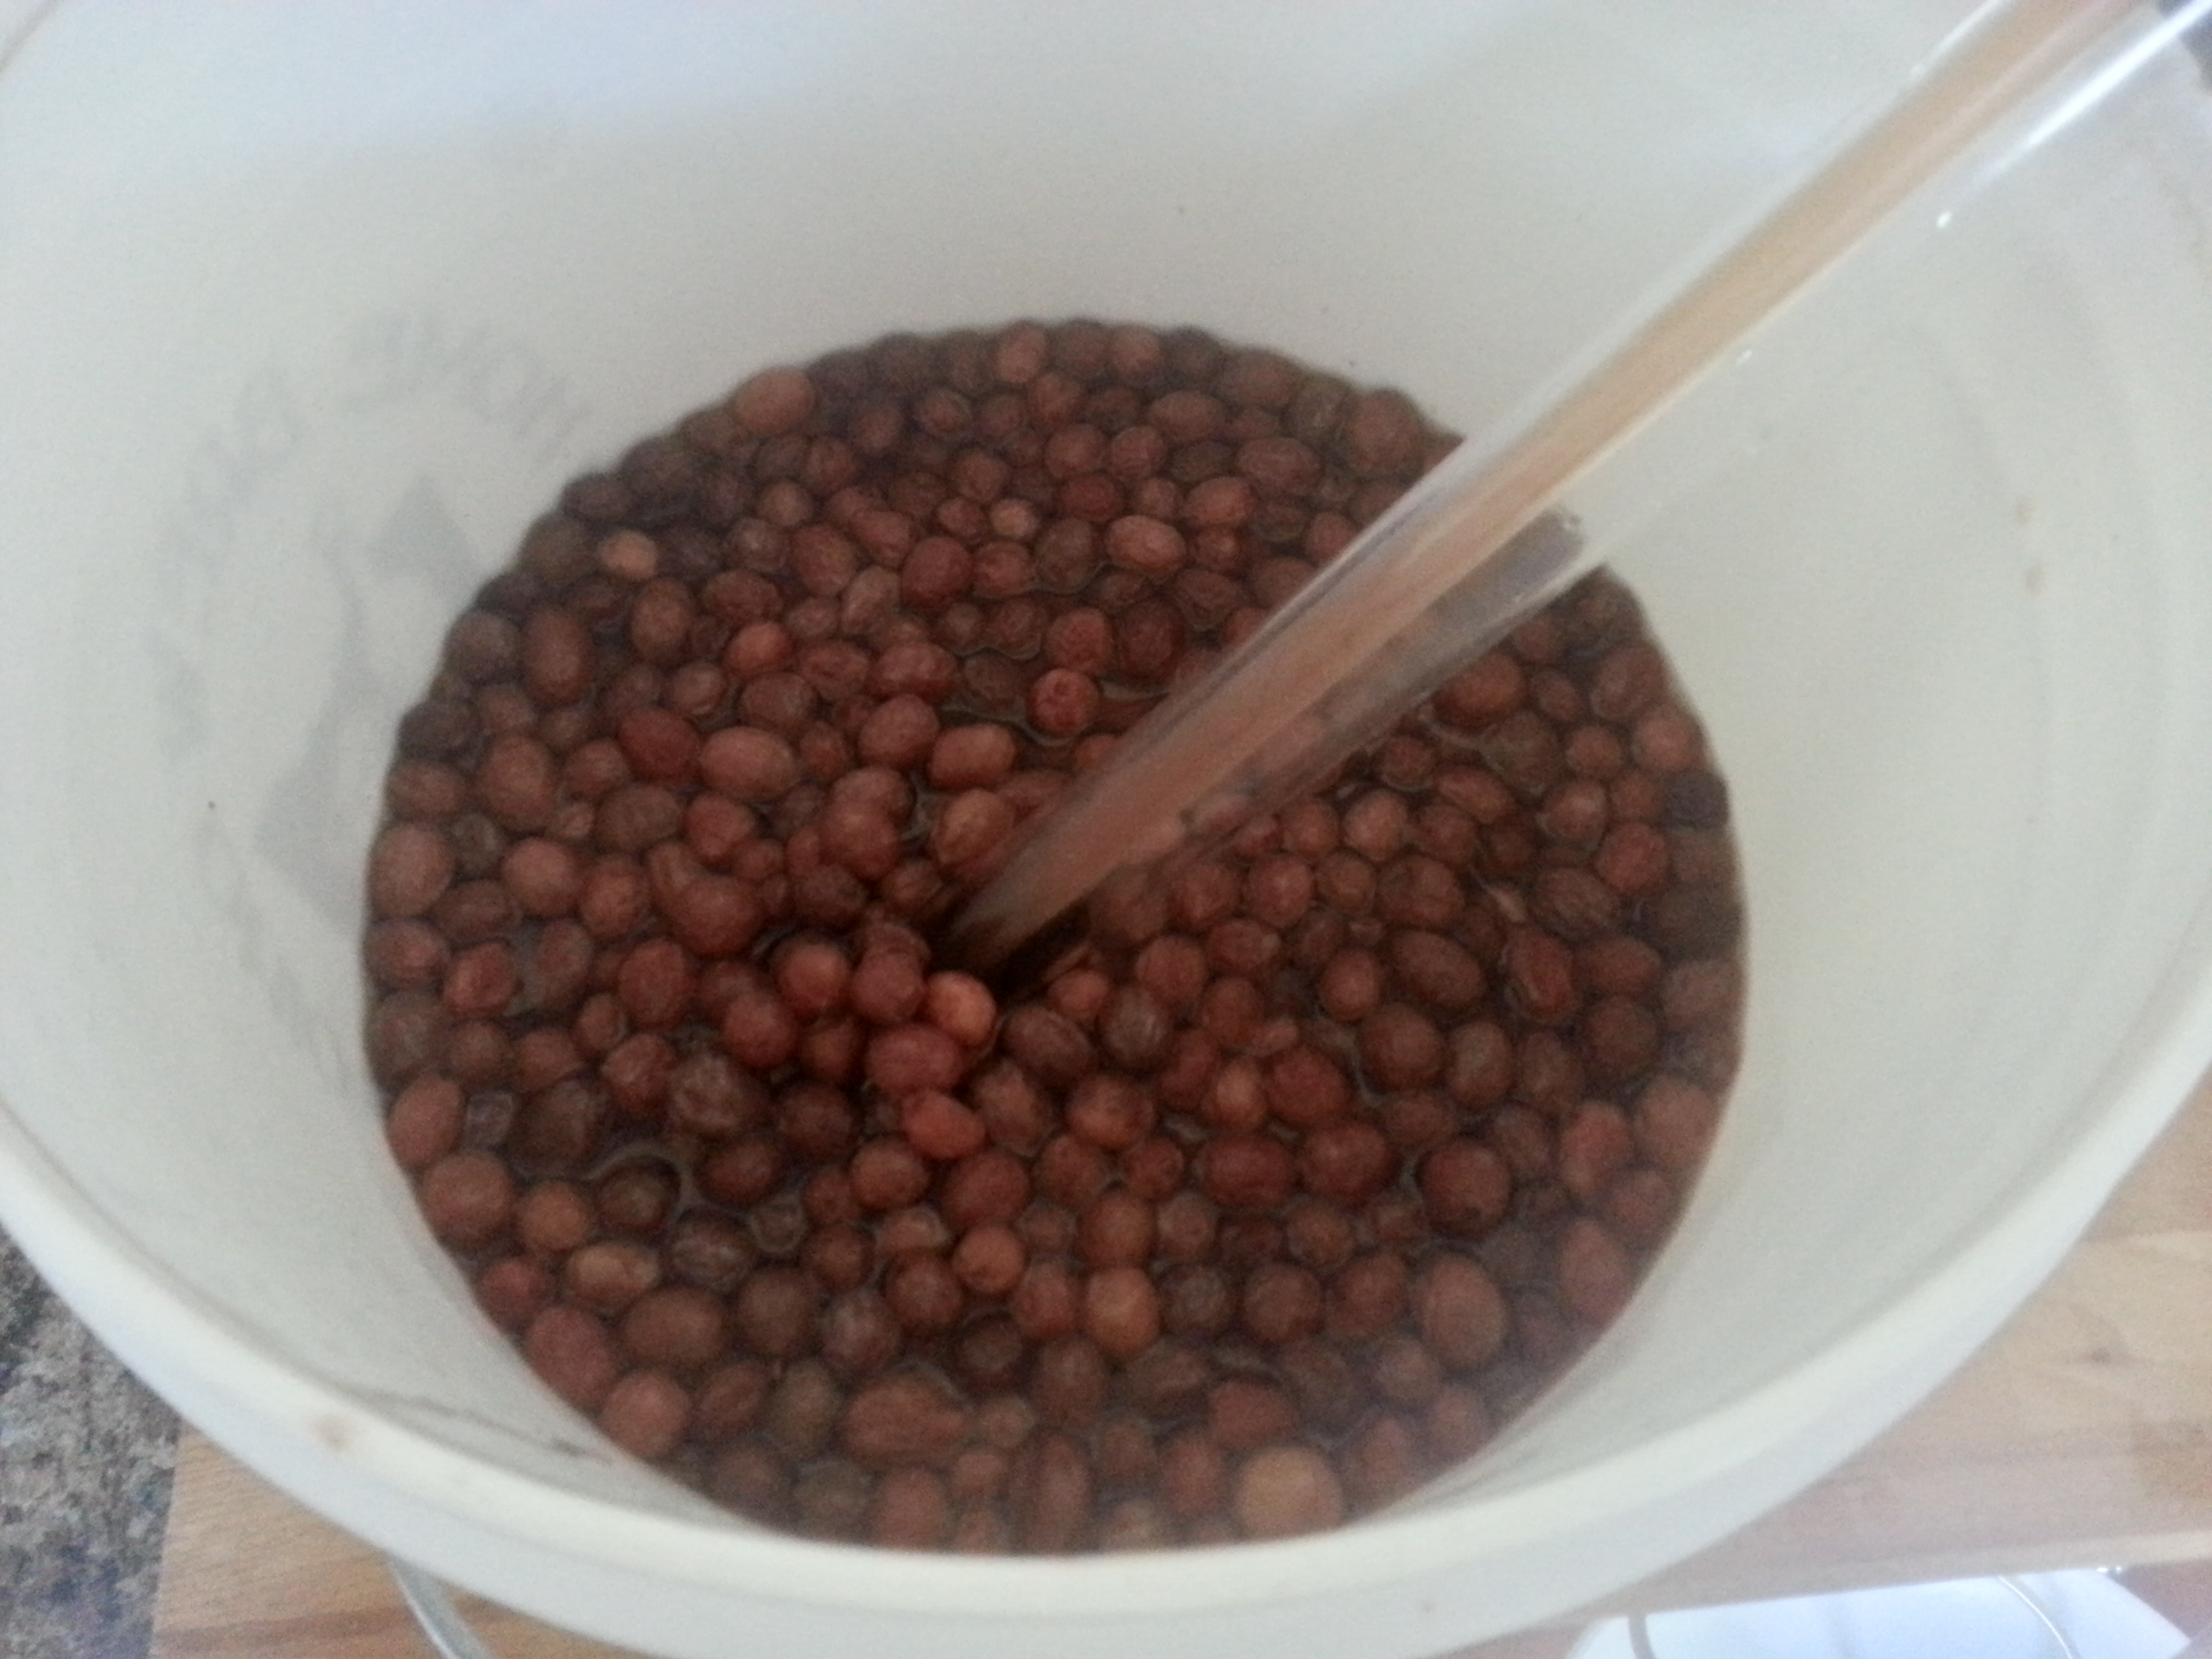
last time I tried to make mead in bulk, it wound up inches deep on my basement floor. I could have been drinking it right now…
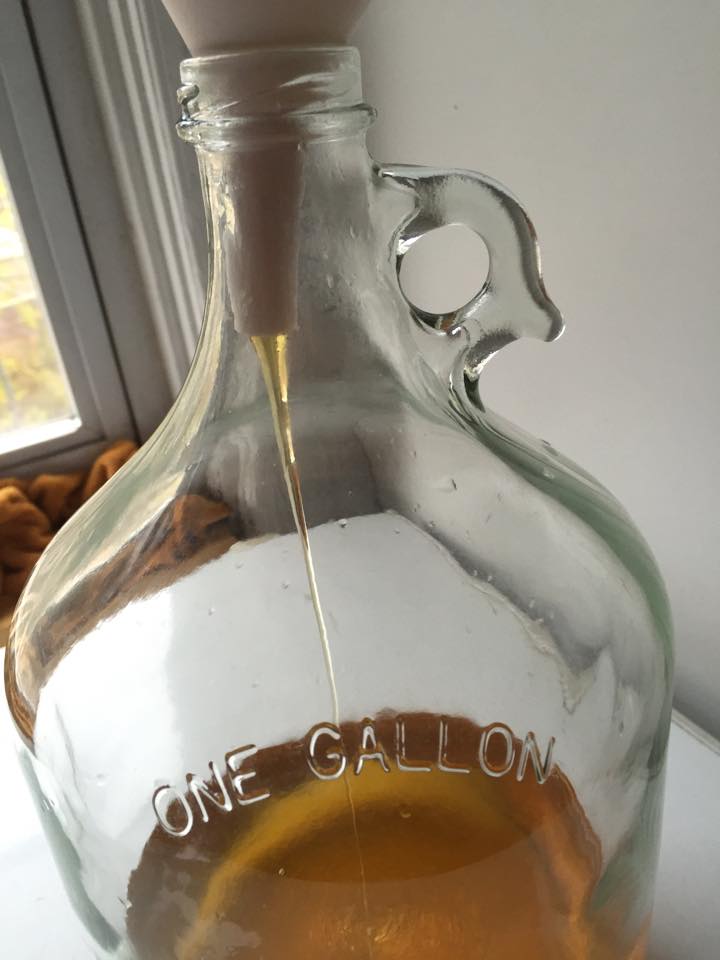
It took me a while to grieve, but I’m finally ready to give it another shot. I am, as always, using the cheapest honey I can find. These handsome three pound bottles came from the bulk store and cost $8 apiece. As you can see, I bought so many they let me keep the box.

The rule of thumb I’ve discovered is that three pounds of honey makes for one gallon of mead. It was six gallons I lost to the honey gods last time, but on this pass I’m going to do a modest five. One of Ben’s birthday expansions was a new five gallon carboy I want to use, and this sixth bottle I’m saving for a strawberry melomel I’ve got in mind.

So that means a paltry five bottles, or fifteen pounds, of honey. That’s heavier than my cat, and he’s fat!

There are very different schools of thought on whether or not to boil honey before fermenting it. Lots of people, including the author of my mead book, believe that you should for sanitation purposes. Plenty of purists are horrified at the thought, because being unheated is what makes raw honey so special and so much better for you. Since my honey was delivered on a pallet and was most assuredly boiled at some point, I’m not too worried about that. Purists of a different sort, however, insist that honey doesn’t need to be boiled because microbes can’t survive in it and it’s essentially sterilized from the moment it comes out of the bee. This school of thought requires less work, so I’m inclined to go with it. All I did was submerge the bottles in a warm bath for a few minutes to get the honey flowing at a rate that wasn’t maddening.

20151028_171329

Weight was a big consideration working with five gallons of liquid. I can carry my one gallon batches up and down the stairs all day, but five gallons is a different animal. Not only do I not think I could carry that much mead down two flights of stairs, I would never want to. Just the thought of losing another huge batch, this time on the stairs, brings tears to my eyes. But my basement is dark and scary and the sink, while existent, is far from sanitary. I split the difference and did as much work upstairs as I thought I could manage – two gallons of water and all fifteen pounds of honey. It was heavy going on the starirs, and visions of the bucket’s handle breaking flashed before my eyes, but I made it.

20151028_171611

The warm bath worked like a charm, and the honey flowed right out.

20151028_172152

Once each bottle was empty, I ran a little bit of water into it, shook it like there was no tomorrow, and added it to the bucket. This caught a lot of that pesky honey clinging to the walls and, I hope, really oxygenated the must.

20151028_172328

I wrangled the bucket down to the set of Saw VII and added the final gallon and change of water. I mixed the honey and water like crazy, added two packets of rehydrated yeast, secured the lid and airlock, and left it to work its magic.

20151028_181348_HDR

Now it just has to pass the next couple months not on the floor, and we’re in business!

Wine Made Out Of Grapes

John Lennon and I have the same birthday. 20151003_114718

He would’ve turned 75 last week. I turned 27. I don’t know what Yoko would have gotten him, but Ben got me a big pile of grapes.

We went to the beer and wine supply store across town. Actually I walked around the neighborhood and pretended not to know what was going on while Ben got bombarded with advice from the old regulars. In the end he got me more and bigger carboys so I can up production, and we were sent down the road to a warehouse where the owner of the store was dolling out grapes.

This guy gets outrageous shipments of grapes and pre-pressed juice from California and Europe, and sells them to every old Italian, Portuguese, and Spanish guy in the city who has a few extra thousand to spend. I actually watched a man drop upwards of two-thousand dollars on juice. When we told the owner we wanted a single case of grapes, he shook both our hands, called us the customers of the day, and brought the grapes out himself. I suspect he may have been making fun of us. He was very good-natured about it, though.20151004_165255

One case proved to be more than enough. They’re Merlot, specially picked because they were the only whole grapes left. The real business seems to be in juice, because the average customer is in it for next year’s wine supply and not the authenticity of the experience. A very friendly man named Johnny explained his juice-filled SUV to me by working out the ultimate cost to three dollars a bottle. My bottles are going to be considerably more valuable when I factor in all the man-hours it took to separate the things from their stems. I’m smiling here, but by the time I was finished I was so sick of grapes.

Once the grapes were in the bucket and the walls and floors were de-stickified, It was time to smash. Everyone I talked to wanted me to do the old-fashioned foot method. I did consider it, but in the end I went with tried and true hands.   20151004_192535

I mixed in some sodium metabisulfite and left it overnight to sanitize. The next day I added yeast, yeast nutrient, and a little sugar. I got pretty hung up on the sugar, since I have yet to find a good way to use the hydrometer. The whole point of the thing is to let it float free in the juice to measure the buoyancy and, therefore, the sugar content. I tried putting it straight in the bucket, but it was so full of grape skins I may as well have been sticking it in jello. I tried extracting some juice into the hydrometer’s cylindrical container, but it’s so narrow that any amount of sediment (of which there was a lot) can jam or buoy the hydrometer, making it impossible to read. I tried a champagne flute, but it was too shallow and too wide. In the end I got some semblance of a reading and looked up the amount of sugar it should take to raise the specific gravity to a suitable number. I threw in exactly that amount and washed my hands of the whole thing. There must be a better way.

I let the grapes ferment for a few days, punching down the skins about three times a day. That’s an aspect I’m not used to – the bubbling of the fermentation pushes the solid elements up, creating a cap that has to be pushed back down.

Finally it was time to rack to the carboys. It’s important, at this point, to press your grapes, getting all that good juice out. I priced wine presses, and they range from $80 to higher numbers I also can’t afford. I did a stripped down and maybe not kosher version in which I poured my grape goop into a bucket lined with a nylon sack, as you can see here. A birthday cake was being made on the table, so I was relegated to the corner with the cat toys. Don’t tell the health department.

20151010_195538

Two types of wine come out of the pressing process: free-run and pressed. Free-run is the already flowing liquid that doesn’t need to be released by the press. In this case, it’s what dripped straight through the sack when I lifted it out of the bucket.

20151010_195607

With some careful juggling and a lot of splashing, I got an easy gallon of free-run juice, which I moved to a carboy and set aside.

20151010_201942

After that came the “pressing,” an awkward job of hefting a huge sack of grapes in one hand and massaging it with the other against the side of a too-small bucket braced between my feet. I’m not sure this is how they do it in Napa Valley.

20151010_201920

My unorthodox method got me another easy gallon of juice, with some more still in the sack. If I’d really pressed, I would have gotten a decent amount more juice. But I only had two carboys on hand, and no effective way to press, anyway. So I left it at two gallons. One is all free-run, one is lightly pressed, and I have no idea from this picture which is which. Free-run is supposed to be lighter and less tanniny, so we’ll see at the next racking if I can tell the difference by taste.

20151013_095104_HDR

Of course I have them labeled on the other side of the jugs. If I identified all my wines by taste I’d be in trouble, since nothing ever comes out tasting like what I put in.

Waterworld

The hoop house has irrigation! Possibly.

There is a system in place that may prove itself in time. But time is running out! Today I caught these guys beating a quick retreat.

20151012_113212

Honestly, the irrigation is more important for me than for the plants. It’s a pain to open up that tent and water. And before long the city will turn off the water in the garden for the winter, meaning I’ll have to schlep water from home. It’s important for the plants because the easier things are, the less likely I am to skip a day or five and let them dry up.

Here’s a layout of the equipment as suggested by Ben, who’s a little more orderly than I am. We bought a 25-foot permeable hose that’s designed for slow-release, long distance watering. We also got two connectors that would thread into each other, and a bunch of rubber washers. Basically, we needed to create a tightly sealed passage through a hole in the bottom of the bucket leading into the hose. We just winged it in the garden hose section, but if you’re looking to have an easier time, this would probably do it.

Not pictured is Home Depot’s greatest marketing scheme, the trusty and unmistakable orange 5 gallon bucket. Maybe you don’t have them where you are, but they’re three dollars and versatile and in New England you can’t move for them.

20151011_114558_HDR

We drilled a hole through the bottom of the bucket and pushed one connector through with a washer attached, creating a seal inside the bucket. Another washer went on the outside, which you can see here.

20151011_115336

We screwed the two connectors together, tightening them to create a good seal.

20151011_115426

The seal was not as good as we’d hoped. It took a few trial fillings and a few replacement washers to get it right.

20151011_120140

Once we were convinced no water was escaping, we installed the whole thing in the hoop house. We fit the bucket just inside the tent in the hope that the water won’t freeze as quickly this way. We perched it on a milk crate so gravity will build up some pressure. That’s my biggest concern: Will lifting the water a foot off the ground be enough to push it to the plants that are 25 feet away?

20151011_124401_HDR

I filled it up with a few gallons of water on Sunday morning, and despite a slow start, by Monday morning the water was gone! Those few gallons had gone somewhere, and I think it was exactly where I wanted it to go.

20151012_131119

This hose truly is slow release. It seems to be full of water and ever-so-slowly beading it out. To human me, this seems like an unconscionably hard way to get a drink. But to the plants, this might be just fine, and preferable to waiting for me to get around to watering them.

One area I’m worried about is the container section. The hose takes a steep climb to get to these guys, and while there’s plenty of water seeping out farther down the line, this section is bone dry. Is this something to do with the pressure needed for the elevation change? Ben’s officially a physics PhD candidate now – figuring this out will be his assignment.

20151011_124528

Apart from in that one elevated section, the hose seems to be doing its job. My main worry now is that there isn’t enough of it. Twenty-five feet of hose for a forty square foot area may not be enough, particularly with a drip this slow. 20151011_124218For the moment I’m going to wait it out and see how well the plants fare with no additional watering. With the plastic roof and constant water flow, I may wind up creating a self-contained ecosystem. A little bio-dome.

20151012_131052

If the nuclear fallout comes, I’m gonna go live with the vegetables.

Winter Is Coming

Inspiration is a funny thing.

Gardening Know How asked me to write a piece about building hoop houses. I didn’t know a single thing about building hoop houses. So I researched it, and then I wrote my authoritative article, and then I built one of my own. In that order.

This little guy is my boyfriend, Ben. I enlisted his help because he loves building projects, and he loves trips to the Home Depot. He’s never been too keen on squishing around in foamy buckets of fermented fruit, so this was a good opportunity to do something together. 20151004_142425

We’re hovering right around the first frost date for our area, depending upon who you ask. Some say it’s as early as October 3rd, and some say it’s as late as October 31st. Looking at the forecast, I’m more inclined to believe the latter. This wild map suggests that it varies by a few weeks within the city, with the line following, as far as I can tell, the contours of the hills.

So I may be a few weeks early. Or I may not be. I have too many frost sensitive plants that are just starting to produce in earnest to want to cut it close, though.

Construction was a breeze. My plot is roughly ten feet by three feet. We bought four ten-foot lengths of PEX tubing and sunk them deep into the soil. This made a tunnel just high enough to cover everybody. The trellis didn’t make the cut, but the cucumbers and melons on it had all but given up for the season, anyway. It was a mercy killing.

The cross beam was… improvised. Across the top we zip-tied three wooden stakes I’d been using as a trellis. The ends were still wet with dirt. The plan is to replace them this weekend with an irrigation pipe of some sort. But for now the stakes are performing admirably.

20151004_143551

We draped a single translucent plastic tarp over the whole thing. It’s ten feet wide, so it overlaps just right with the sunken ten foot poles. It’s roughly a million feet long, so even with plenty of slack to fold up securely on either end, we cut off quite a bit extra that I plan to rig up into a smaller enclosure for my container garden by the house. We attached it to the structure with a bargain bag’s worth of plastic clamps.

20151004_144456

And that’s it! From inside, it looks like a veritable tropical paradise!

20151004_145325_HDR

From outside, it looks like that scene from Independence Day.

20151004_145222

“Release… me…”

After just a few minutes, it definitely felt warmer inside. It was a windy day, though, so I suspect this came more from the plastic functioning as a windbreak. I’m sure the plants will appreciate that as the wind gets nastier.

20151004_145549_HDR

There was some room on the end where I’d ripped out the cucumbers and melons. I had planned on planting peas there, but since the trellis didn’t make it into the enclosure, it wasn’t in the cards. Rather than planting something new, I decided to fill the space with as many hot weather containers as I could fit.

This is my secret garden – the three-foot-wide strip of concrete along the side of my house. It gets full sun, it’s not in anyone’s way, and while it’s a pain to water, it gives me a steady supply of tiny eggplants.

Plus, the cat loves it.

20151004_150808_HDR

After some agonizing, I picked out my strongest producers and carted them down to the garden. I fit three eggplants, a pepper, and a tomato, which I removed from its cage and stretched lengthwise along the kale. You can see one little arm reaching up in the distance. Quarters are tight, but they live in buckets. They’re used to it.

20151004_155954_HDR

And that’s that! The thing that distinguishes a hoop house from a greenhouse is that it’s labor intensive. Where greenhouses rely on heaters and fans to regulate temperature, hoop houses rely on the sun and wind. The sun is absorbed passively. The wind, however, is left to human intervention. The ends have to be opened up daily to allow for air circulation, otherwise the heat from the sun will get so intense it’ll just cook your vegetables where they stand.

20151004_145721_HDR

Since it’s still warm out, I’m leaving the ends perpetually rolled up, and I’m treating the hoop house mainly as surprise frost protection. Once the temperatures start dipping lower, I’ll have to roll the ends down at night and up in the morning. With any luck, this will keep the warm weather guys alive long past their unprotected neighbors. With even more luck, pollinators will be able to find their way into and out of this thing.

I’m expecting the eggplants, peppers, tomatoes, and squash to give up the ghost eventually. The days are going to get too short and the bees are going to go into hiding, and any tomatoes I eat in January will come from California. For the leaves and roots, however, I have high hopes! With some mulching, and maybe a flap cut into the roof in preparation for access through the many feet of inevitable snow, there’s a chance I could be eating fresh vegetables on Valentine’s Day.

It’s just like they say: Beets are a girl’s best friend.

I Have So Much Wine

Today is all about dark wine. It wasn’t meant to be, but completely by accident all my dark, autumnal-looking wines were due to be racked at roughly the same time. Which is good, because they all catch the autumn light in such a way it’s a shame they live in the basement. I’ve read that exposure to light can give wine off flavors. I’m not sure off flavors are a real concern for someone at my level, so I may consider relocation. It would be the most roundabout stained glass in town.
20150924_105228_HDR

Then again, sunlight beating down on my wine might heat it up to an uncomfortable extent. This may be a sight that comes only every month or two. It’s more special that way. From left to right we have Raspberry Melomel, Elderberry Wine, Plum Wine, and Strawberry Wine. “Melomel” is the beautiful old fashioned-sounding term for mead flavored with fruit. The even older fashioned-sounding “metheglin” is mead flavored with herbs or spices. If I learn the professional language, I’m one step closer to being a professional myself. Right?

Speaking of metheglin, I racked my lavender metheglin last week, and it received rave reviews. It’s incredibly strong (I’m still getting the hang of the hydrometer) but the little bit I tried tasted lovely, especially with a little honey mixed in. One of my roommates said it reminded him of Viking’s Blod, a household favorite mead, so I took it as the highest of compliments. Viking’s Blod don’t come cheap, so I’d dearly love to be able to replicate it. The recipes I’ve found involve hibiscus, not lavender, so I may need to explore the world of flower-flavored metheglins.

But enough about future projects. In the here and now, I’m still racking this elderberry wine which, as you may remember, tasted like vinegar back in July. I sure remember. I’m still dutifully racking it every month in the hopes that it will, as the recipe suggests, improve with age.

20150924_120356_HDR

And as far as my monthly notes are concerned, my hopes are not unwarranted. In July this wine was “…Not good” and I was “hoping for an ageing miracle.” In August another ellipsis introduced an incredulous “…getting better?” Now, in September, I swear it was downright close to drinkable. It tastes and looks to me like a very dry red wine. Is this stuff actually improving, or is my palate getting more and more accustomed to dubious homemade fruit wine? The latter is almost definitely true, but I’m hoping the former is a little bit true, too. We’ll see.

I also racked a mulberry melomel that had been fermenting in a bucket for a few weeks. True to form, I’m following a half-remembered friend-of-a-friend forum post recipe and hoping for the best. In a departure from my usual methods, I soaked the berries and sugar in water overnight and added the resulting strained and simmered juice to the honey and more water. After it had cooled, I combined it with raisins and yeast and let it sit in an air-locked bucket for two weeks. I opened it up to find some very alcoholic reconstituted grapes floating on a sea of hooch. I have got to get my alcohol content under control before I go blind.

20150924_113806_HDR

Despite its potency, the mulberry melomel is really delicious. It has a light mulberry flavor with a strong honey base. And its color is fantastic. It reminds me of freshly pressed cider and has an opacity to it that I hope doesn’t disappear. So far I haven’t made a mead I don’t like. The honey makes for such a warm background to other flavors that it avoids that astringency I tend to get in straight fruit wines. Once winter kicks in and the fresh fruit is from California, meads brewed with dried herbs and spices might be just the thing.

20150924_115408

I counted, and I have eleven and a half gallons of wine sitting in my basement. None of it’s ready yet, but in a few months’ time my apartment may have to have a serious Bacchanal.

Anything Can Be Wine If You Just Believe

20150913_150117_HDRI’ve got some peach wine brewing. It’s made from locally grown peaches and it smells just like summer and I’m sure it’ll be my favorite thing to drink in the dark of February.

But who cares?

I’m making cucumber wine.

In my garden plot I have three cucumber vines that can’t be persuaded to climb a trellis but are nonetheless producing like crazy.

I’ve made them into pickles and I’ve munched on them whole while I water, but they just keep coming!

I had never tried or, to be honest, heard of cucumber wine, but I thought it must exist. I thought that every food must, at some point, have been thrown into a bucket with yeast and sugar. It seems the list may be finite, though, and cucumbers are right at the bottom of it, because my internet searches have brought me exactly one recipe. It can be found in a few different places, but it’s always exactly the same, copied and pasted over and over. And I’m here to carry on the tradition!

Of course, once I’d set my mind on using “all these cucumbers,” I discovered that I had only four, and that they weighed about half of what I needed for my recipe. My mission to use up extra produce suddenly required a trip to the grocery store. Oh well. The light green pickling cucumbers came from my garden. The dark green traditional ones came from a farm somewhere in Rhode Island, if the produce department is to be believed. One of them is missing an end because my boyfriend took a bite out of it. So it goes.20150913_183455_HDR

The recipe called for two lemons and two oranges, cut into slices. I imagine this is because cucumbers on their own don’t have a lot of body to them. Also, even though I’m looking for a cucumber flavor, a fruity base might be what it takes to tip this thing from pickle juice into wine territory. I’m a little apprehensive about how the orange flavor will mesh, but since this is my first try I’ll put all my faith into that one mysterious person who devised this recipe and follow it to the letter. Maybe the oranges will add some complexity that lemons alone can’t.

20150913_183830_HDR

I sliced the citrus and roughly chopped the cucumbers. I added seven cups of sugar and yeast nutrient, then I poured a gallon of boiling water over it all. It smelled like a spa treatment.

Up until now I’ve always used sodium metabisulfite to sanitize the must before adding yeast, but now I’m experimenting with using just boiling water. I have no political or health reasons (I had no idea I was supposed to hate sulfites until I came across recipes that proudly omit them). I’m just curious to see if it works.

20150913_191136_HDR

Once the must cooled (it took hours!) I added pectic enzyme to help break things down. After 24 hours I pitched the yeast and let it do its thing. It made a beautiful froth and all but disintegrated the cucumbers. The skins and seeds were still floating around, but the meat disappeared, making for a slimy goop that I could pick up in my hand and had a heck of a time filtering.

20150915_111957

But filter it I did. The finished product is an interesting color: green from some angles, yellow from others. Does it taste like cucumbers? Yes! Does it taste good? Not particularly. Does it smell like pickles? Not as much as I expected, but that’s not a no. Is it so full of citrus that it burned every little cut in my hands as I cleaned the equipment? Oh yes. Taste-wise, the citrus is a little overwhelming, too. Between the lemon and the alcohol, it’s like an astringent medicine that happens to taste like cucumber. I’m hoping it settles down over time.

Even if it doesn’t, it’s a good conversation piece. And it’s not more pickles.

20150920_103319_HDR

Saving Seeds

20150730_171939_HDR

I’ve started saving seeds. I wasn’t planning on it, but when you go away for the last week and a half of June, some decisions get made for you. I left orderly rows of leafy greens and roots. I came back to anarchy.

The lettuce had bolted. So had the bok choy and last year’s leeks. And so had this downright tumescent radish.

My community garden has a plastic baggie pinned to a bulletin board where you can dump old seed packets. Just to fill in space where some of my kohlrabi had failed, I planted some seeds from this baggie. They were for some daikon-like radish packaged for 2010. I wasn’t expecting much, so I threw in the whole packet’s worth of seeds. And they all germinated.

I thinned them down to just a few and picked most of them when they were a reasonable size. They looked just like white carrots but had a serious, almost peppery bite to them. This last one I left in the ground before my vacation, and by the time I came back it was in full flower. I let it go until the flowers turned to seedpods and the seedpods started to be eaten by birds. I yanked the whole thing out of the ground, then, and brought it inside to dry. I hung it upside down in the cellar from a ribbon the cat likes to play with, because there was no string on hand and I couldn’t just leave this monster draped across the kitchen table.20150909_131149_HDR

If you’re doing the math, you may have figured out by now that this thing has been hanging in my basement for quite a while. You’re right. I’ll admit that I’ve found the prospect of dealing with it daunting, and knowing that something’s dried and not going anywhere is fantastic for procrastination. Now that I’ve gotten my act together and discovered that seed collection is all the work of a few minutes, I’m planning on going at it full throttle and becoming that old seed saving woman in Mad Max.

I dragged the whole plant upstairs and returned the ribbon to where the cat last left it. The radish had formed a big network of spreading twigs, and at the end of each one was a seed pod. I quickly found that the easiest method was to break all these pods off first to get the huge, brittle structure out of the way.

While breaking off pods, I found one bunch of flowers that had been blooming when I picked the radish and dried with the rest of it. The flowers were so delicate when they were blossoming, and I can’t believe how well they were preserved. Maybe next year I’ll grow a couple just for the flowers. I wrote a post recently for Mother Earth Living about cutting and preserving bolted vegetable flowers. Go have a look if you’re in the mood.

20150909_131821

Once I’d collected the pods, my task suddenly seemed a lot less daunting. They were dry as a bone and split apart easily in my fingers. 20150909_132143

In just a few minutes, I had a healthy little pile of seeds. Sometimes gardening seems like magic to me. I often say that if someone told me you could make unlimited food by sticking a little bit of old food in the ground for a while, and I didn’t know that’s how it actually works, I’d never believe it. A single seed sat in the ground for a while and made all of these new seeds. How can that be right?

20150909_140650

Anyway. I tucked all my radish seeds into an envelope labelled Big White Radish because I have no recollection of the real name on the packet, and I got to work on some other plants I’ve had lying around drying for far too long. This is a bok choy, another surprise success from the ancient seed baggie. A lot like the radish, it produced these branched seed pods for the convenience of the collector.

20150907_173433_HDR

I did my best with a spinach plant I’ve been drying since forever, but I’m worried the seeds may not have matured. I pulled the plant at the time because it was stone dead, but the seeds had to be pried off with force and don’t want to break apart from their clusters readily. Are the seeds too young, or have I just been spoiled with these pod-producing plants? We’ll find out in the spring.

20150907_174649

That’s my seed arsenal for the moment. That and a bunch of chives I saved when I noticed the chive flowers I’d picked were dumping seeds onto the kitchen table. It’s no fail-safe against the fall of civilization, but it’s mine. I could have let the leeks die to produce seeds, too, but I picked and dried them still in bloom because they’re just so cool. I can buy leek seeds.

20150804_173144_HDR