It’s Bee Time Again

I have good bee news and I have bad bee news.

The bad bee news is that our colony from last year is dead. They didn’t make it through the winter. On the first truly warm day of spring, I went down to the garden to check on them. They should have been flying all over, enjoying the sun and reorienting themselves.

They weren’t.

A few days later we got all suited up just in case and opened the hive.

IMG_2044

It was totally empty!

There weren’t just dead bees – there were no bees. Honestly this was one of the best case scenarios (coming in at a long second to living bees). I was having horrible visions of thousands of dead bees rotting in the hive. Instead of a disgusting job of scraping bee slime out of the hive, we had pristine frames and a whodunnit on our hands.

IMG_1995

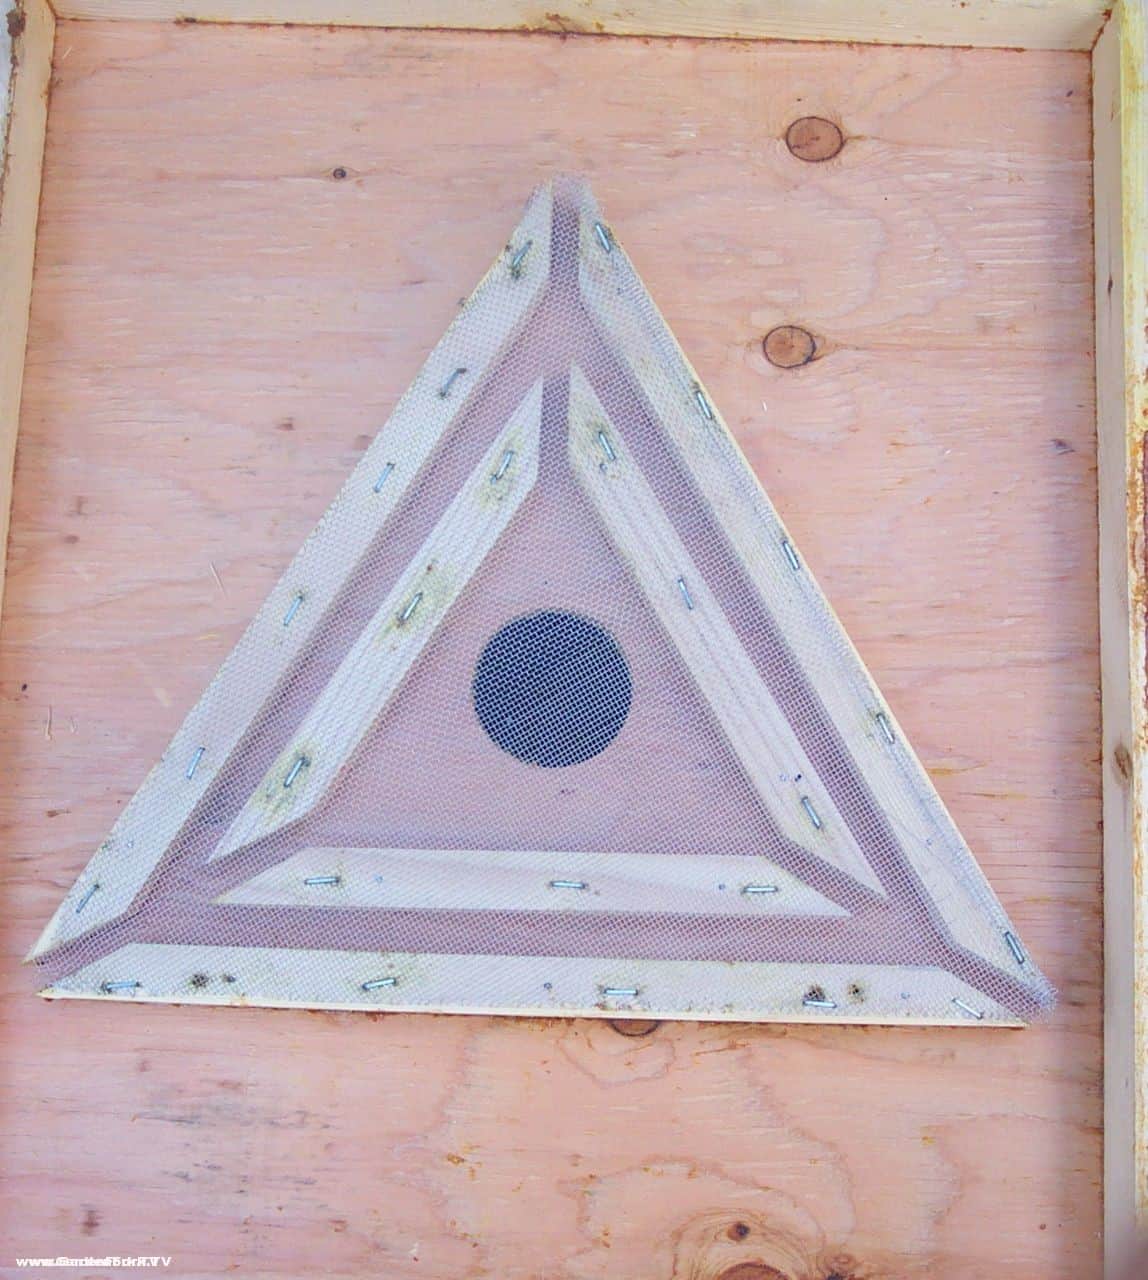
Our screened bottom board had a few dead wasps on it, and our first thought was that the bees had been overrun by them. If that had been the case, though, there would have been bee corpses everywhere.

IMG_1976

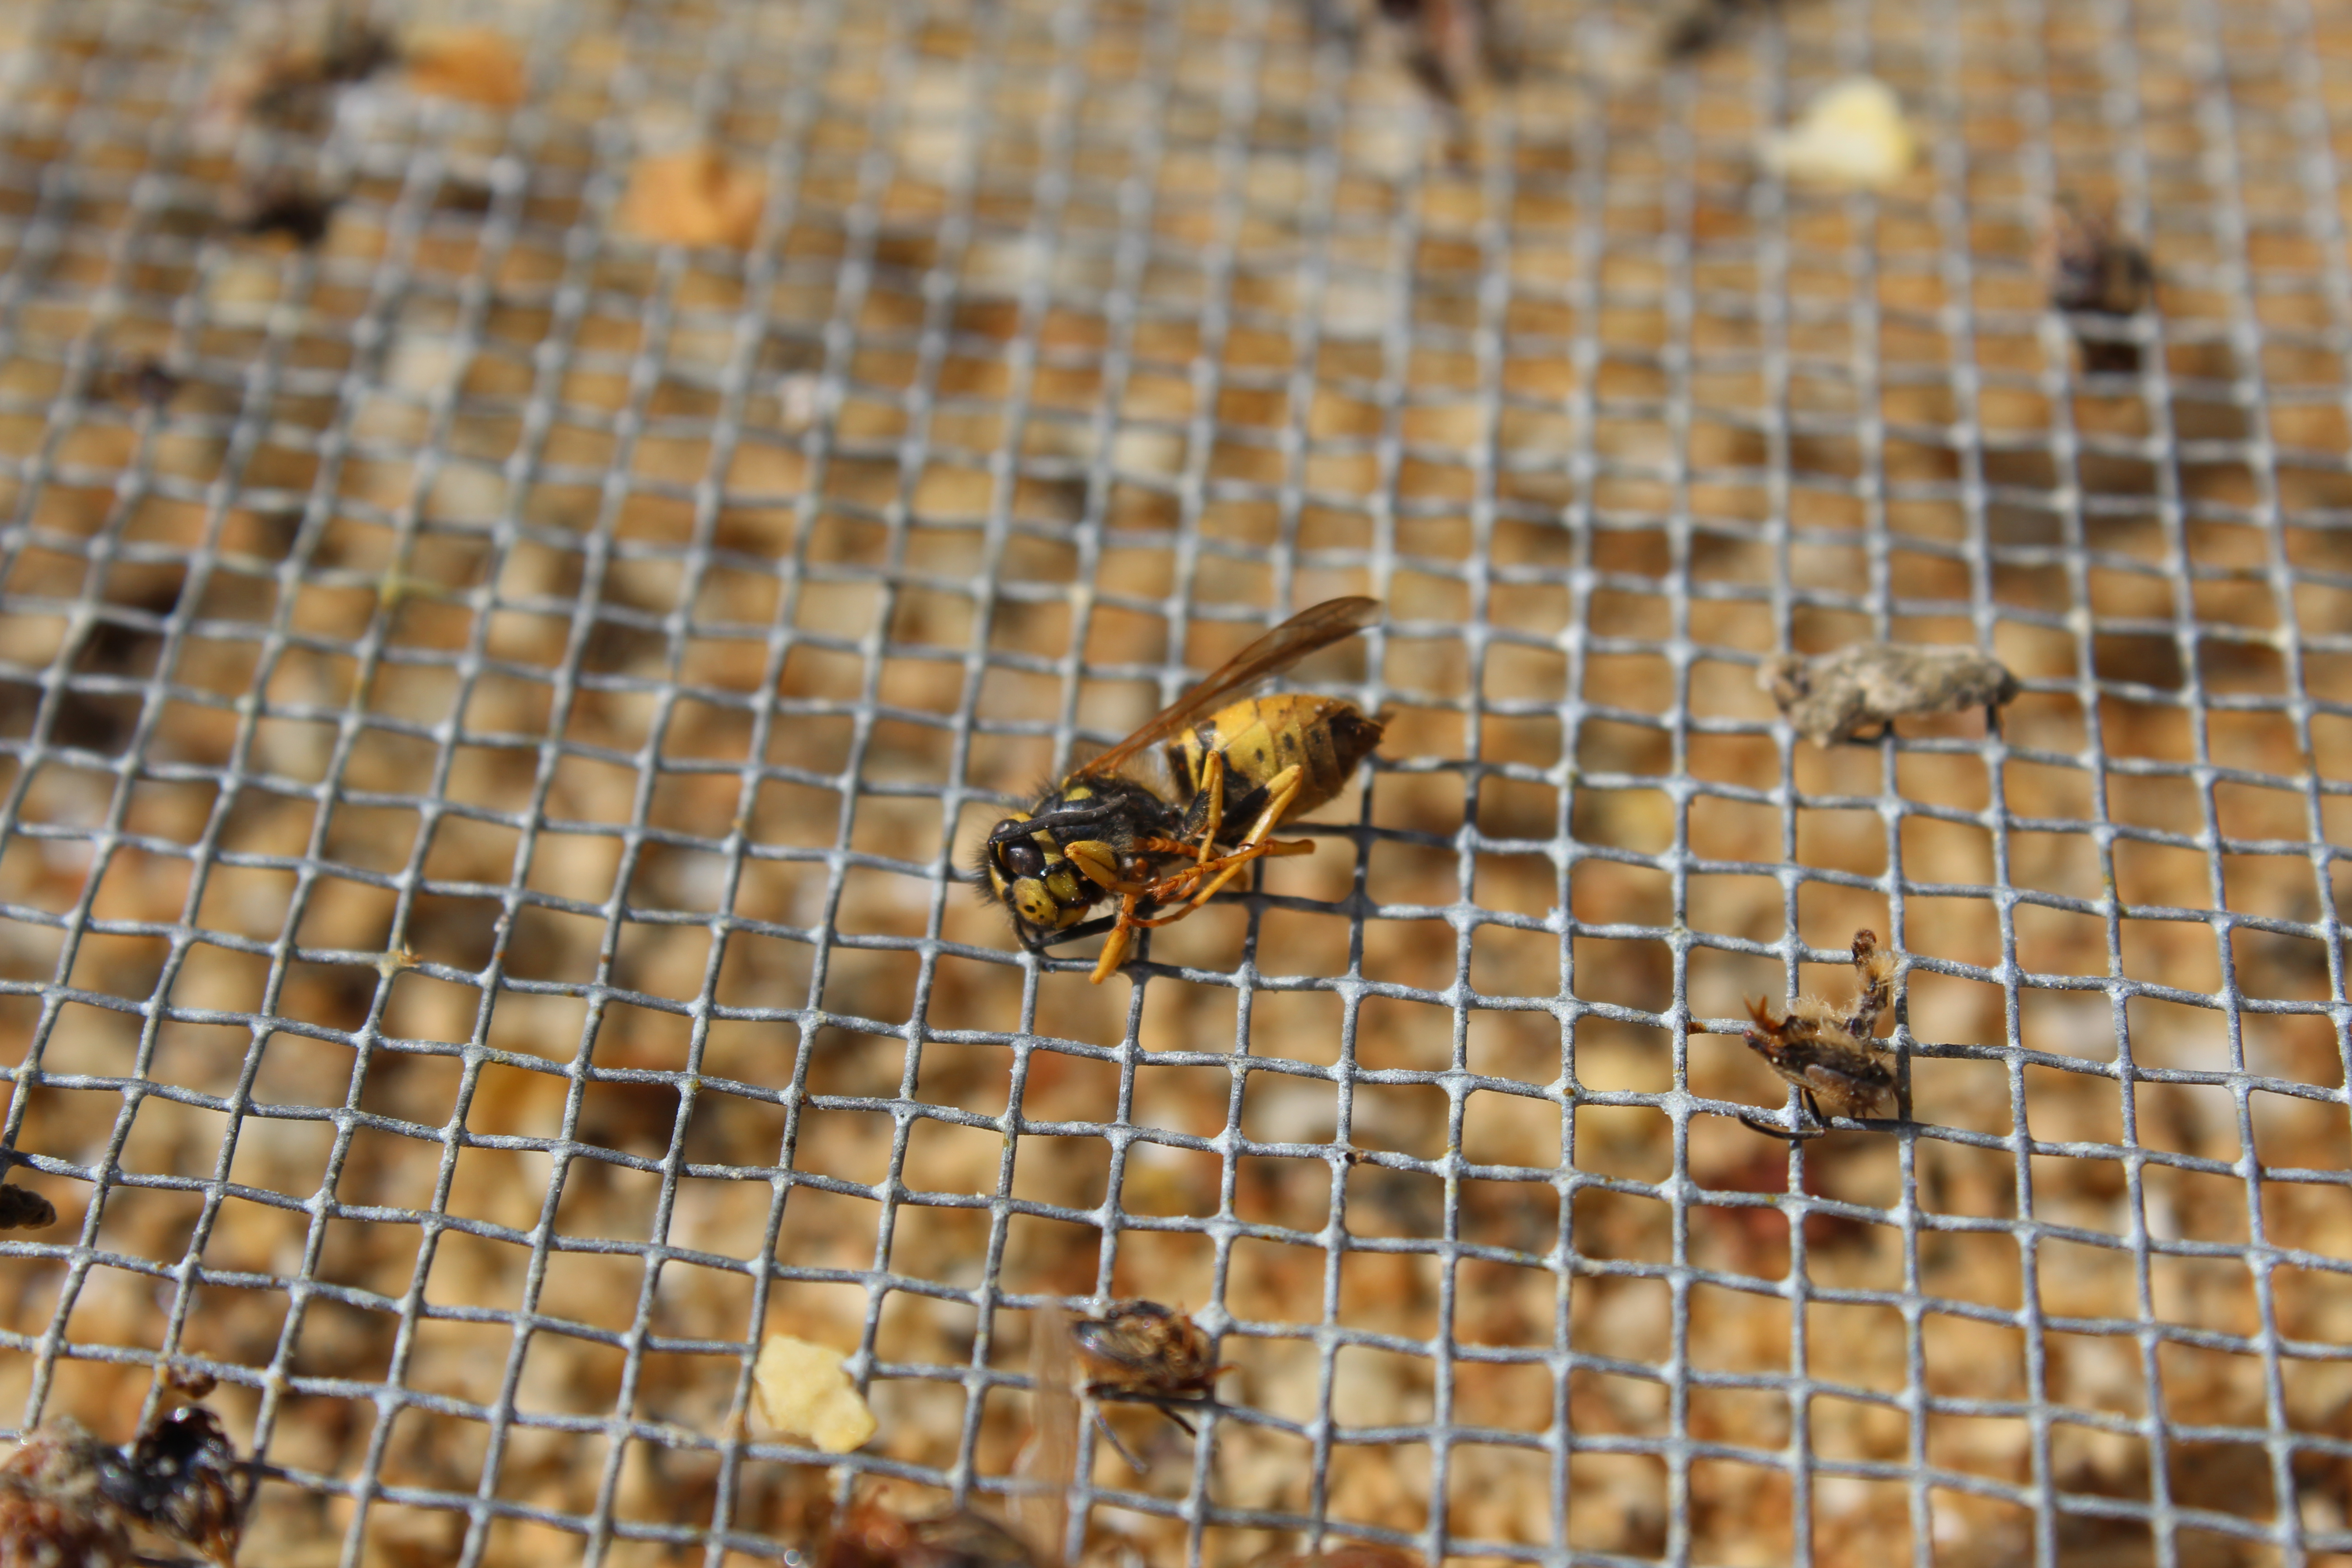
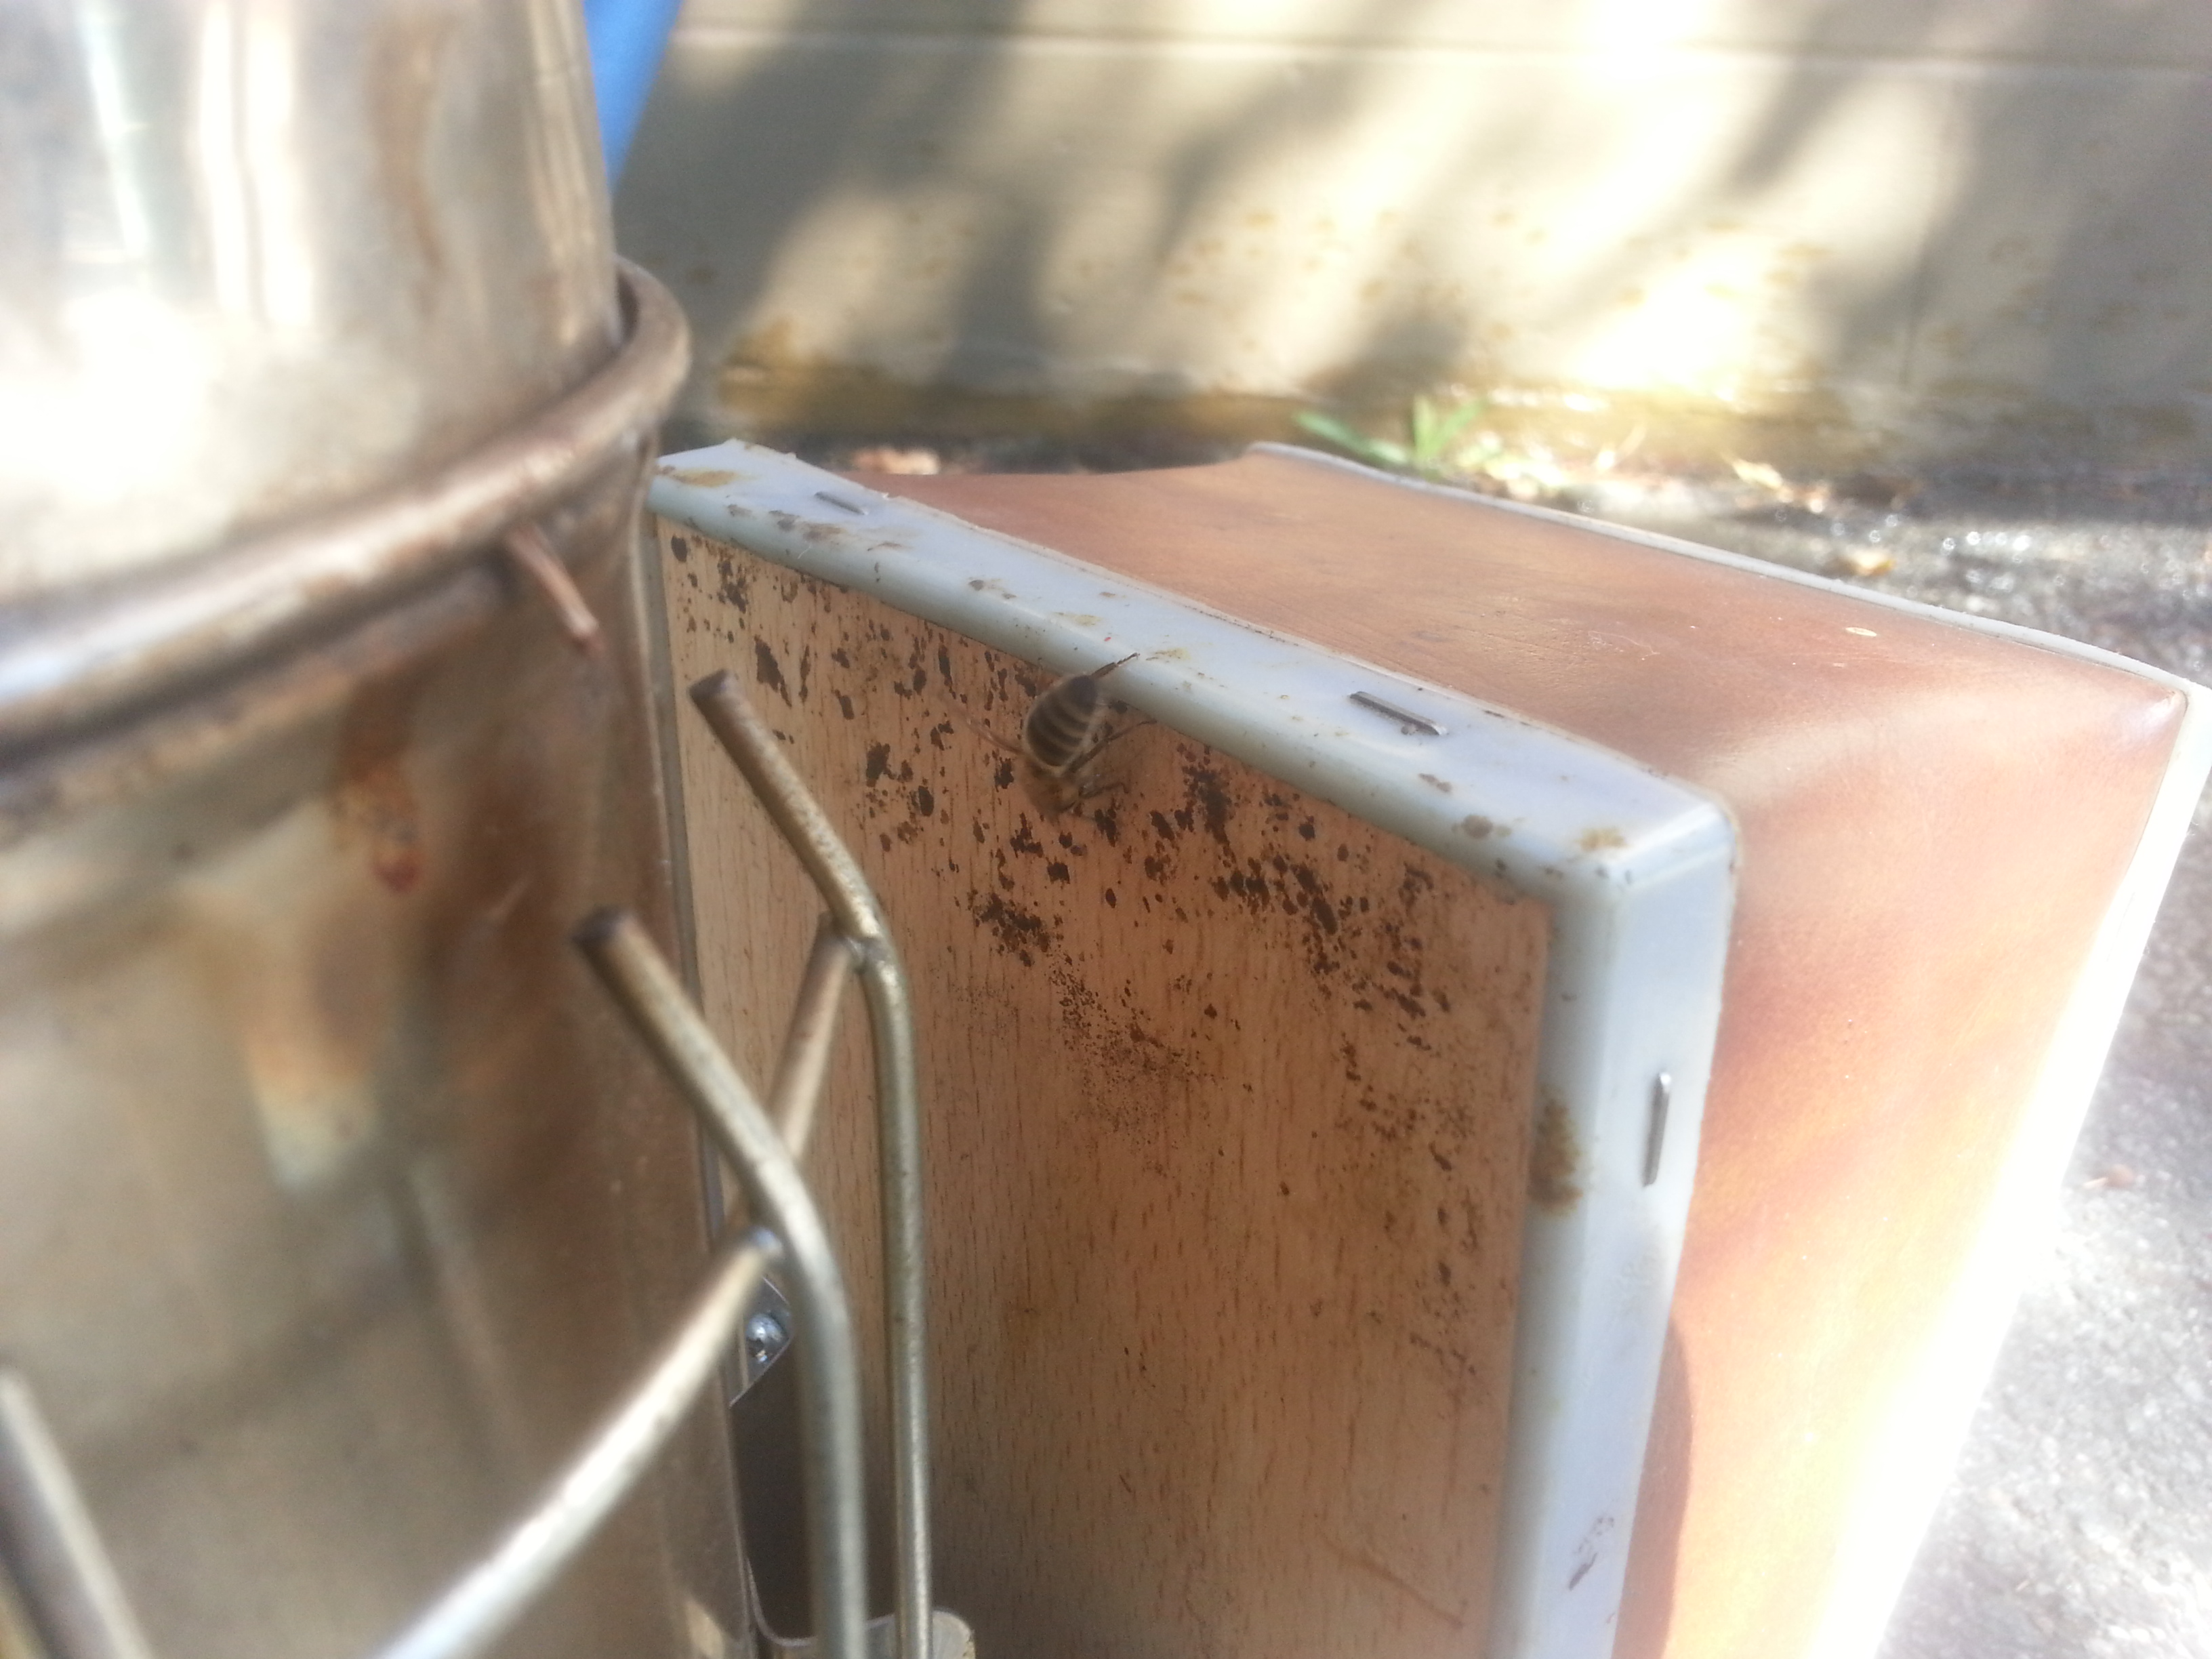
The wasps weren’t killers – they were just opportunists. They must have come in after the hive was abandoned to steal the remaining honey. An unoccupied hive is an amazing find if you’re a wasp, unless you’re this poor little guy, who somehow died in the act of theft.

IMG_2056

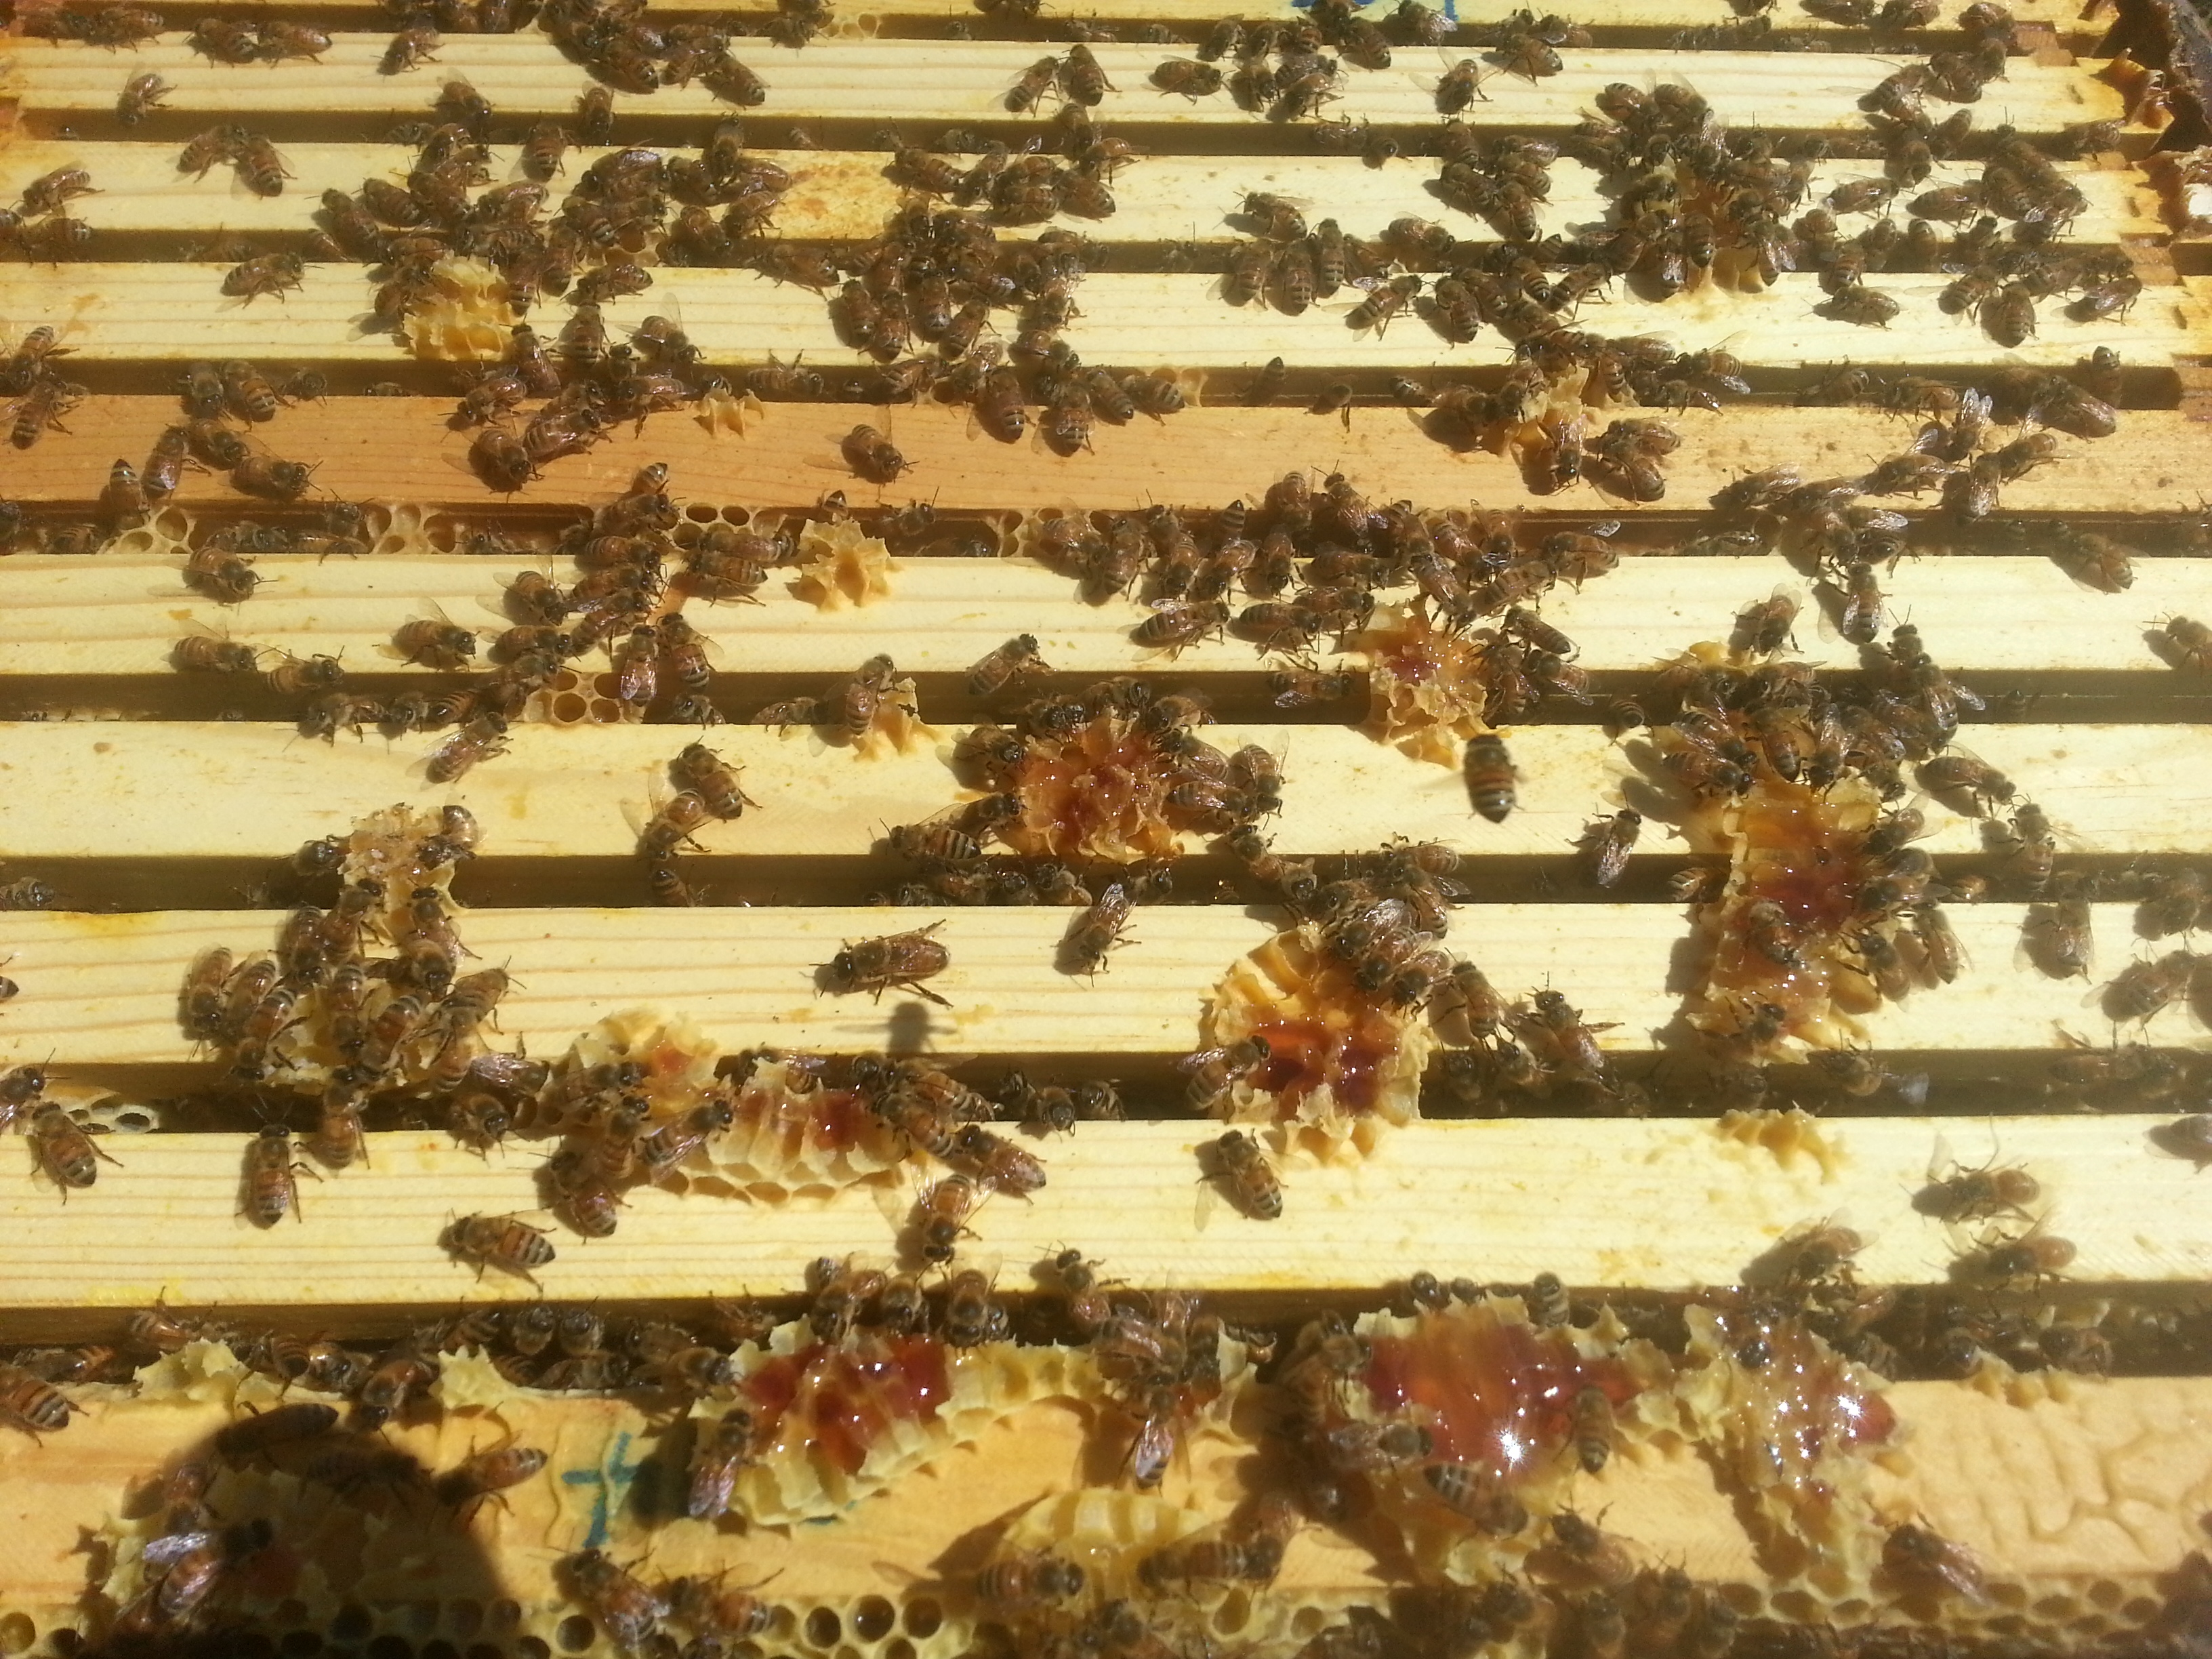
My friends Will and David had come along, and we shed our veils and coats and did a thorough inspection of the hive.

IMG_1989

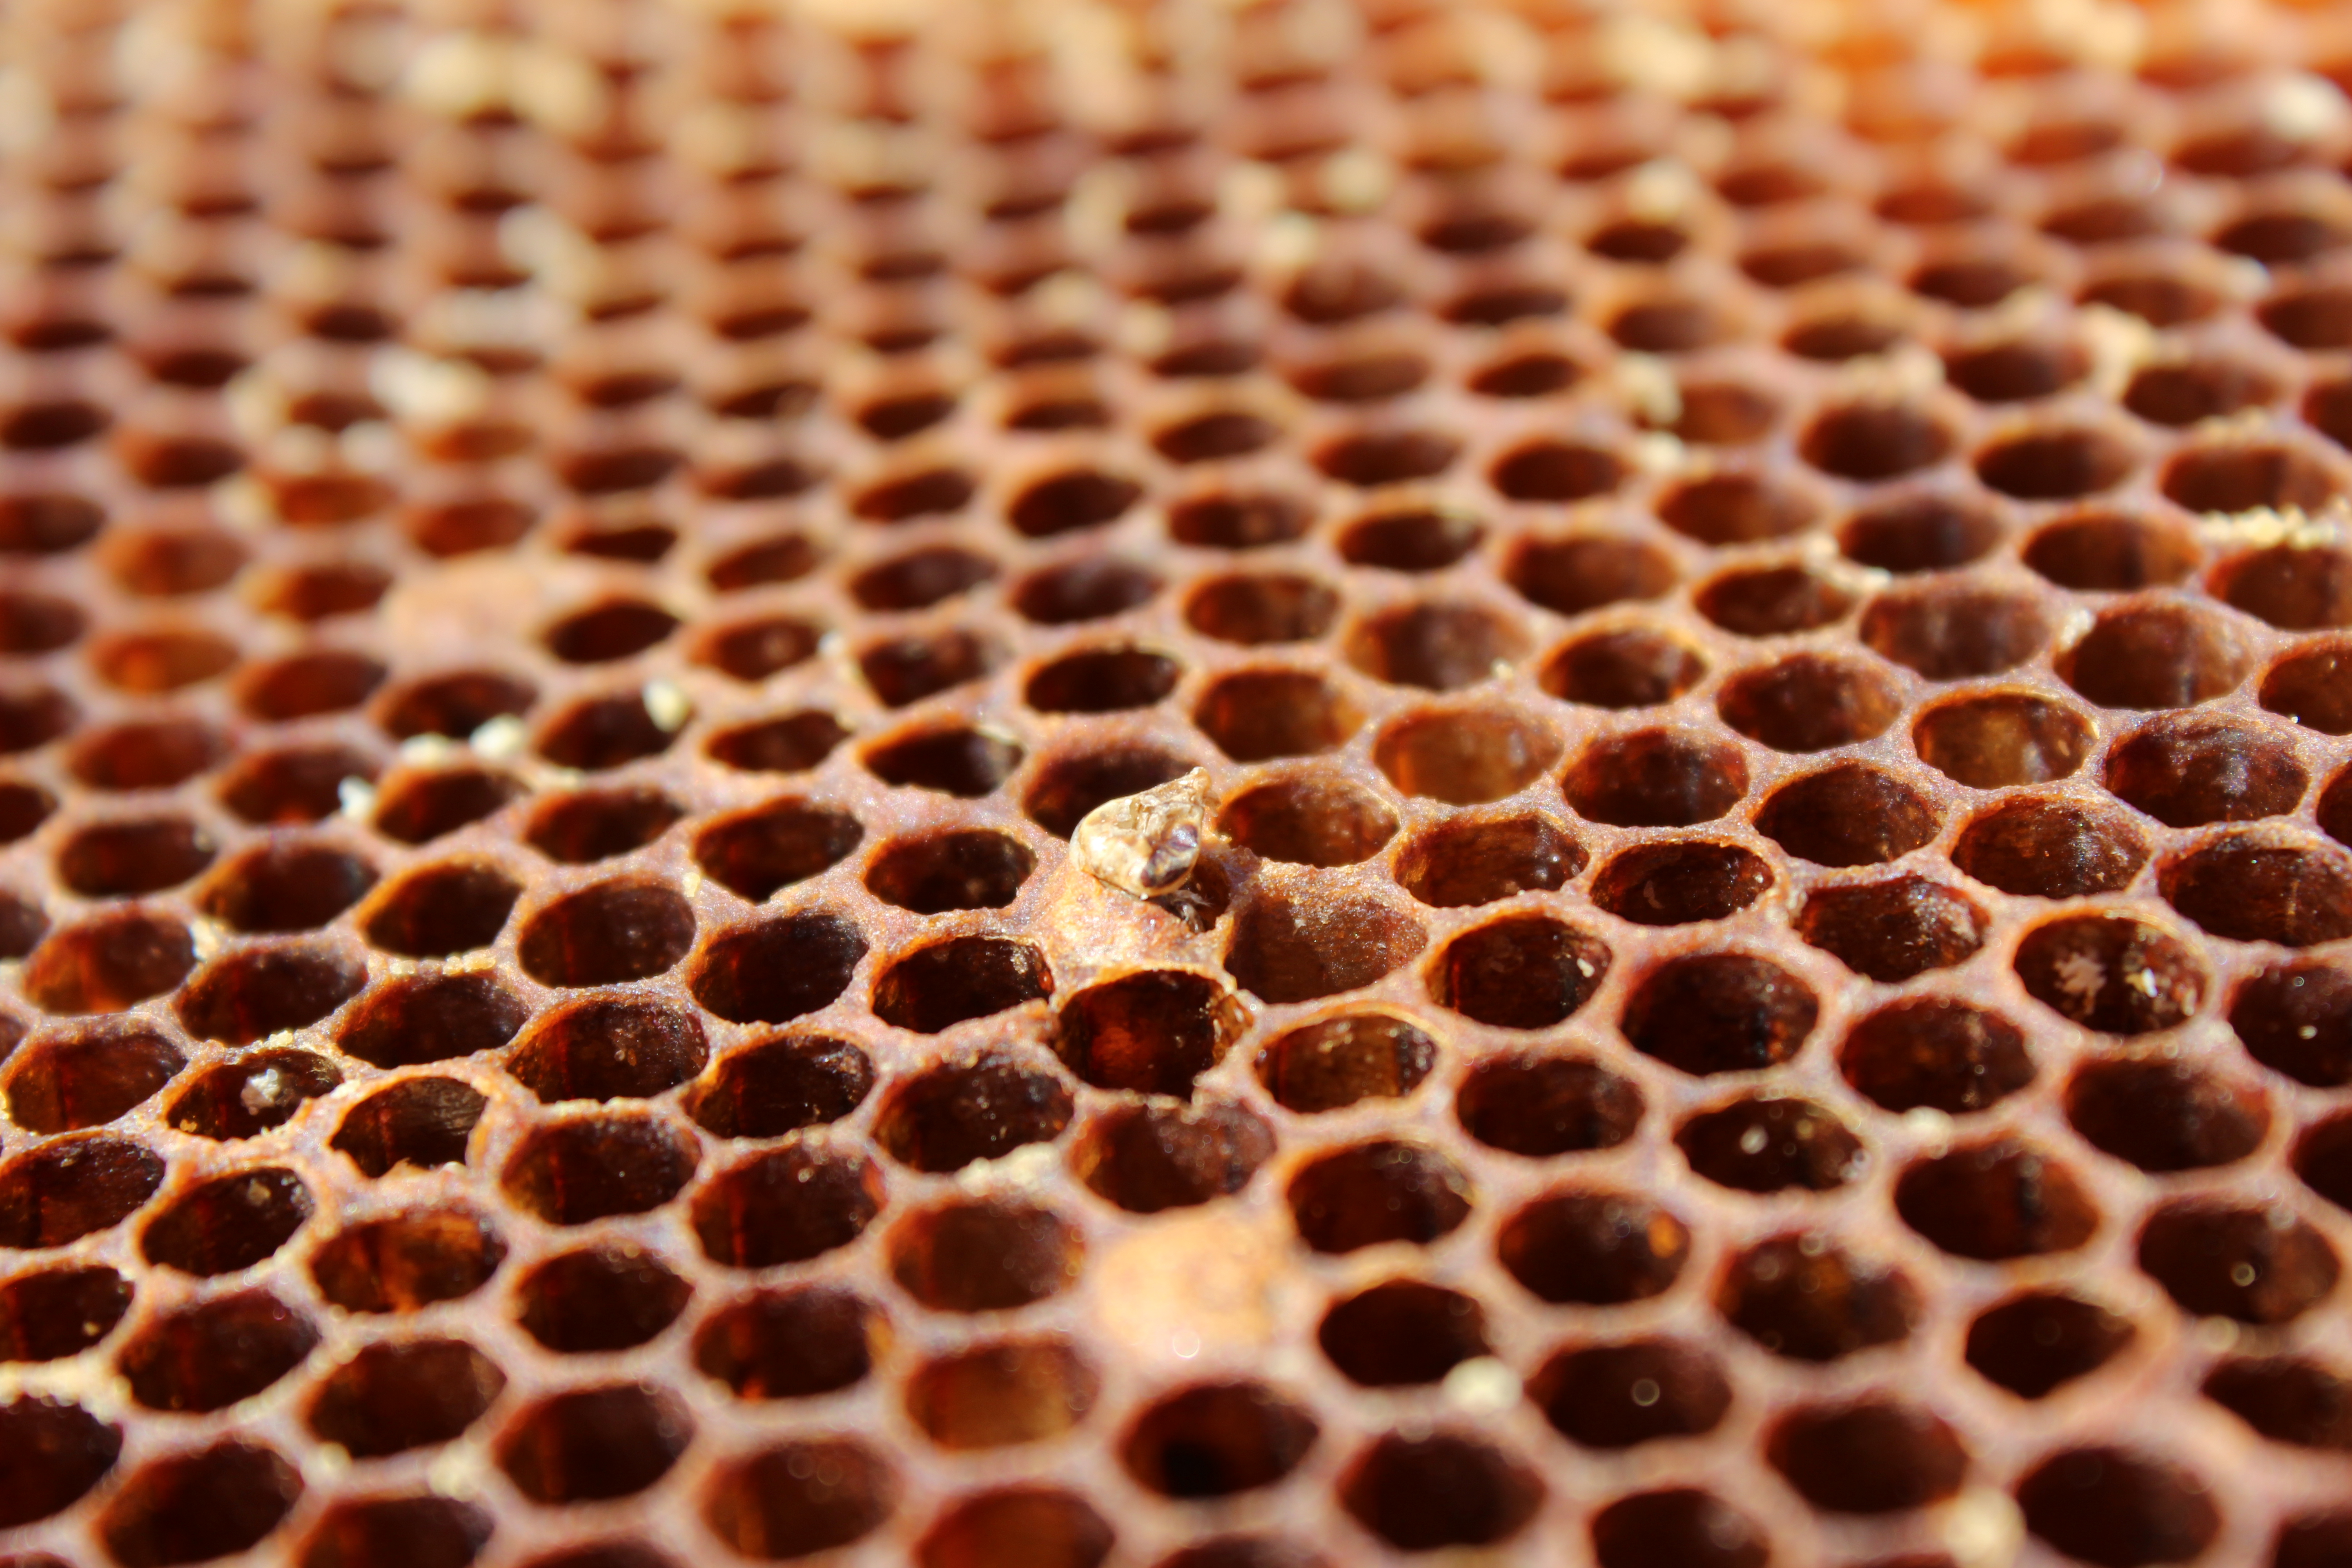
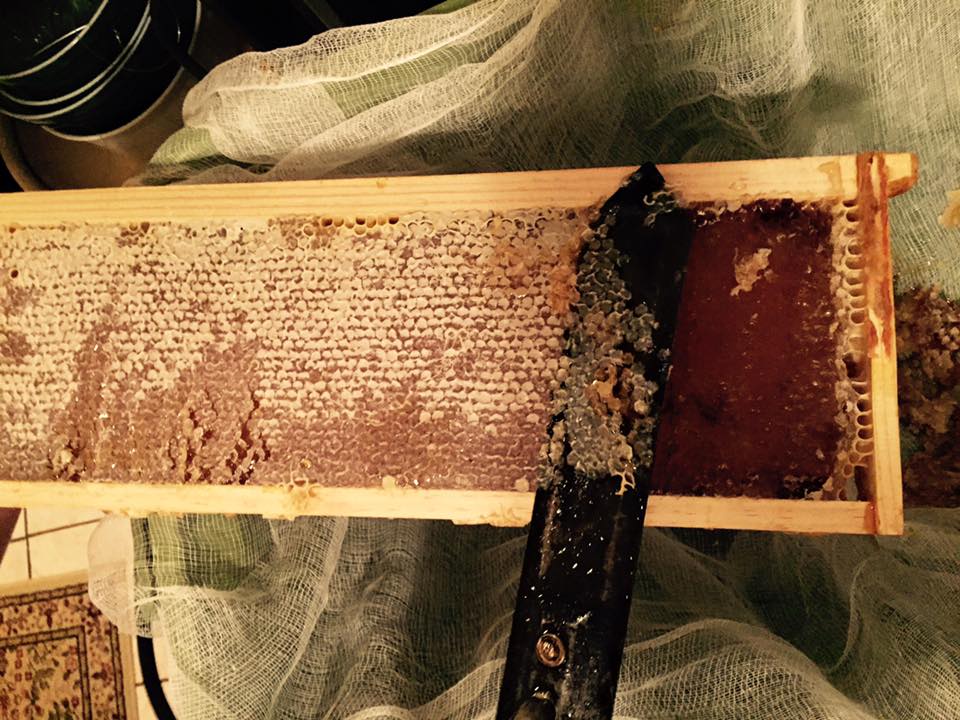
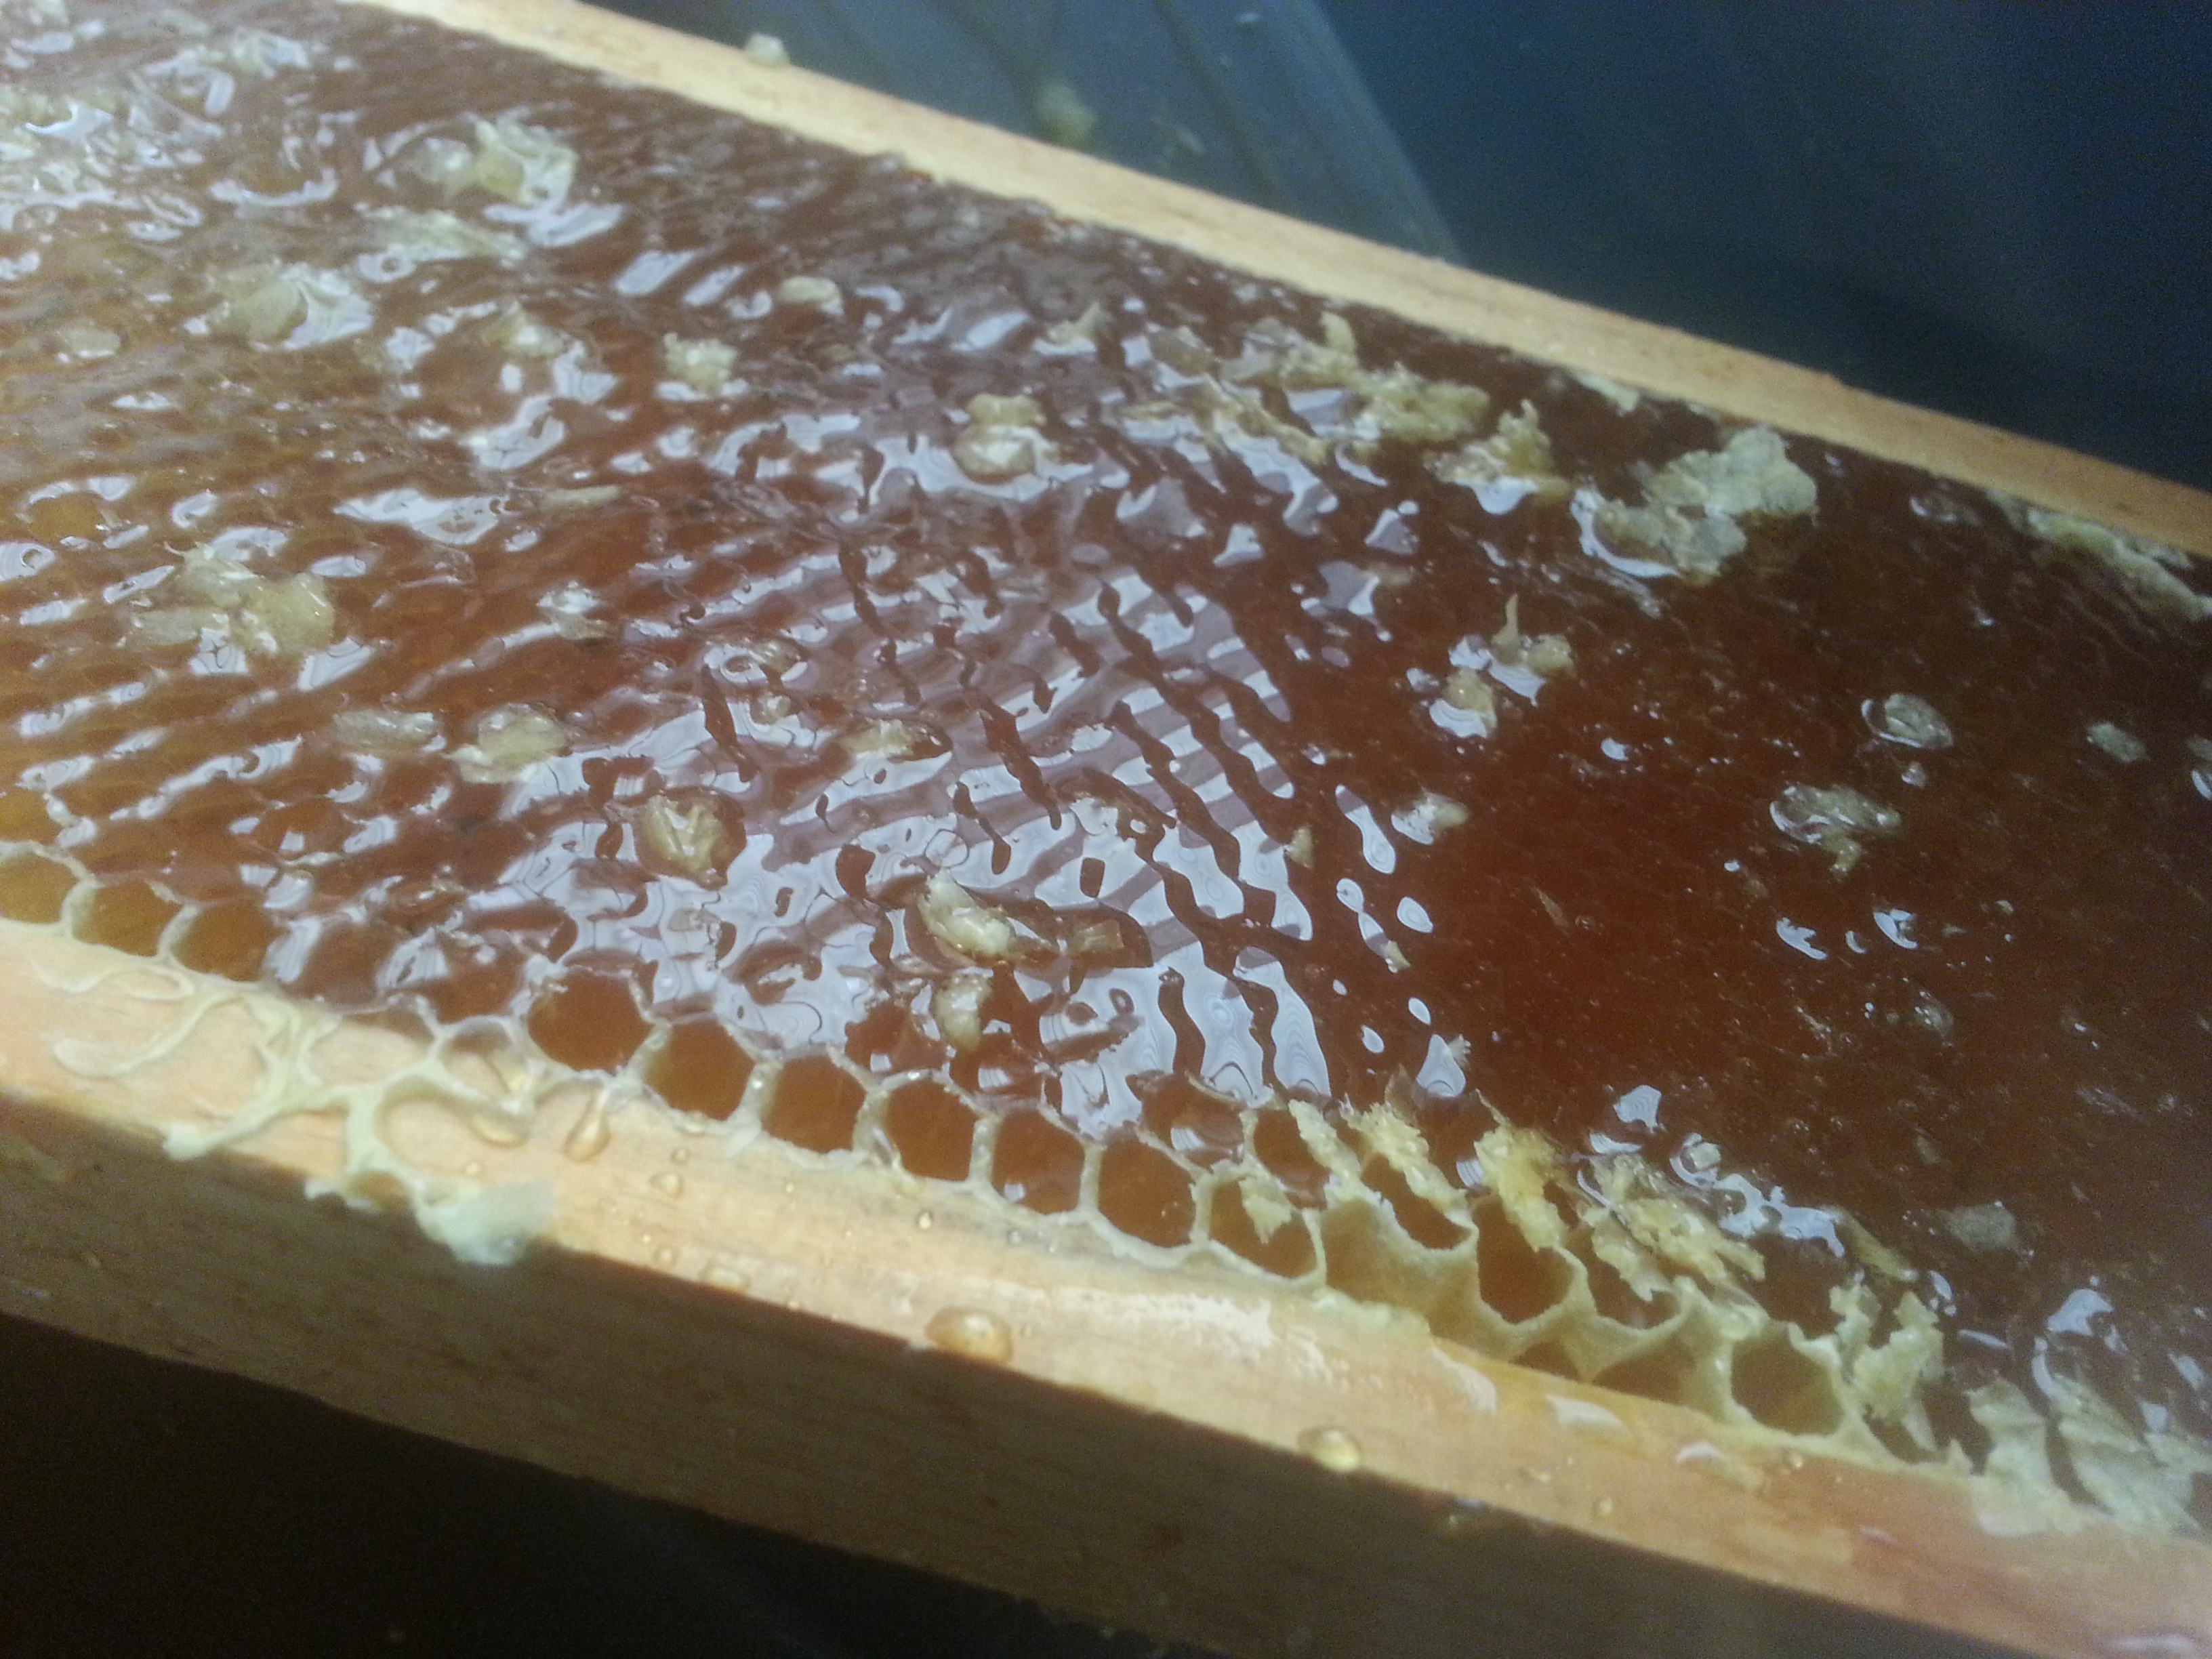
In spite of the wasps, there were still patches of honey. One or two frames were still pretty heavy with it. We’ll put these in the hive to give the new bees a head start.

IMG_2038

Some frames will not be going back in. When the colony disappeared, the wasps weren’t the only opportunists to set up shop. The wax moth is a particularly gross pest drawn to beehives. These moths lay their larvae in honey comb – when the larvae hatch they tunnel through the comb and leave behind this distinctive webbing. Their favorite food (because they are so gross) is the skin of bio material left behind in the cells when a baby honeybee emerges. They craw from cell to cell, gorging themselves on this skin.

IMG_2011

A strong colony should be able to fight off wax moths without a problem. They’re mostly a hazard when you store used comb that’s full of tasty brood skin but unguarded by bees.

IMG_2029

We found this webbing in a few of the frames. We won’t be reusing this comb, but we will save the wax. We gouged out the webbing (because who wants that?) and put the frames in our solar wax melter.

IMG_2008

What else did we find? Nothing much. A single cell of hot pink honey. Maybe one bee went off the grid and harvested a melting Skittle.

IMG_2060

A sad sight – a lone bee, about to be born but with no one left to take care of it.

IMG_2039

And a gorgeous display of packed pollen in different shades.

IMG_2066

So what happened to the bees? They didn’t starve, or freeze, or get murdered. If they had, we’ve have the bodies. Kim and I went to the Rhode Island Beekeepers Association meeting to talk to the experts, and the prevailing opinion is that Varroa mites are to blame.

Varroa mites are usually to blame when it comes to honeybee problems, especially here in the north where overwintering is so difficult as it is.

We didn’t treat aggressively enough for mites in the fall, so as winter wore on, the mites’ numbers increased. Bees with high mite infestation are much more susceptible to disease. Just like with everything else, bees’ attitude toward disease is very self-sacrificing. On a warm day, infected bees would have flown away from the hive to die, hoping to prevent the spread to other bees in the colony. But it was spreading anyway, and these sacrificial flights happened again and again until literally no one was left.

But I said I had good bee news, too, and I do! We’re moving on and learning from our mistakes, and we have new bees on their way! On Wednesday we’ll be picking up a package from Georgia – a little mesh box containing a queen and about 3,000 bees.

This will be the foundation for our new colony.

Uncle Beth’s Old Fashioned Mead

It’s about time I had some good mead news.

My first big batch leaked all over the floor, and I was too depressed and sticky to even write about it. My second batch started out strong, but then it just kept getting stronger and bubbled longer than it had any right to.

But this batch… is still the second batch. It’s the same mead, hastily thrown into four separate containers to try to stop fermentation because I didn’t know what else to do. But here’s the thing:

It’s actually good!

IMG_2083

I’d been dreading opening up these fermenters, and I put it off for a few months. This may actually have been the best thing I could have done. All the mead makers I’ve talked to have said the same thing – if you don’t like it now, just forget about it for a while.

IMG_2102

Tommy was visiting from Texas, which got me inspired. He’s always up for some good blog fodder. We hauled up the mead and gave it a taste. It was outrageously boozy – everything I make is. I need to get a better handle on the fermentation process so I can stop warning people not to pour a full glass every time they open a bottle of wine.

IMG_2100

Five gallons of mead is a heck of a lot of mead. My parents have been stockpiling bottles, though, and handing them off every time they see me. It felt excessive until I actually needed them. I was especially grateful for the big double wide bottles, because they gave us extra time to think between fillings.

IMG_2097

The corking was a bit of a pain. The corker is inherited from my dad’s wine making days and is made of plastic older than I am. You have to press with all your strength for it to work, but I’m worried all my strength will snap it in half. Some corks didn’t make it as far as others and had to be redone later.

IMG_2108

When all was said and done, we had 10 normal bottles and 7 double sized bottles. I’d painstakingly removed the labels from a few, but when the mead kept flowing we had to break out the reserves. I gave some away before I had a chance to scrub their labels off, but the ones I kept got cleaned up to make way for… wait for it…

IMG_2105

Uncle Beth’s Old Fashioned Mead. Ben designed it, and I’m very happy with how it turned out. My dad’s always had a mustache, and I’m carrying on the tradition. The labels were printed by Bottle Mark and came extremely fast. I’m not sure I’m wild about the red, but for a first run I think it’s great.

IMG_3979

And it feels a heck of a lot more professional than ball point pen on stickers.


When Good Mead Goes Bad

Die-hard fans may remember that I started a five gallon batch of mead back on October 30th, also known as three months ago. Well… it’s still bubbling. I don’t think it should still be bubbling.

20160128_105202_HDR

There’s not much airlock activity, but there’s a constant flow of tiny bubbles travelling up the side of the carboy, like in a glass of champagne. Something is clearly still happening in there.

I racked this mead away from the lees right before Thanksgiving, but I’m wondering now if enough yeast is still present to keep the fermentation going past its welcome. I hope so, because the other option is that something strange has started growing in there.

20160128_105541

That theory really has me worried, because recently some little guys have appeared on the surface. Is it mold? I don’t know, but the prospect of five gallons of honey vinegar is more than I can bear. I can’t bottle the stuff while it’s still bubbling, but it can’t stay here.

Because the universe is an uncaring place, I don’t have any other five gallon carboys. There’s a spare six-gallon kicking around, but that would leave too much headspace. What I do have are three one gallon jugs and a two gallon bucket. They’ll have to do.

20160128_105750

For the job I have a brand new long auto siphon and, to go with it, some horrible old kinked tubing. It turns out it’s all I have that will fit the cool new siphon. And since I have no hope of lifting this carboy up off the ground, I have to pump it all manually. The result is an intermittent jet stream through a tube that fluctuates between wide open and barely passable. This is not ideal.

20160128_110328_HDR

To call it oxidizing would be an insult to understatements.

20160128_112858

The sheer volume of bubbles I’m pumping to this mead makes the danger of an extra gallon of headspace seem stupid. But I’m committed, so I soldier on. I finally get all five gallons into their new containers in a very poorly lit corner of the basement. Only time will tell if they keep on bubbling or grow new strange lumps or do something else worrying. At least now they’re split into four samples that may behave differently from each other.

20160128_113656

Once everything is safely stowed away, I actually taste the stuff. I should probably have done this first, but once the racking fever took me I couldn’t stop. All that’s left are the dregs that got awfully yeasty on the trip up the stairs, but even so I’d give the flavor a confident rating of Not Bad. It’s strong, but not vinegary. Given a little time to settle and, God willing, quit fermenting, I think it could still be good.

I just hope all that oxidation doesn’t ruin it.


Home Grown Mead

Ever since we harvested the first batch of honey in August, I’ve had three pounds of the stuff in my kitchen cupboard.

But no more!

Kim and I finally got into gear and started fermenting it into honey. And Omar, my cat, started modelling it.

IMG_67891

We set the honey jar in a warm bath for a few minutes to get it flowing. Even warmed up, it didn’t exactly rush through the funnel.

12226693_10206864015230472_61958411_n

This gave us plenty of time for photo ops.

12233210_10206864015070468_1629905283_n

I’d put a few inches of water in the bottom of the jug to begin with, hoping that it would keep the honey from sticking to the bottom. Honey, it turns out, is a lot denser than water. It sank straight to the bottom. Maybe a couple hardy water molecules stuck to the bottom…

12233385_10206864014870463_831296376_n

Before the jug was completely full, I gave it a good shake. I missed getting to do this when I did the five gallon batch. This process both mixes the honey and water together and aerates the must.

12231468_10206864015110469_96600873_n

I got really into it.

IMG_90861

And I may have aerated too vigorously.

12231528_10206864015190471_1254464608_n

With all those bubbles, the primed yeast and nutrient didn’t have much space. I’m having bad flashbacks to my raspberry melomel…

IMG_69191

Despite some cramped quarters, the mead is a beautiful color. I’ll have to keep an eye on it to make sure it doesn’t blow its lid.

IMG_44401

Honey Take Two

Everything’s coming up bee.

We went into the hive recently to check on the state of the honey box, and we were shocked to see that it was almost full. These bees are not playing games when it comes to preparedness. It’s bad news for the impending winter, but it’s good news for honey!

20151012_115907

We threw in a triangle board and a shim and waited a few days. In that time the bees not only abandoned the honey box, they also set to work on filling in the shim with comb. I’ve been reading a lot about Bee Space lately. It’s the distance we leave between frames so we can pull each out individually without ripping through comb. About a centimeter, it’s the magic distance at which bees won’t fill things in. Bees are all about filling things in – any less than a centimeter is patched up with propolis to prevent drafts. Any more than a centimeter, as we can see here, is fair game for expansion and will be filled in with comb. They built all of this over the course of a weekend. Bees don’t get time off.

20151012_115939

We made off with the honey box, just like last time. With all that burr comb we had to break apart to get inside, though, this theft was a little messier. Some of the equipment got sticky, and the bees were wise to it. As I was putting out the smokers, this little guy was frantically cleaning up a thumbprint of honey.

20151012_121758

Soon after collecting the honey, we had one heck of a storm. The bees stuck it out like champs, but we were so afraid the hive would get toppled. The fact that we’d just removed the honey box and a foot of height may be what saved us. In order to sleep a little easier, we put up this windbreak. The hive is already nicely protected to the west by a picket fence, and the lattice is at an ESE angle that should break up any gusts coming up the river.

20151031_115211

With the hive secure, we could turn our attention to more important things. Like honey! The bees had really done a stellar job collecting, and had filled and capped almost all ten frames.

knife

There were, sadly, a few casualties.

20151103_180315

We made sure to get another hot knife. It uncaps frames like a dream. I did drip a drop of honey from it onto my hand, however, and I got decent burn from it. I’m a little worried the heat may affect the quality of our honey…

knife2

Heat notwithstanding, the honey is gorgeous. It’s so dark and rich it’s impossible to see through. Here it is dripping its way through our filter. Only in the thinnest spots, with the light shining straight through, does it approach a color I might be willing to call “honey.”

20151103_183612

We’re pretty excited about it.

20151103_180437

The garden is pairing with a fabulous and very locally-driven restaurant for a cooking class later this month. Kim is speaking at the class and I, purely by chance, won two free tickets to it in the garden’s fundraising raffle. Some may claim nepotism. I’m claiming that I put close to $30 worth of tickets in the cup. I also put my blood sweat and tears into this class, meticulously filling twenty little 3 oz bears to be given as favors.

bear

The honey is the most impressive when you look at it next to the batch we harvested in the summer. I have almost a full jar because I’m a hoarder and can’t bear the thought of it disappearing forever. Both jars were collected from the same hive in exactly the same spot, but two months apart: the jar on the right on August 10th and the jar on the left on October 12th. The difference is, as far as I know, purely floral. Spring and summer mean delicate light flowers like pea and squash blossoms, but late summer and fall mean rougher, darker flowers like Black Eyed Susans and sunflowers.

20151110_110152_HDR

Am I making all this up? Maybe. But whatever the reason, this honey is so dark it’s almost black, and it tastes, I swear, like elderflowers. The summer stuff was great, but this is a world apart.

Mead Take Two

As avid readers may know, the20151028_171114_HDR 
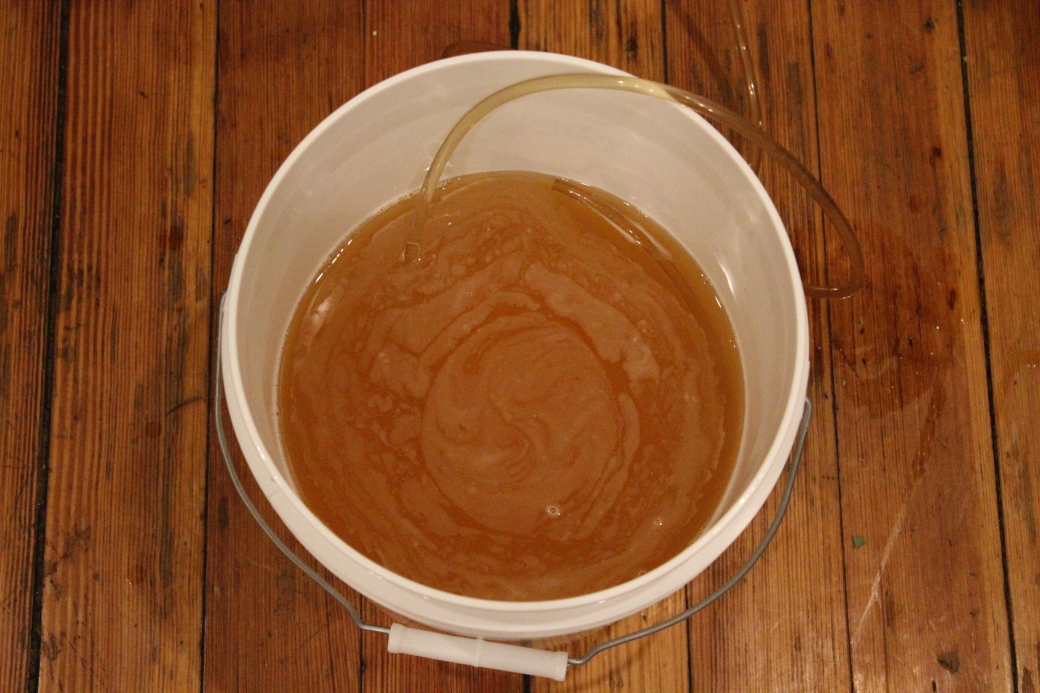
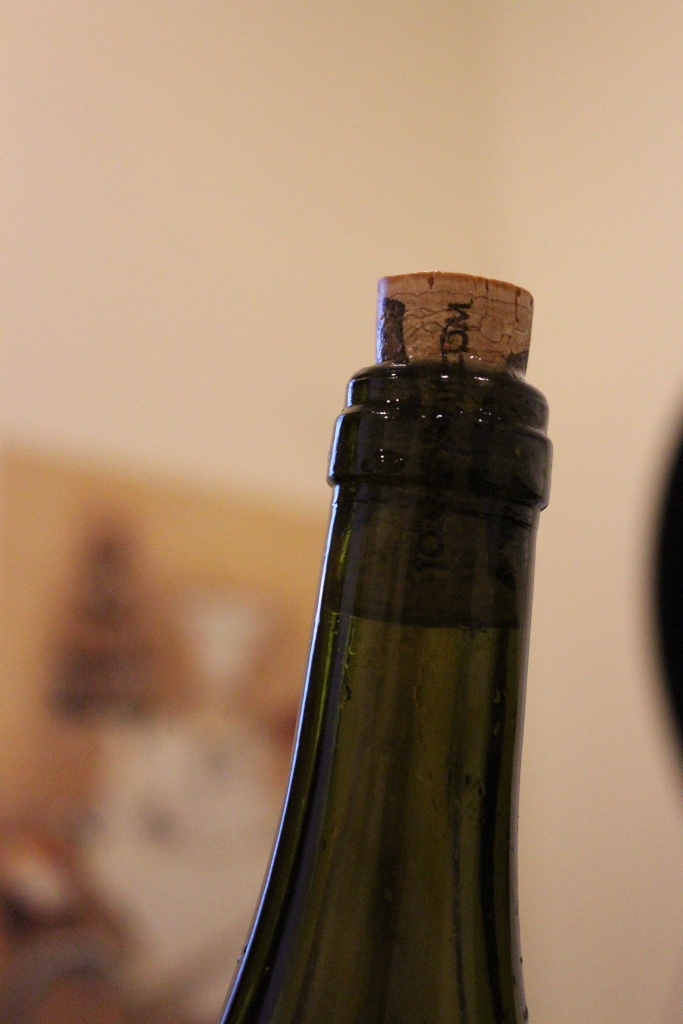
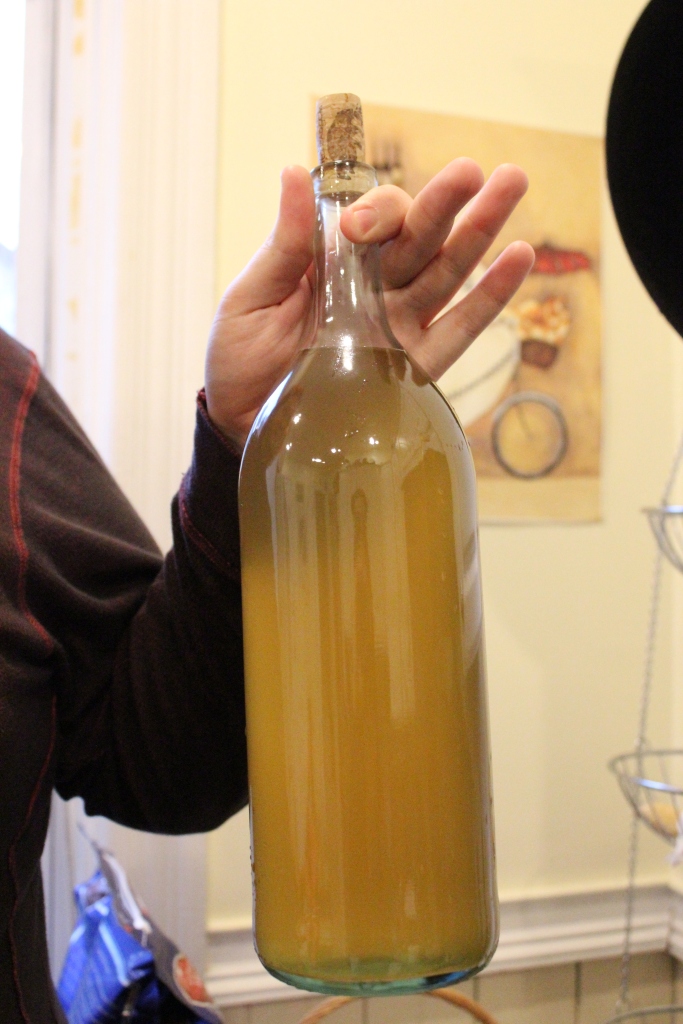
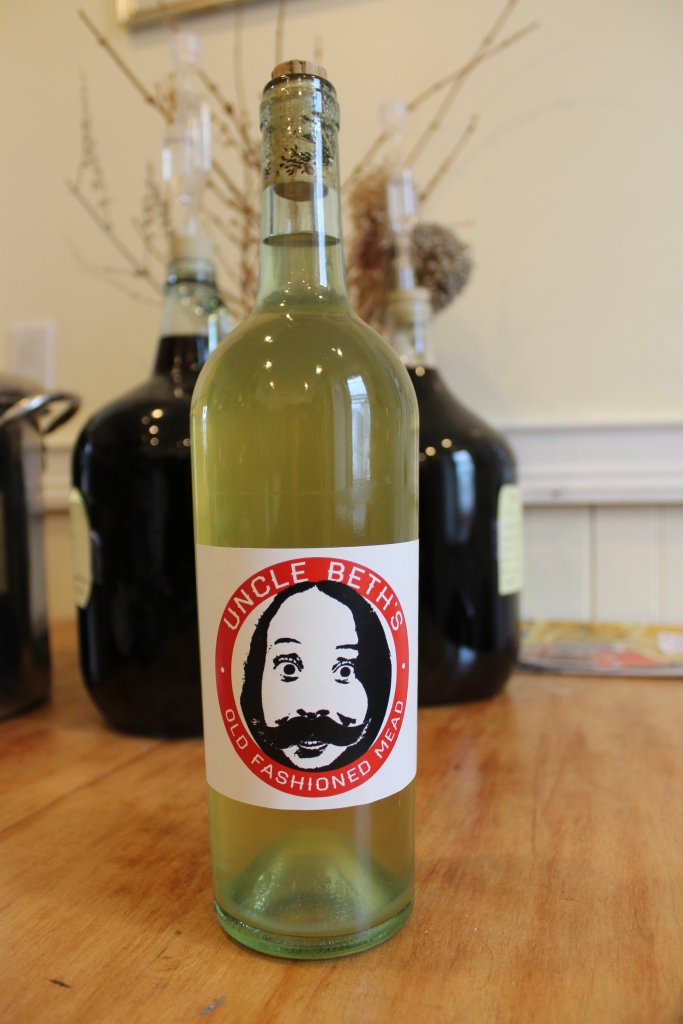
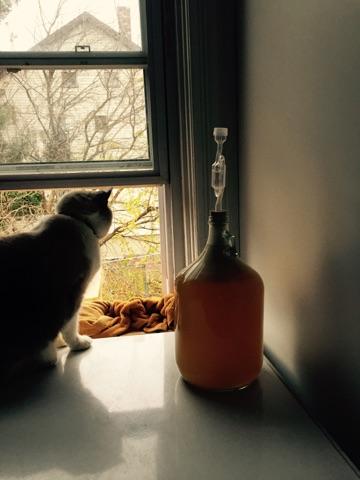
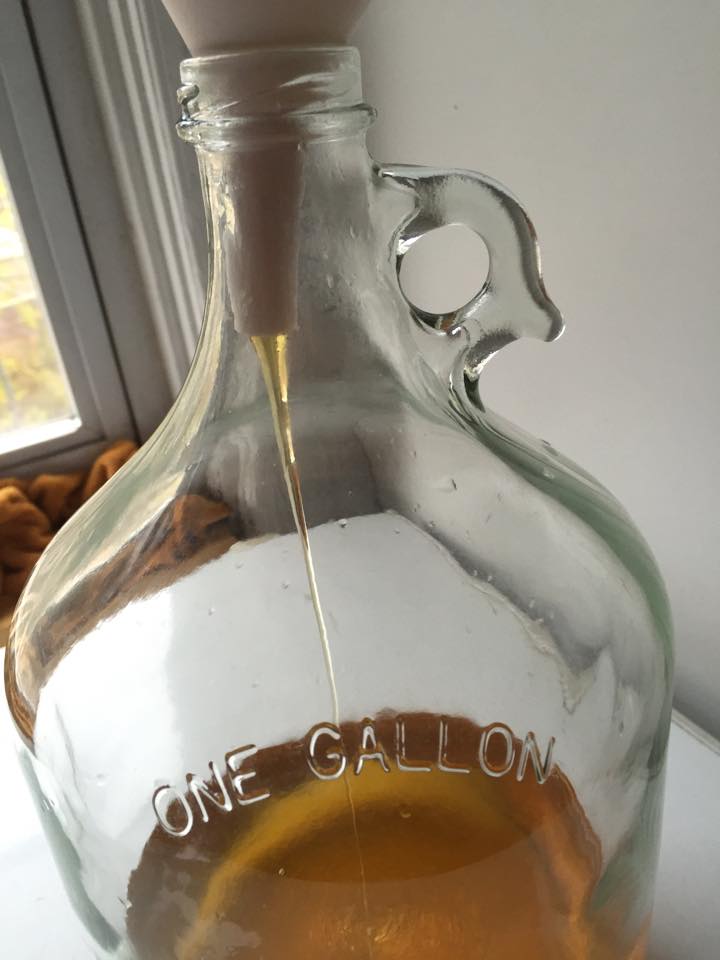
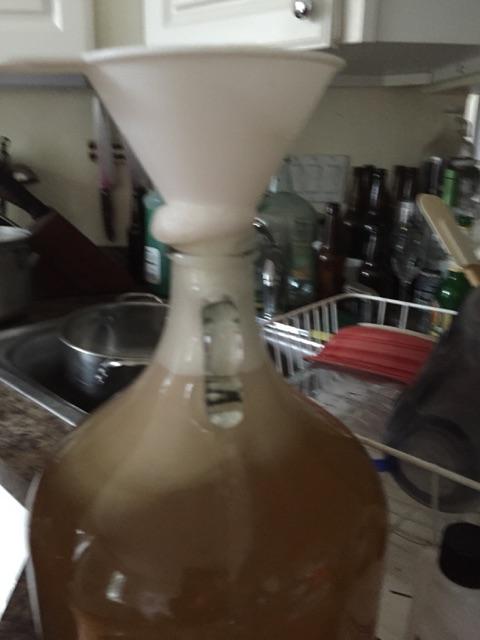
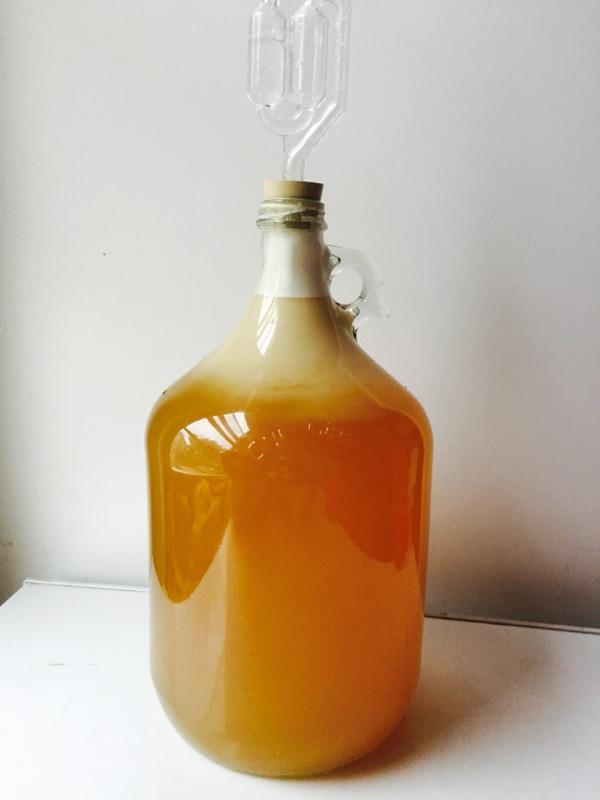
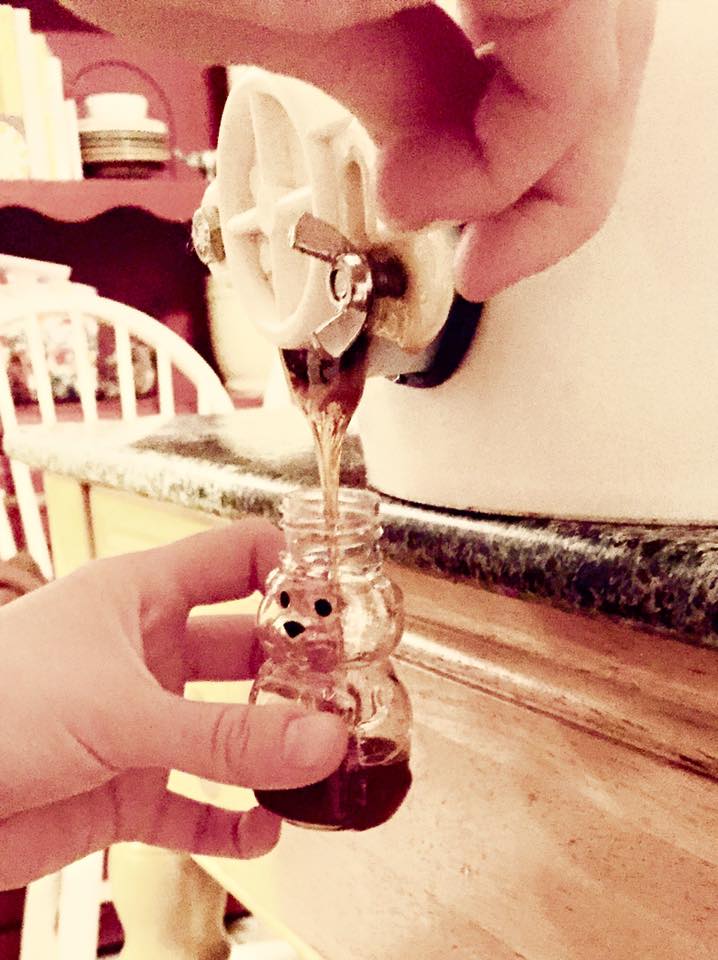
last time I tried to make mead in bulk, it wound up inches deep on my basement floor. I could have been drinking it right now…

It took me a while to grieve, but I’m finally ready to give it another shot. I am, as always, using the cheapest honey I can find. These handsome three pound bottles came from the bulk store and cost $8 apiece. As you can see, I bought so many they let me keep the box.

The rule of thumb I’ve discovered is that three pounds of honey makes for one gallon of mead. It was six gallons I lost to the honey gods last time, but on this pass I’m going to do a modest five. One of Ben’s birthday expansions was a new five gallon carboy I want to use, and this sixth bottle I’m saving for a strawberry melomel I’ve got in mind.

So that means a paltry five bottles, or fifteen pounds, of honey. That’s heavier than my cat, and he’s fat!

There are very different schools of thought on whether or not to boil honey before fermenting it. Lots of people, including the author of my mead book, believe that you should for sanitation purposes. Plenty of purists are horrified at the thought, because being unheated is what makes raw honey so special and so much better for you. Since my honey was delivered on a pallet and was most assuredly boiled at some point, I’m not too worried about that. Purists of a different sort, however, insist that honey doesn’t need to be boiled because microbes can’t survive in it and it’s essentially sterilized from the moment it comes out of the bee. This school of thought requires less work, so I’m inclined to go with it. All I did was submerge the bottles in a warm bath for a few minutes to get the honey flowing at a rate that wasn’t maddening.

20151028_171329

Weight was a big consideration working with five gallons of liquid. I can carry my one gallon batches up and down the stairs all day, but five gallons is a different animal. Not only do I not think I could carry that much mead down two flights of stairs, I would never want to. Just the thought of losing another huge batch, this time on the stairs, brings tears to my eyes. But my basement is dark and scary and the sink, while existent, is far from sanitary. I split the difference and did as much work upstairs as I thought I could manage – two gallons of water and all fifteen pounds of honey. It was heavy going on the starirs, and visions of the bucket’s handle breaking flashed before my eyes, but I made it.

20151028_171611

The warm bath worked like a charm, and the honey flowed right out.

20151028_172152

Once each bottle was empty, I ran a little bit of water into it, shook it like there was no tomorrow, and added it to the bucket. This caught a lot of that pesky honey clinging to the walls and, I hope, really oxygenated the must.

20151028_172328

I wrangled the bucket down to the set of Saw VII and added the final gallon and change of water. I mixed the honey and water like crazy, added two packets of rehydrated yeast, secured the lid and airlock, and left it to work its magic.

20151028_181348_HDR

Now it just has to pass the next couple months not on the floor, and we’re in business!

I Have So Much Wine

Today is all about dark wine. It wasn’t meant to be, but completely by accident all my dark, autumnal-looking wines were due to be racked at roughly the same time. Which is good, because they all catch the autumn light in such a way it’s a shame they live in the basement. I’ve read that exposure to light can give wine off flavors. I’m not sure off flavors are a real concern for someone at my level, so I may consider relocation. It would be the most roundabout stained glass in town.
20150924_105228_HDR

Then again, sunlight beating down on my wine might heat it up to an uncomfortable extent. This may be a sight that comes only every month or two. It’s more special that way. From left to right we have Raspberry Melomel, Elderberry Wine, Plum Wine, and Strawberry Wine. “Melomel” is the beautiful old fashioned-sounding term for mead flavored with fruit. The even older fashioned-sounding “metheglin” is mead flavored with herbs or spices. If I learn the professional language, I’m one step closer to being a professional myself. Right?

Speaking of metheglin, I racked my lavender metheglin last week, and it received rave reviews. It’s incredibly strong (I’m still getting the hang of the hydrometer) but the little bit I tried tasted lovely, especially with a little honey mixed in. One of my roommates said it reminded him of Viking’s Blod, a household favorite mead, so I took it as the highest of compliments. Viking’s Blod don’t come cheap, so I’d dearly love to be able to replicate it. The recipes I’ve found involve hibiscus, not lavender, so I may need to explore the world of flower-flavored metheglins.

But enough about future projects. In the here and now, I’m still racking this elderberry wine which, as you may remember, tasted like vinegar back in July. I sure remember. I’m still dutifully racking it every month in the hopes that it will, as the recipe suggests, improve with age.

20150924_120356_HDR

And as far as my monthly notes are concerned, my hopes are not unwarranted. In July this wine was “…Not good” and I was “hoping for an ageing miracle.” In August another ellipsis introduced an incredulous “…getting better?” Now, in September, I swear it was downright close to drinkable. It tastes and looks to me like a very dry red wine. Is this stuff actually improving, or is my palate getting more and more accustomed to dubious homemade fruit wine? The latter is almost definitely true, but I’m hoping the former is a little bit true, too. We’ll see.

I also racked a mulberry melomel that had been fermenting in a bucket for a few weeks. True to form, I’m following a half-remembered friend-of-a-friend forum post recipe and hoping for the best. In a departure from my usual methods, I soaked the berries and sugar in water overnight and added the resulting strained and simmered juice to the honey and more water. After it had cooled, I combined it with raisins and yeast and let it sit in an air-locked bucket for two weeks. I opened it up to find some very alcoholic reconstituted grapes floating on a sea of hooch. I have got to get my alcohol content under control before I go blind.

20150924_113806_HDR

Despite its potency, the mulberry melomel is really delicious. It has a light mulberry flavor with a strong honey base. And its color is fantastic. It reminds me of freshly pressed cider and has an opacity to it that I hope doesn’t disappear. So far I haven’t made a mead I don’t like. The honey makes for such a warm background to other flavors that it avoids that astringency I tend to get in straight fruit wines. Once winter kicks in and the fresh fruit is from California, meads brewed with dried herbs and spices might be just the thing.

20150924_115408

I counted, and I have eleven and a half gallons of wine sitting in my basement. None of it’s ready yet, but in a few months’ time my apartment may have to have a serious Bacchanal.

Bee Update!

I said we weren’t going to mess with the bees.

I lied.

Or rather, once I said we weren’t messing with them, we realized it had been a while since we had messed with them.

So today we messed with them. We went in for a checkup more than anything. We want to monitor their progress and get a sense of if and when we can do another honey harvest.

So we opened up the top honey box to see if the hive had made any progress. And I, through thick gloves and sunglasses and face netting, managed to snap this completely centered and focused bee in flight. How did I even do this?20150905_123353_HDRWe weren’t sure if they would have started storing in the new honey box or not. But they have! They’ve built the comb up in every frame and started storing honey in quite a few. These are the frames of the top hive body onto which they’ve built some little honey-filled burr comb extensions. Just like in those 2013 bottles, this late-season honey is noticeably much darker in color that the stuff we’ve already harvested. We tried a little bit, and I swear it tasted like elderflowers. Who knows. 20150905_123519_HDRAfter exploring the honey box, we delved into the top hive body. Production down here is also at full throttle. These bees are exceptional. If I have my own hive someday, I’m gearing myself up for some serious disappointment. The capped cells stretching into the distance are brood – each one contains an egg or larva that will eventually be a worker bee. In the foreground and running along the right edge of the frame are drone brood, identifiable by their bumpiness. The drones are the only males in the colony and kept around only for breeding with neighboring queens. I could say something wry about men here, but I won’t.20150905_123736_HDRInstead I’ll show you this picture of the miracle of birth! Most of the bees in this picture are workers going about their business with their heads in the cells. To the far left of the frame, however, halfway down, are two bees coming out of their cells headfirst. These are drones emerging for the first time from the cells they were laid in as eggs. About four cells northeast of them is another drone a little behind in the process, still breaking through his wax cap. All you can clearly see are his antennae. 20150905_123723_HDRIn a by-and-large positive checkup, there was one ill omen: propolis. The stuff acts as a sealant, and while it’s perfectly natural for it to be here, Kim says the fact that it’s so prevalent and so thick this early in the season means the bees think it’ll be an especially hard winter. This is bad news for me, because I still haven’t gotten over last winter. And it’s bad news for the bees, because they have a heck of a time surviving the cold. Our colony last year didn’t survive. Neither did something like 40% of the colonies in Rhode Island. We love these bees, though, so we’re going to do our best to keep them alive. If we do take another batch of honey, we’re only taking half at the most. And I’ll be cooking up fondant and hopping the fence to feed them when the snow’s too deep to open the garden gate. Hopefully they make it!20150905_123436_HDRBut for now the weather’s still warm and the bees are loving it. In fact, look who I found later in the flowers by my house! She’s not necessarily one of ours, but I’m choosing to believe she is. 20150905_133854_HDR

We Did It!

Honey is here!20150810_142221

After giving the triangle board a few days to work its magic, we stole the full honey box right off the top of the hive. We got all suited up, lit two smokers, set the honey box in a wagon, wrapped it in a sheet, and booked it on out of there.

We needn’t have worried. The bees didn’t even seem to notice that we were making off with a month’s hard work, and the honey box was completely deserted. The triangle board could not have worked better!

Actually, it could have worked a little better. The bees who left late must have been tipped off that something was up, because some of the honey had disappeared. After a certain point, every bee must have taken a bellyful of honey when she went through the triangle board. It’s not a huge loss, though, and it’s likely just been moved to the next honey box.20150810_141555

We brought the honey box back to Kim’s house and set to work spinning. I’d heard of “spinning honey,” but I’d never known what to picture and certainly didn’t think to take the term so literally.

When the bees declare a cell full of honey, they cap it off with a layer of wax. It’s almost as if they know what we’re up to and are trying to make it harder on us. To clear a path for the honey to slide out, we have to remove every single cap. For the first frame we used a tool that looked like a pointy afro pick to poke them out. For the next frame we tried out an electrically heated knife that came with the rental equipment. It was a lot more effective. It was like running a hot knife through butter. Except the butter was wax.

20150810_142558

Once the first three frames were uncapped, we initiated the next phase. This contraption is the extractor itself. A tall cylinder with a hand crank on top, it’s a lot like an ice cream maker. Inside are three wire racks, each of which holds a frame. It’s like an ice cream maker with a rotisserie chicken cooker inside.

With the frames loaded up, it was time to spin. And spin is exactly what we did.

Turning the hand crank whirls the racks around and the honey, uncapped, gets flung out of the comb by centrifugal force. It hits the walls of the cylinder and slides down to collect in a reservoir in the bottom. I gave it 200 cranks in one direction, flipped the frames, and gave it 200 in the other direction. I threw in another 50 for good measure at the end. Honey

Here I am getting into the spirit of things.

Between the hot knife and the spinning, we got a nice two-man procession line going. Before long we had all nine frames extracted and were ready to move on to filtration. At this stage, the honey contains a lot of wax and more than a few stray bee parts. You gotta strain. Disastrously, our rental equipment was missing its filter! My huge brewing straining funnel stepped up to the plate, though, and performed admirably. You’d never even know it wasn’t part of the setup.11872238_10206296204155550_5329416799319933996_o

We let the honey drain out of the extractor into the funnel, then through the funnel’s mesh into the bucket below. Honey doesn’t move fast, and the day took on a slower pace from this point forward.

When the extractor was empty, we could move the bucket and funnel mess up to the table and begin bottling into 1 lb and 1/2 lb jars. I also set aside three pounds to make into mead. 20150810_160935

We opened up a bottle of my previous batch of mead to sip while the honey drained. I have to admit, this honey has a richness to it that the store-bought stuff I’ve been using in my mead lacks. I’m so excited to brew with honey I’ve actually raised and harvested myself, but I’m afraid this will ruin me for the cheap and easy method.

So it goes.

I’m also becoming more aware of the tremendous range of flavor honey comes in. So many mead recipes I’ve read call for specific blossom varieties, a distinction I’ve never really taken to heart. I thought there might be notes of specific flavors that came through mainly to those who were looking for them. Kim and I sampled a few different honeys, however, and I was bowled over by how different each batch was. We tried a jar from our garden in the spring of 2013. (The last jar in existence, Kim said. There’s a dark finality in small artisinal batches, man). It tasted, for all the world, like flowers. Way beyond slight notes. 20150810_162330

Then we tried a jar from the fall of the same year. From color alone, you could tell something was different. It was dark. Almost brown. And it tasted, I swear, like autumn. It was smoky and so rich. I’ve never had honey like that.

Then we tried a store-bought bottle from the Caribbean that Kim had been given as a gift. She says once you become an acknowledged “bee person,” people start giving you honey stuff. I’m alright with that. This bottle was completely different. It was dark, but not thick. And while it was sweet, of course, it had a spiciness to it. It was almost hot. I’m not sure I’d put it on my granola, but it was fascinatingly different.

But enough of my poetic honey waxings. (Thank you ladies and gentlemen, I’ll be here all week). 11857549_10206320240276438_2126174302_n

All told, we collected about 30 pounds of honey. Not bad at all for just one month with the honey box! At this rate, we may very well get another harvest in. We’ll be selling the honey within the community garden and using the proceeds to offset bee costs.

Maybe buy a hot knife of our very own.

Robbing the Hive

The bees must be so confused.20150808_110149

Soon we’ll be harvesting the nearly full honey box, so we’re taking care of a few things in preparation.

First we put together a new honey box to replace the one we’ll be thieving. A lot of last year’s honey box frames fell prey to a moth infestation, and rather than risk carrying any eggs over, we bought and constructed all new frames.

All bees need to get going is a nice hexagonal pattern. Really, they don’t even need that, since the hollows in old trees they might frequent in the wild don’t have anything quite so factory-perfect. It’s a good nudge in the right direction, though, and it encourages them to build in a way that keeps the frames easily extractable. 20150808_104829

This is what a frame looks like before the bees have their way with it: a big flimsy game of Q*bert.

A lot of beekeepers buy these sheets printed in plastic, but we’re going au naturel and using sheets printed in pure beeswax. After the frames have been used, we put them in a solar wax melter, and it’s much easier going if the whole thing just melts away without plastic getting involved.

With our new frames assembled, we opened up the hive. This time Kim let me do all the prying open and heavy lifting. I took off the cover and set aside the existing honey box. Here the bees are spilling up out of the top of the hive body and through the queen excluder among the burr comb they’ve built between it and the honey box. As you can see, I’m still rocking my stupid taped-up pants. They’re my bee pants now.IMG9583171

Rather than go poking around in the hive body, we set to work building up all our new layers. It’s all about getting in and out quickly before the bees get too aggravated. Our colony is outrageously good-natured, and every time we’ve managed to accomplish our goals before they get territorial. They’re so friendly, in fact, that I have yet to be stung.

Actually, I have never been stung. Ever.

The day might come that I learn I have a severe allergy, and that’ll be the end of an illustrious career. I hope not.

Anyway. We put the fresh honey box (the white one here) on top of the queen excluder. The lighter tan strip on top of the honey box is a shim. It’s just a wooden frame with a circular hole drilled into one side. To keep the bees from returning to the honey box, we have to close off the door that normally sits above it. The shim makes up for the lost airflow.IMG9595091

The thing I’m putting into place on top of that is a triangle board. Under that hole is a piece of mesh covering a series of wooden triangles. Here’s a good picture if that lame explanation meant nothing to you. It’s essentially a one-way bee maze: easy to get out of but hard to get back into. Finding her normal door closed, a bee makes her way through this maze and either out the shim hole or down into the new honey box. Ideally, this happens dozens of thousands of times until all the bees have evacuated.

On top of that we put the old, full honey box. And on top of that we put the lid with its door sealed. On top of that we put two cinder blocks to hold the whole thing down in case of heavy winds. It is very nearly my size now. I was fine disassembling and reassembling the hive. I wasn’t overcome by the weight of the honey or the swarm of bees. But when it came time to put the full honey box back on top, I couldn’t do it on my own. I was just too darn short to lift something that heavy and that full of bees that high.IMG9593391

I may or may not be allergic to bees, but I most definitely am and always will be five foot two, which might put an end to an illustrious career if bee hives get any taller than this.

I hope they don’t.

I’ve published this on the Fox Point Community Garden blog, too. Go check it out!