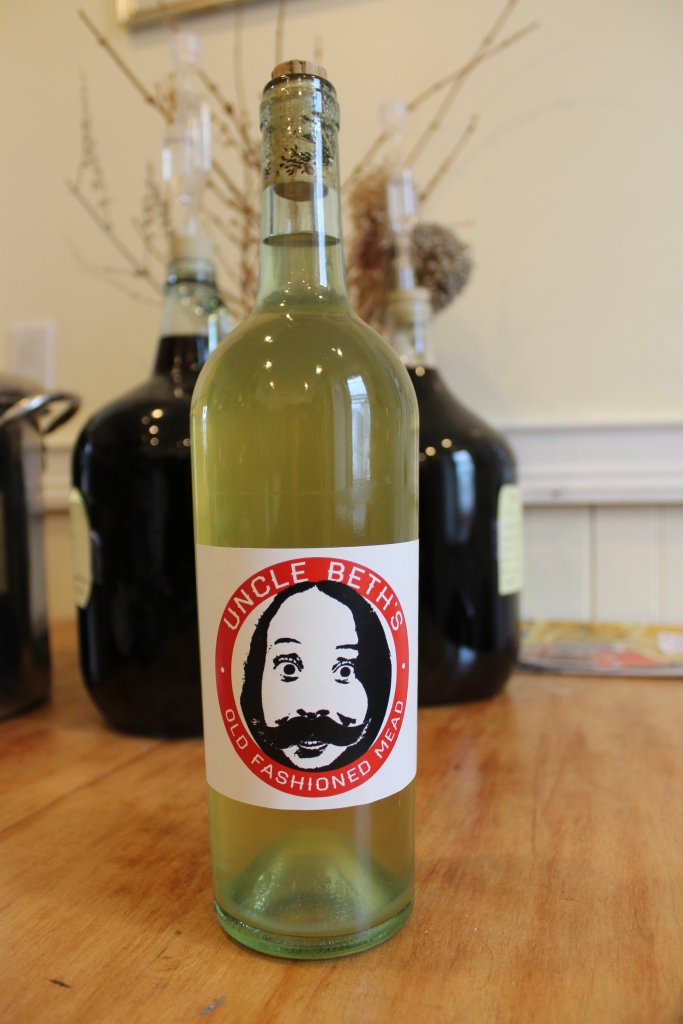
New labels and matching bottles in 750 and 375 ml. Uncle Beth’s Old-Fashioned Mead is movin’ up in the world.
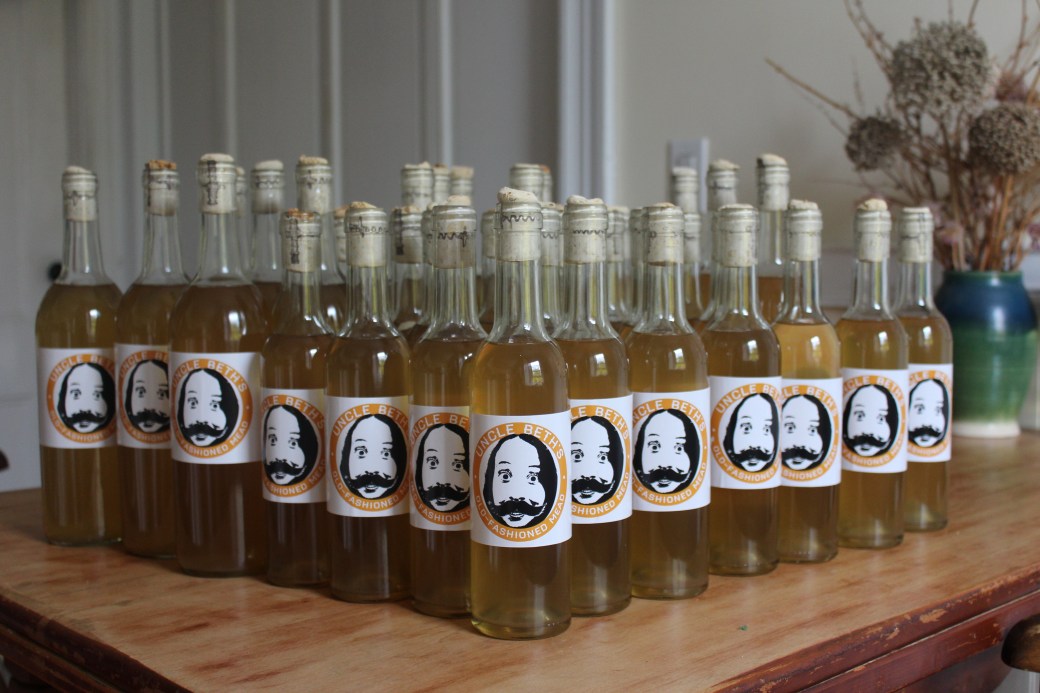
New labels and matching bottles in 750 and 375 ml. Uncle Beth’s Old-Fashioned Mead is movin’ up in the world.
Last November Kim and I started a gallon of mead with our bees’ honey. Since then I’ve been racking it occasionally but mostly forgetting about it. I discovered it again recently and declared it ready to bottle.
It was, like everything I make, extremely dry and boozy, so I back sweetened it with 1/4 cup of honey. Booziness aside, I’m very happy with it. It’s so different from the store honey mead and, dare I say it, better. I’d say it tastes richer and has a stronger honey base. There’s also a lot less of it. I’ve been free with the 5 gallon batch of mead, taking it to parties and pawning it off on friends, because 5 gallons is a lot to have of anything. One gallon, on the other hand, filled just 11 beer bottles. Beer bottles are perfect for gallon batches, because they can be portioned out more slowly.
They’re also perfect for my small homemade labels. Technically this was the prototype for the official label, but I think I like it more.

It’s about time I had some good mead news.
My first big batch leaked all over the floor, and I was too depressed and sticky to even write about it. My second batch started out strong, but then it just kept getting stronger and bubbled longer than it had any right to.
But this batch… is still the second batch. It’s the same mead, hastily thrown into four separate containers to try to stop fermentation because I didn’t know what else to do. But here’s the thing:
It’s actually good!

I’d been dreading opening up these fermenters, and I put it off for a few months. This may actually have been the best thing I could have done. All the mead makers I’ve talked to have said the same thing – if you don’t like it now, just forget about it for a while.
Tommy was visiting from Texas, which got me inspired. He’s always up for some good blog fodder. We hauled up the mead and gave it a taste. It was outrageously boozy – everything I make is. I need to get a better handle on the fermentation process so I can stop warning people not to pour a full glass every time they open a bottle of wine.
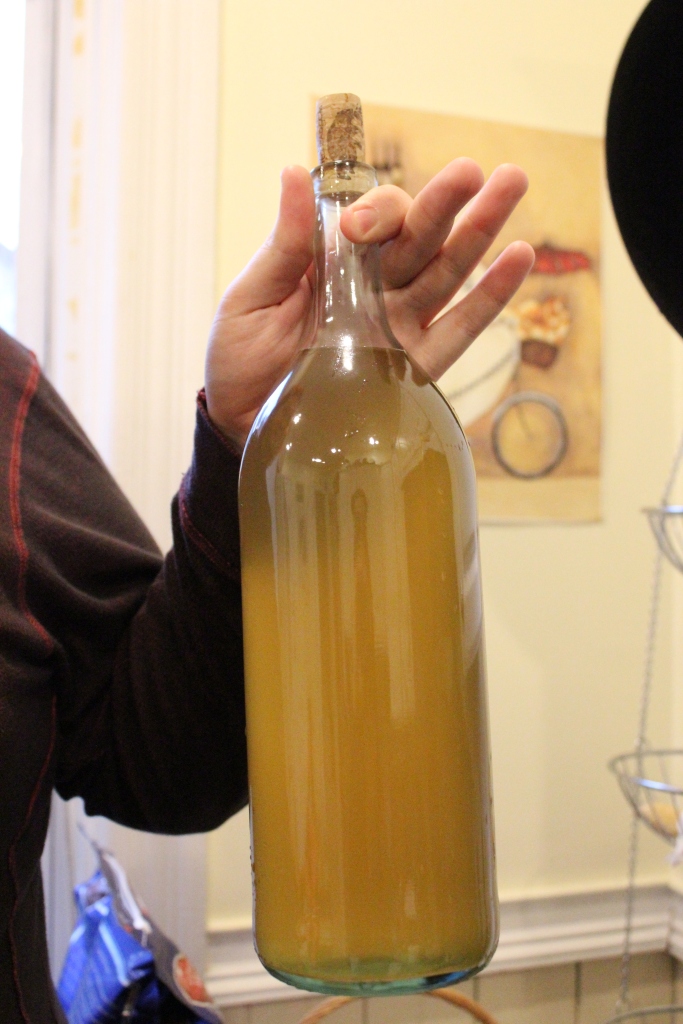
Five gallons of mead is a heck of a lot of mead. My parents have been stockpiling bottles, though, and handing them off every time they see me. It felt excessive until I actually needed them. I was especially grateful for the big double wide bottles, because they gave us extra time to think between fillings.
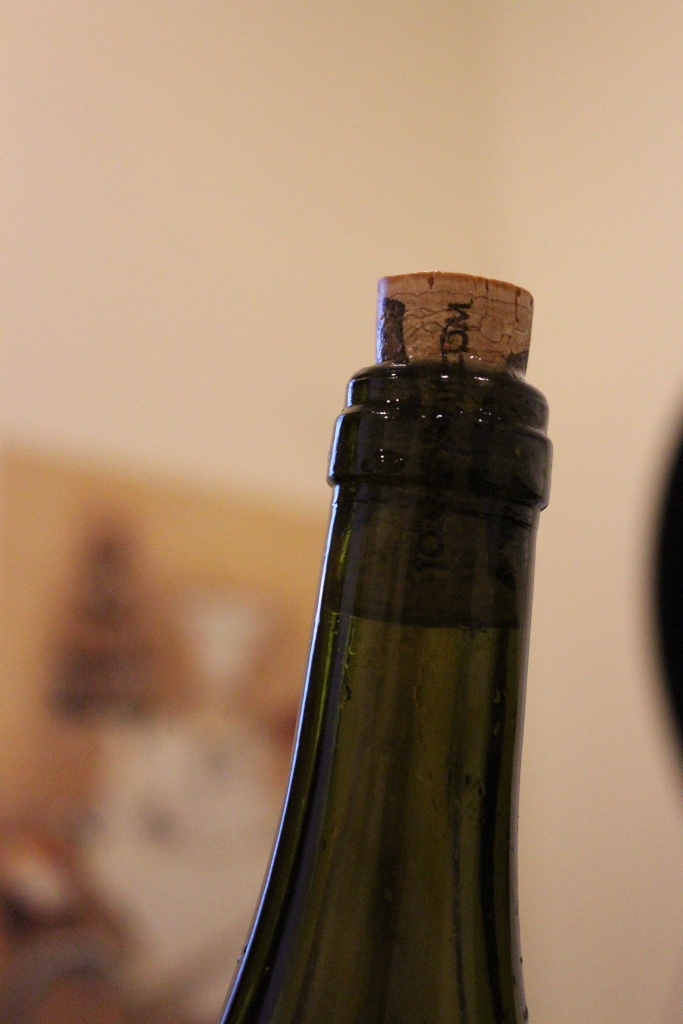
The corking was a bit of a pain. The corker is inherited from my dad’s wine making days and is made of plastic older than I am. You have to press with all your strength for it to work, but I’m worried all my strength will snap it in half. Some corks didn’t make it as far as others and had to be redone later.

When all was said and done, we had 10 normal bottles and 7 double sized bottles. I’d painstakingly removed the labels from a few, but when the mead kept flowing we had to break out the reserves. I gave some away before I had a chance to scrub their labels off, but the ones I kept got cleaned up to make way for… wait for it…

Uncle Beth’s Old Fashioned Mead. Ben designed it, and I’m very happy with how it turned out. My dad’s always had a mustache, and I’m carrying on the tradition. The labels were printed by Bottle Mark and came extremely fast. I’m not sure I’m wild about the red, but for a first run I think it’s great.
And it feels a heck of a lot more professional than ball point pen on stickers.
Die-hard fans may remember that I started a five gallon batch of mead back on October 30th, also known as three months ago. Well… it’s still bubbling. I don’t think it should still be bubbling.

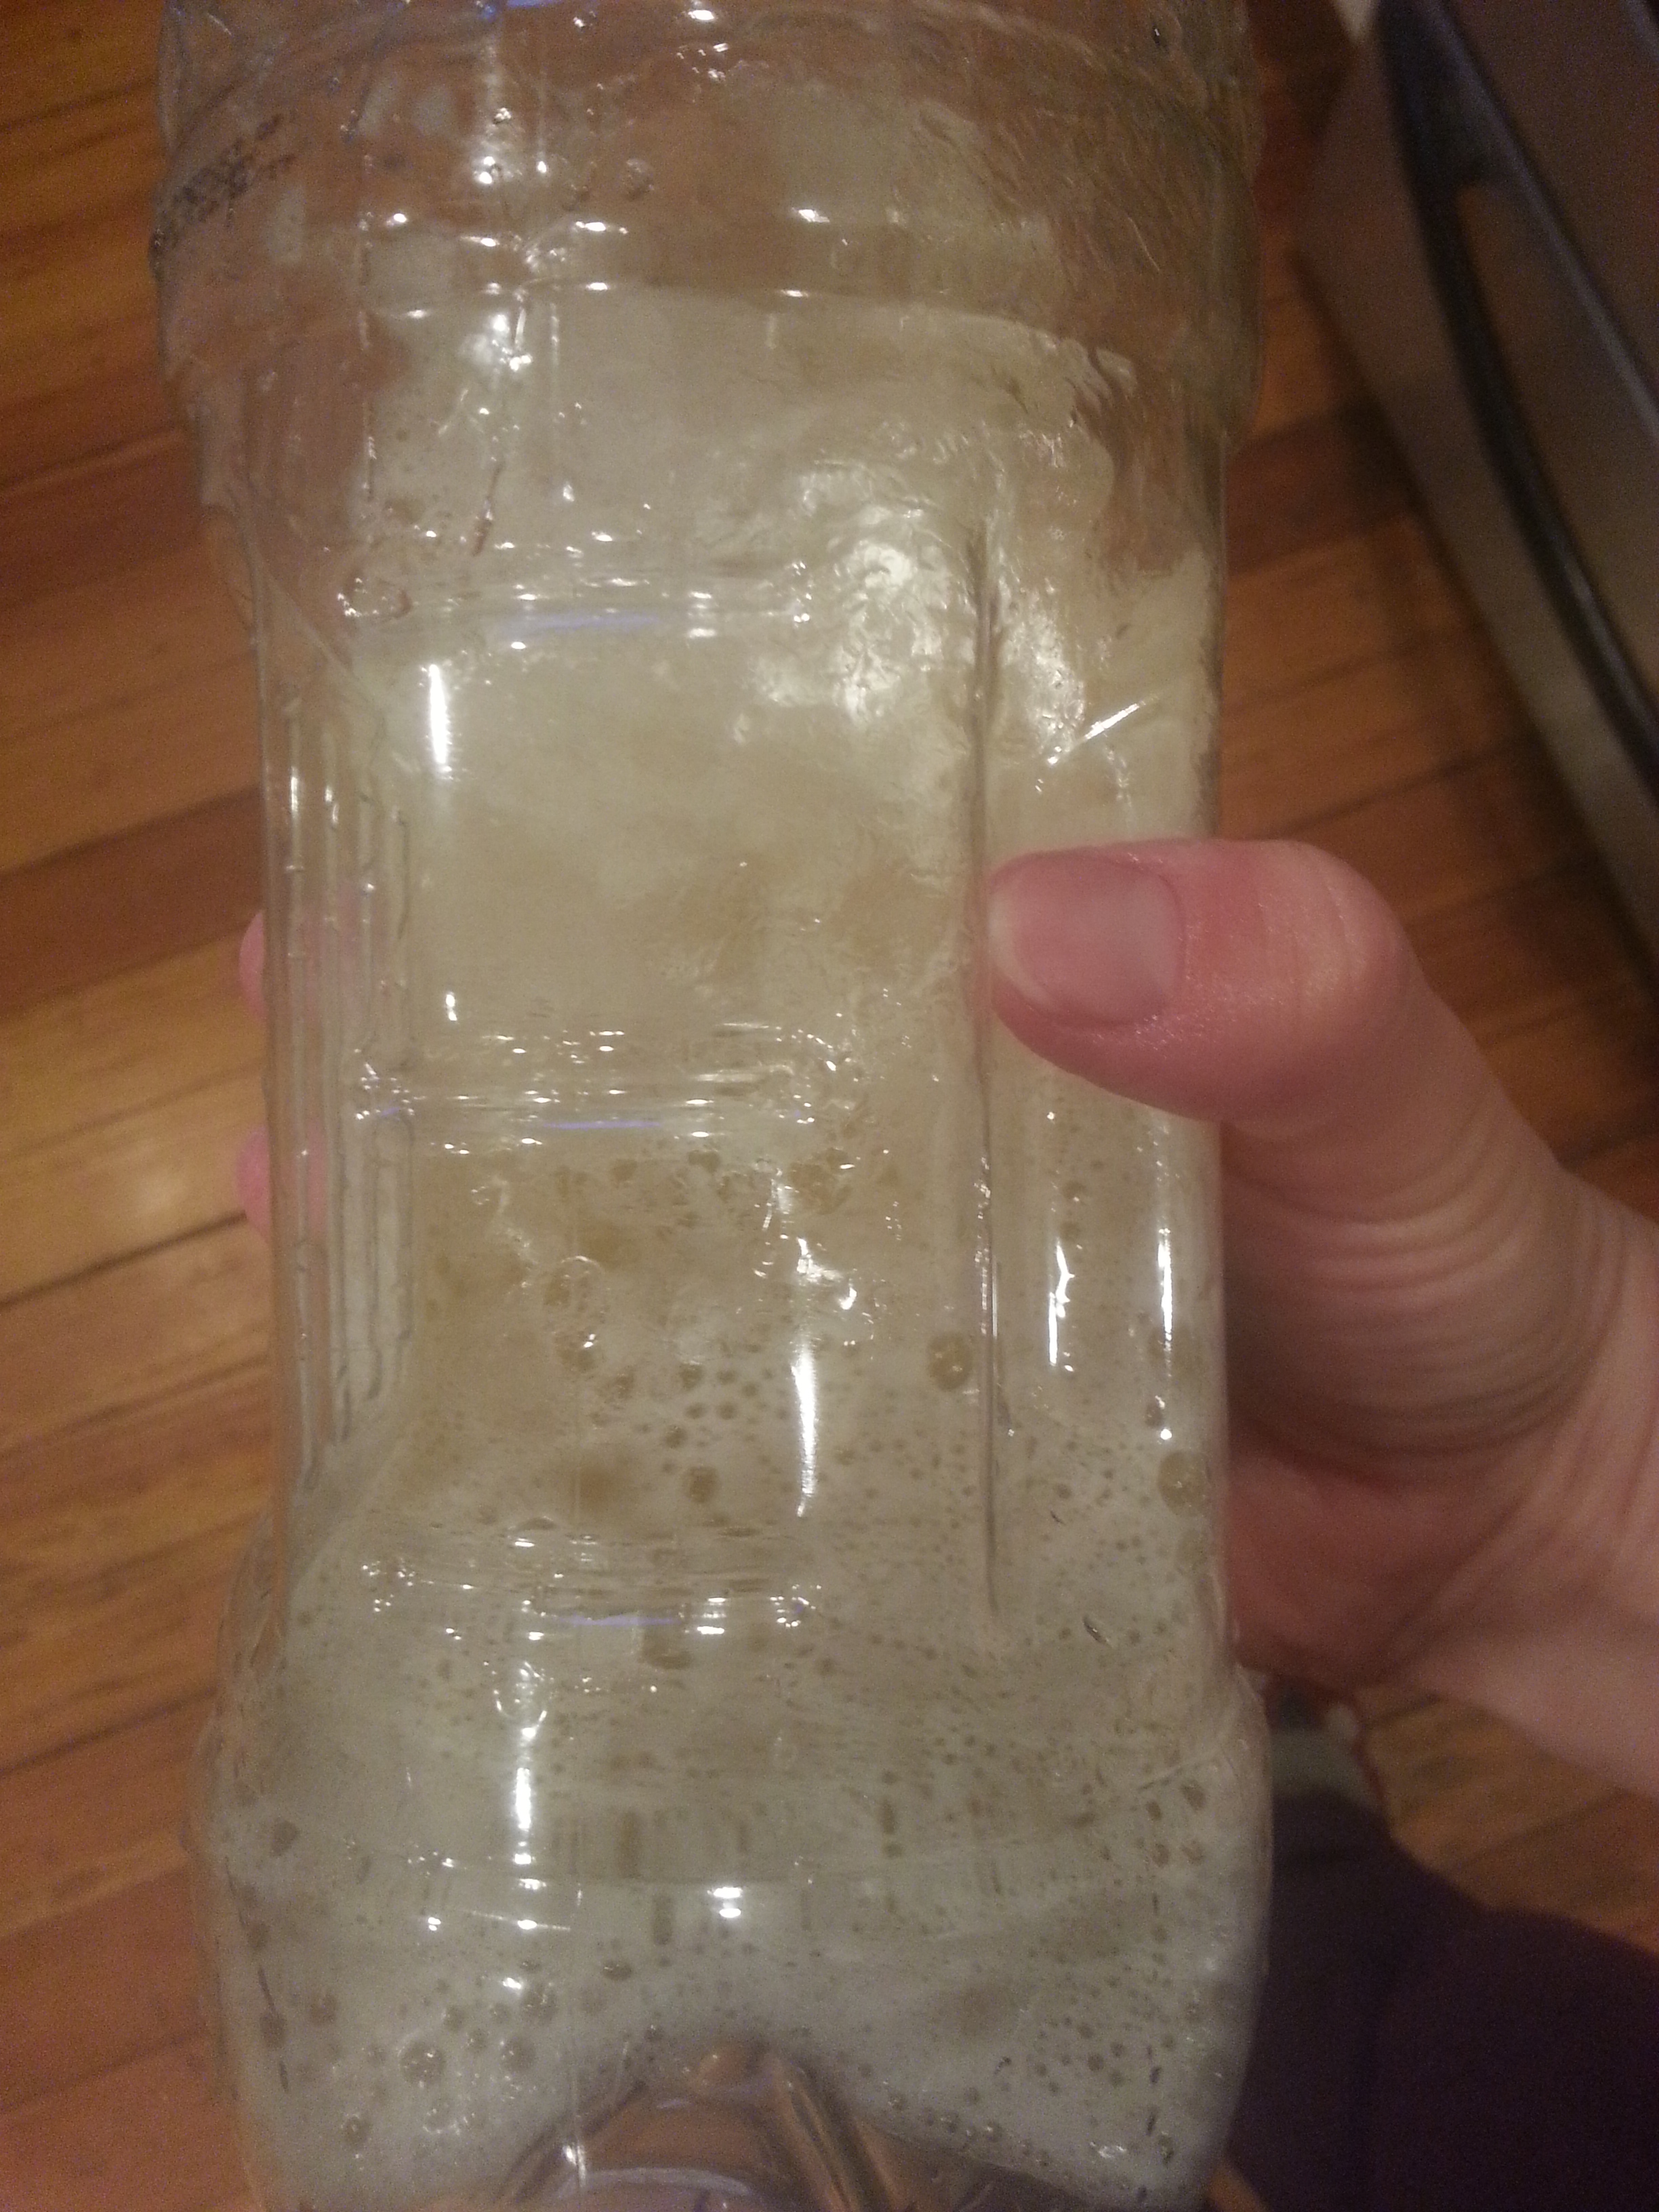
There’s not much airlock activity, but there’s a constant flow of tiny bubbles travelling up the side of the carboy, like in a glass of champagne. Something is clearly still happening in there.
I racked this mead away from the lees right before Thanksgiving, but I’m wondering now if enough yeast is still present to keep the fermentation going past its welcome. I hope so, because the other option is that something strange has started growing in there.

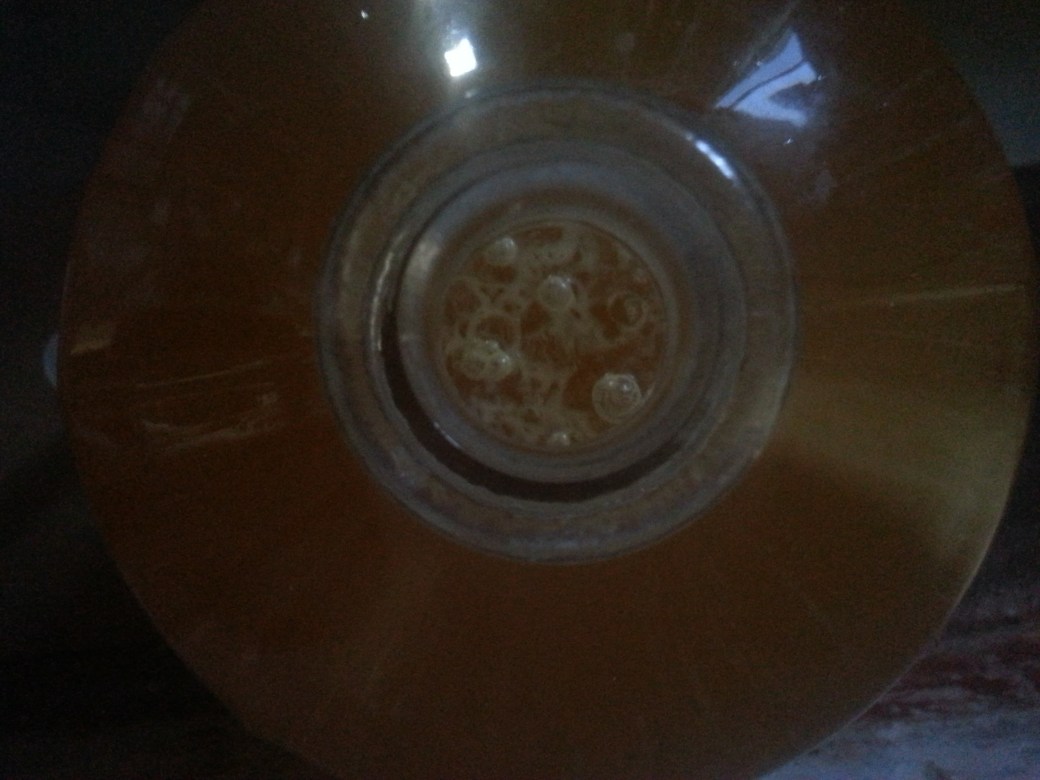
That theory really has me worried, because recently some little guys have appeared on the surface. Is it mold? I don’t know, but the prospect of five gallons of honey vinegar is more than I can bear. I can’t bottle the stuff while it’s still bubbling, but it can’t stay here.
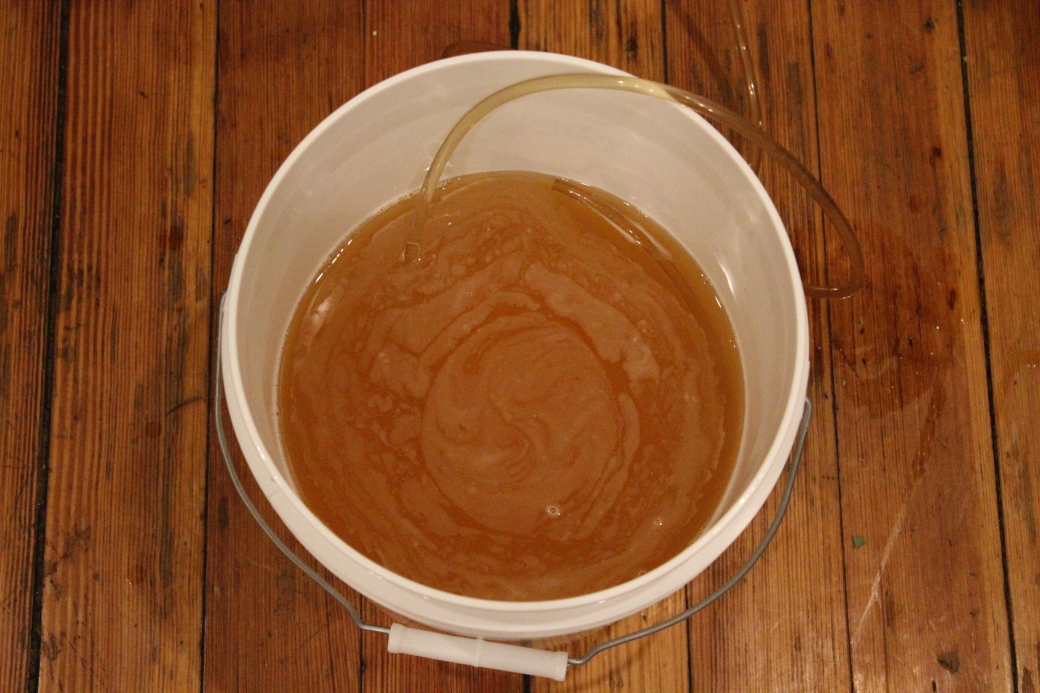
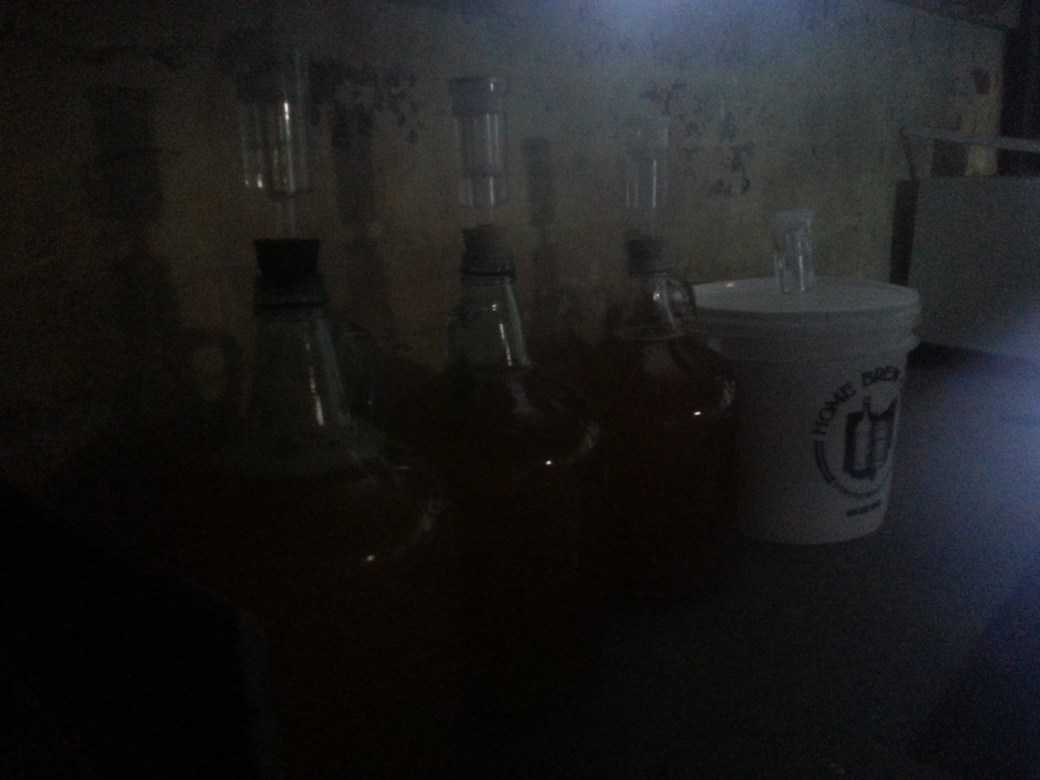
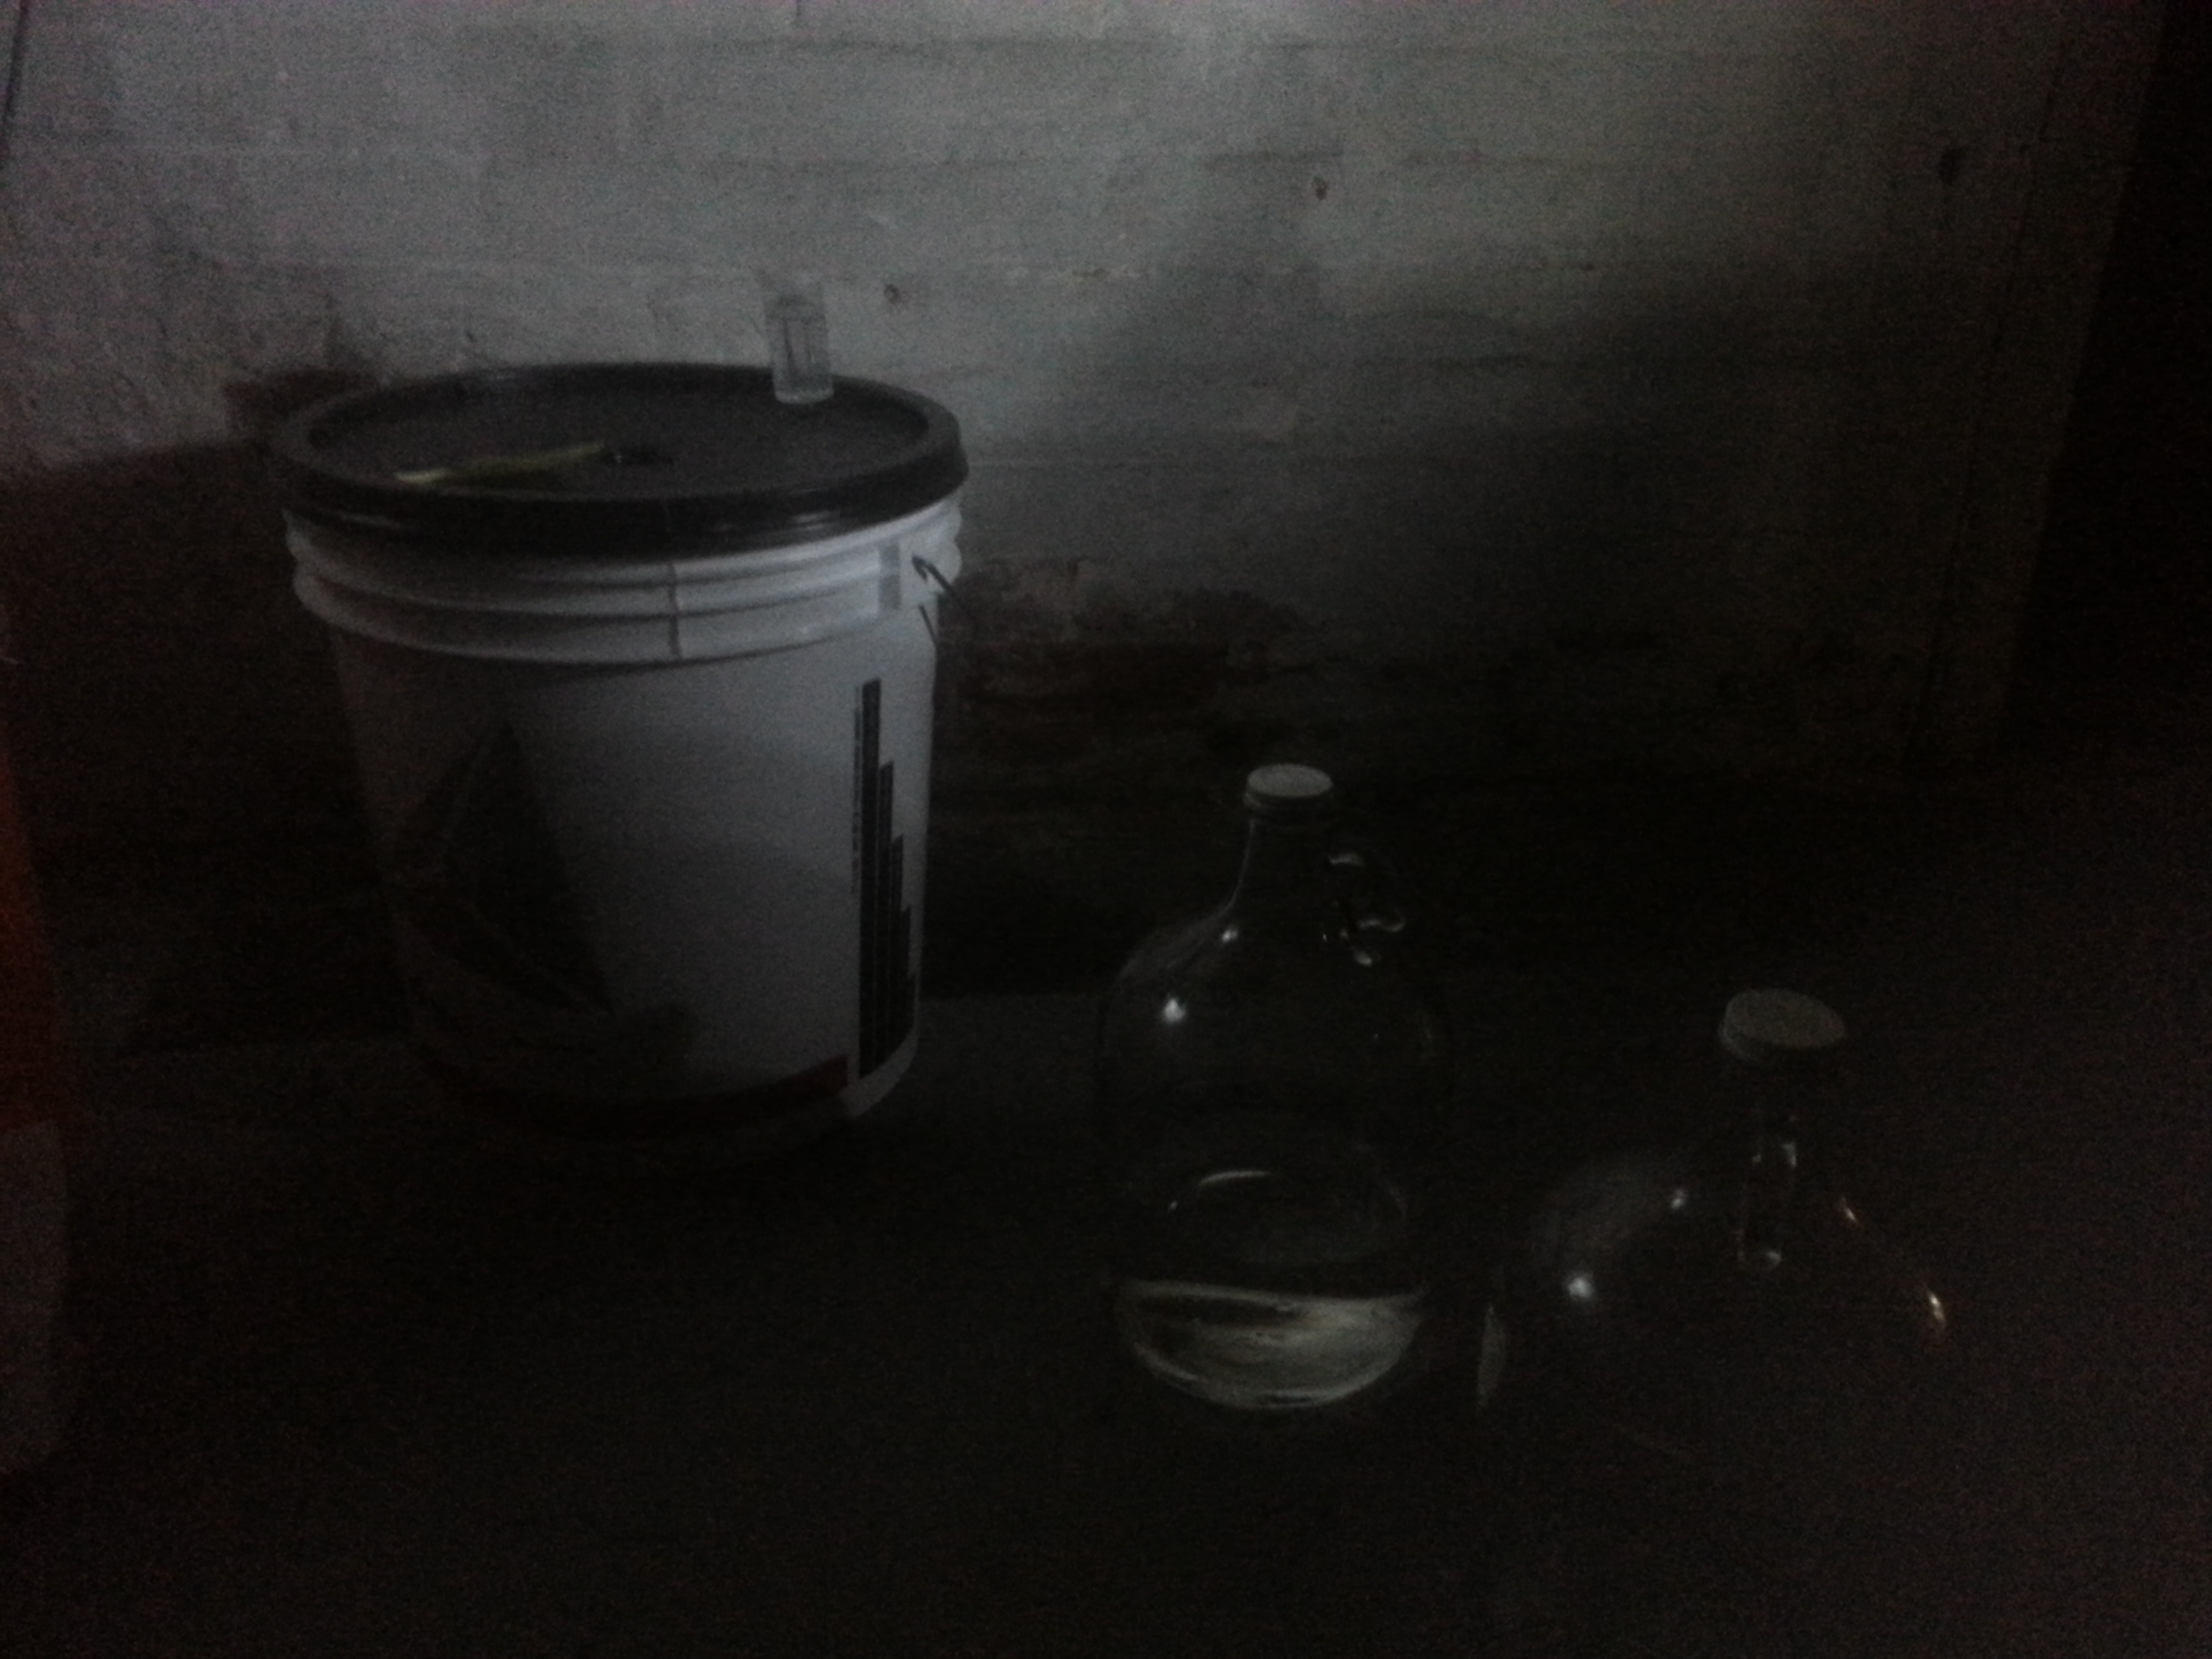
Because the universe is an uncaring place, I don’t have any other five gallon carboys. There’s a spare six-gallon kicking around, but that would leave too much headspace. What I do have are three one gallon jugs and a two gallon bucket. They’ll have to do.
For the job I have a brand new long auto siphon and, to go with it, some horrible old kinked tubing. It turns out it’s all I have that will fit the cool new siphon. And since I have no hope of lifting this carboy up off the ground, I have to pump it all manually. The result is an intermittent jet stream through a tube that fluctuates between wide open and barely passable. This is not ideal.

To call it oxidizing would be an insult to understatements.

The sheer volume of bubbles I’m pumping to this mead makes the danger of an extra gallon of headspace seem stupid. But I’m committed, so I soldier on. I finally get all five gallons into their new containers in a very poorly lit corner of the basement. Only time will tell if they keep on bubbling or grow new strange lumps or do something else worrying. At least now they’re split into four samples that may behave differently from each other.
Once everything is safely stowed away, I actually taste the stuff. I should probably have done this first, but once the racking fever took me I couldn’t stop. All that’s left are the dregs that got awfully yeasty on the trip up the stairs, but even so I’d give the flavor a confident rating of Not Bad. It’s strong, but not vinegary. Given a little time to settle and, God willing, quit fermenting, I think it could still be good.


I just hope all that oxidation doesn’t ruin it.
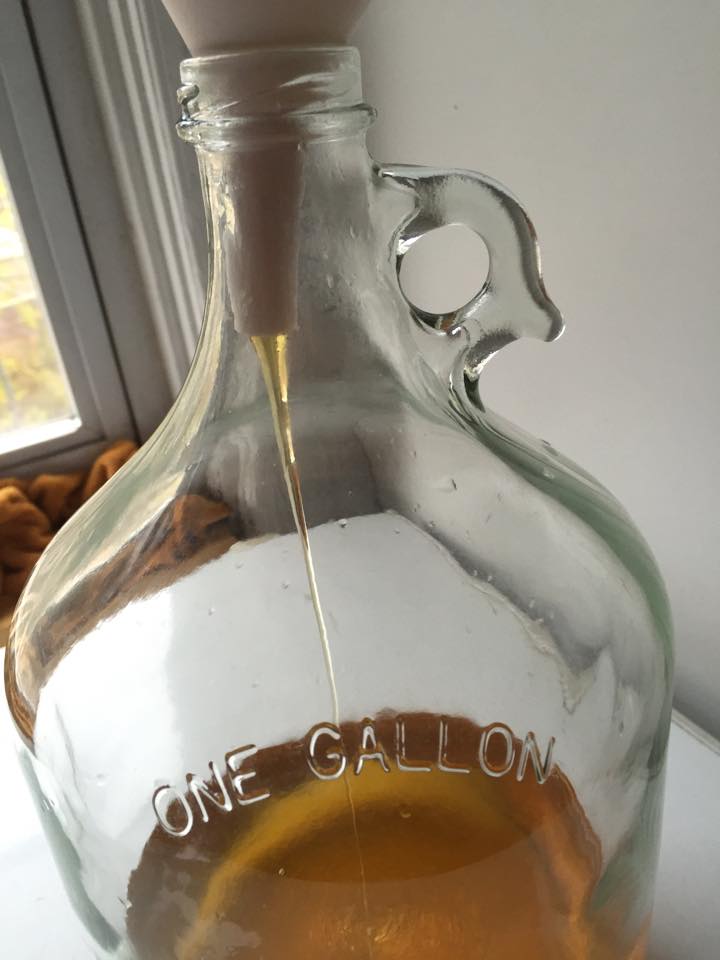
Ever since we harvested the first batch of honey in August, I’ve had three pounds of the stuff in my kitchen cupboard.
But no more!
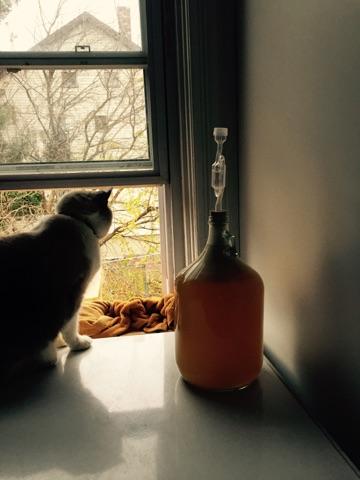
Kim and I finally got into gear and started fermenting it into honey. And Omar, my cat, started modelling it.
We set the honey jar in a warm bath for a few minutes to get it flowing. Even warmed up, it didn’t exactly rush through the funnel.

This gave us plenty of time for photo ops.
I’d put a few inches of water in the bottom of the jug to begin with, hoping that it would keep the honey from sticking to the bottom. Honey, it turns out, is a lot denser than water. It sank straight to the bottom. Maybe a couple hardy water molecules stuck to the bottom…

Before the jug was completely full, I gave it a good shake. I missed getting to do this when I did the five gallon batch. This process both mixes the honey and water together and aerates the must.

I got really into it.

And I may have aerated too vigorously.

With all those bubbles, the primed yeast and nutrient didn’t have much space. I’m having bad flashbacks to my raspberry melomel…
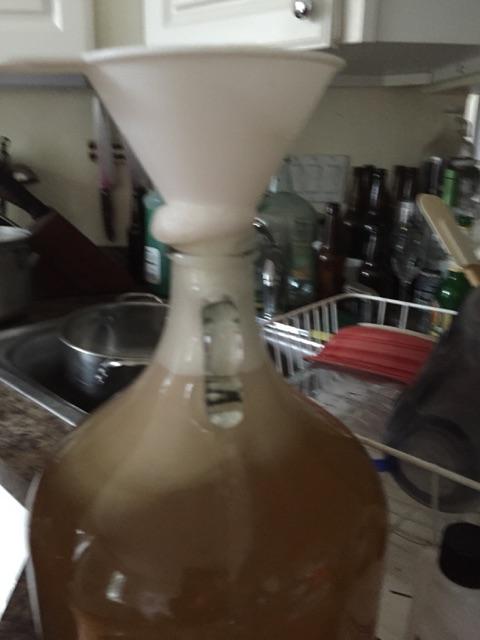
Despite some cramped quarters, the mead is a beautiful color. I’ll have to keep an eye on it to make sure it doesn’t blow its lid.
As avid readers may know, the last time I tried to make mead in bulk, it wound up inches deep on my basement floor. I could have been drinking it right now…
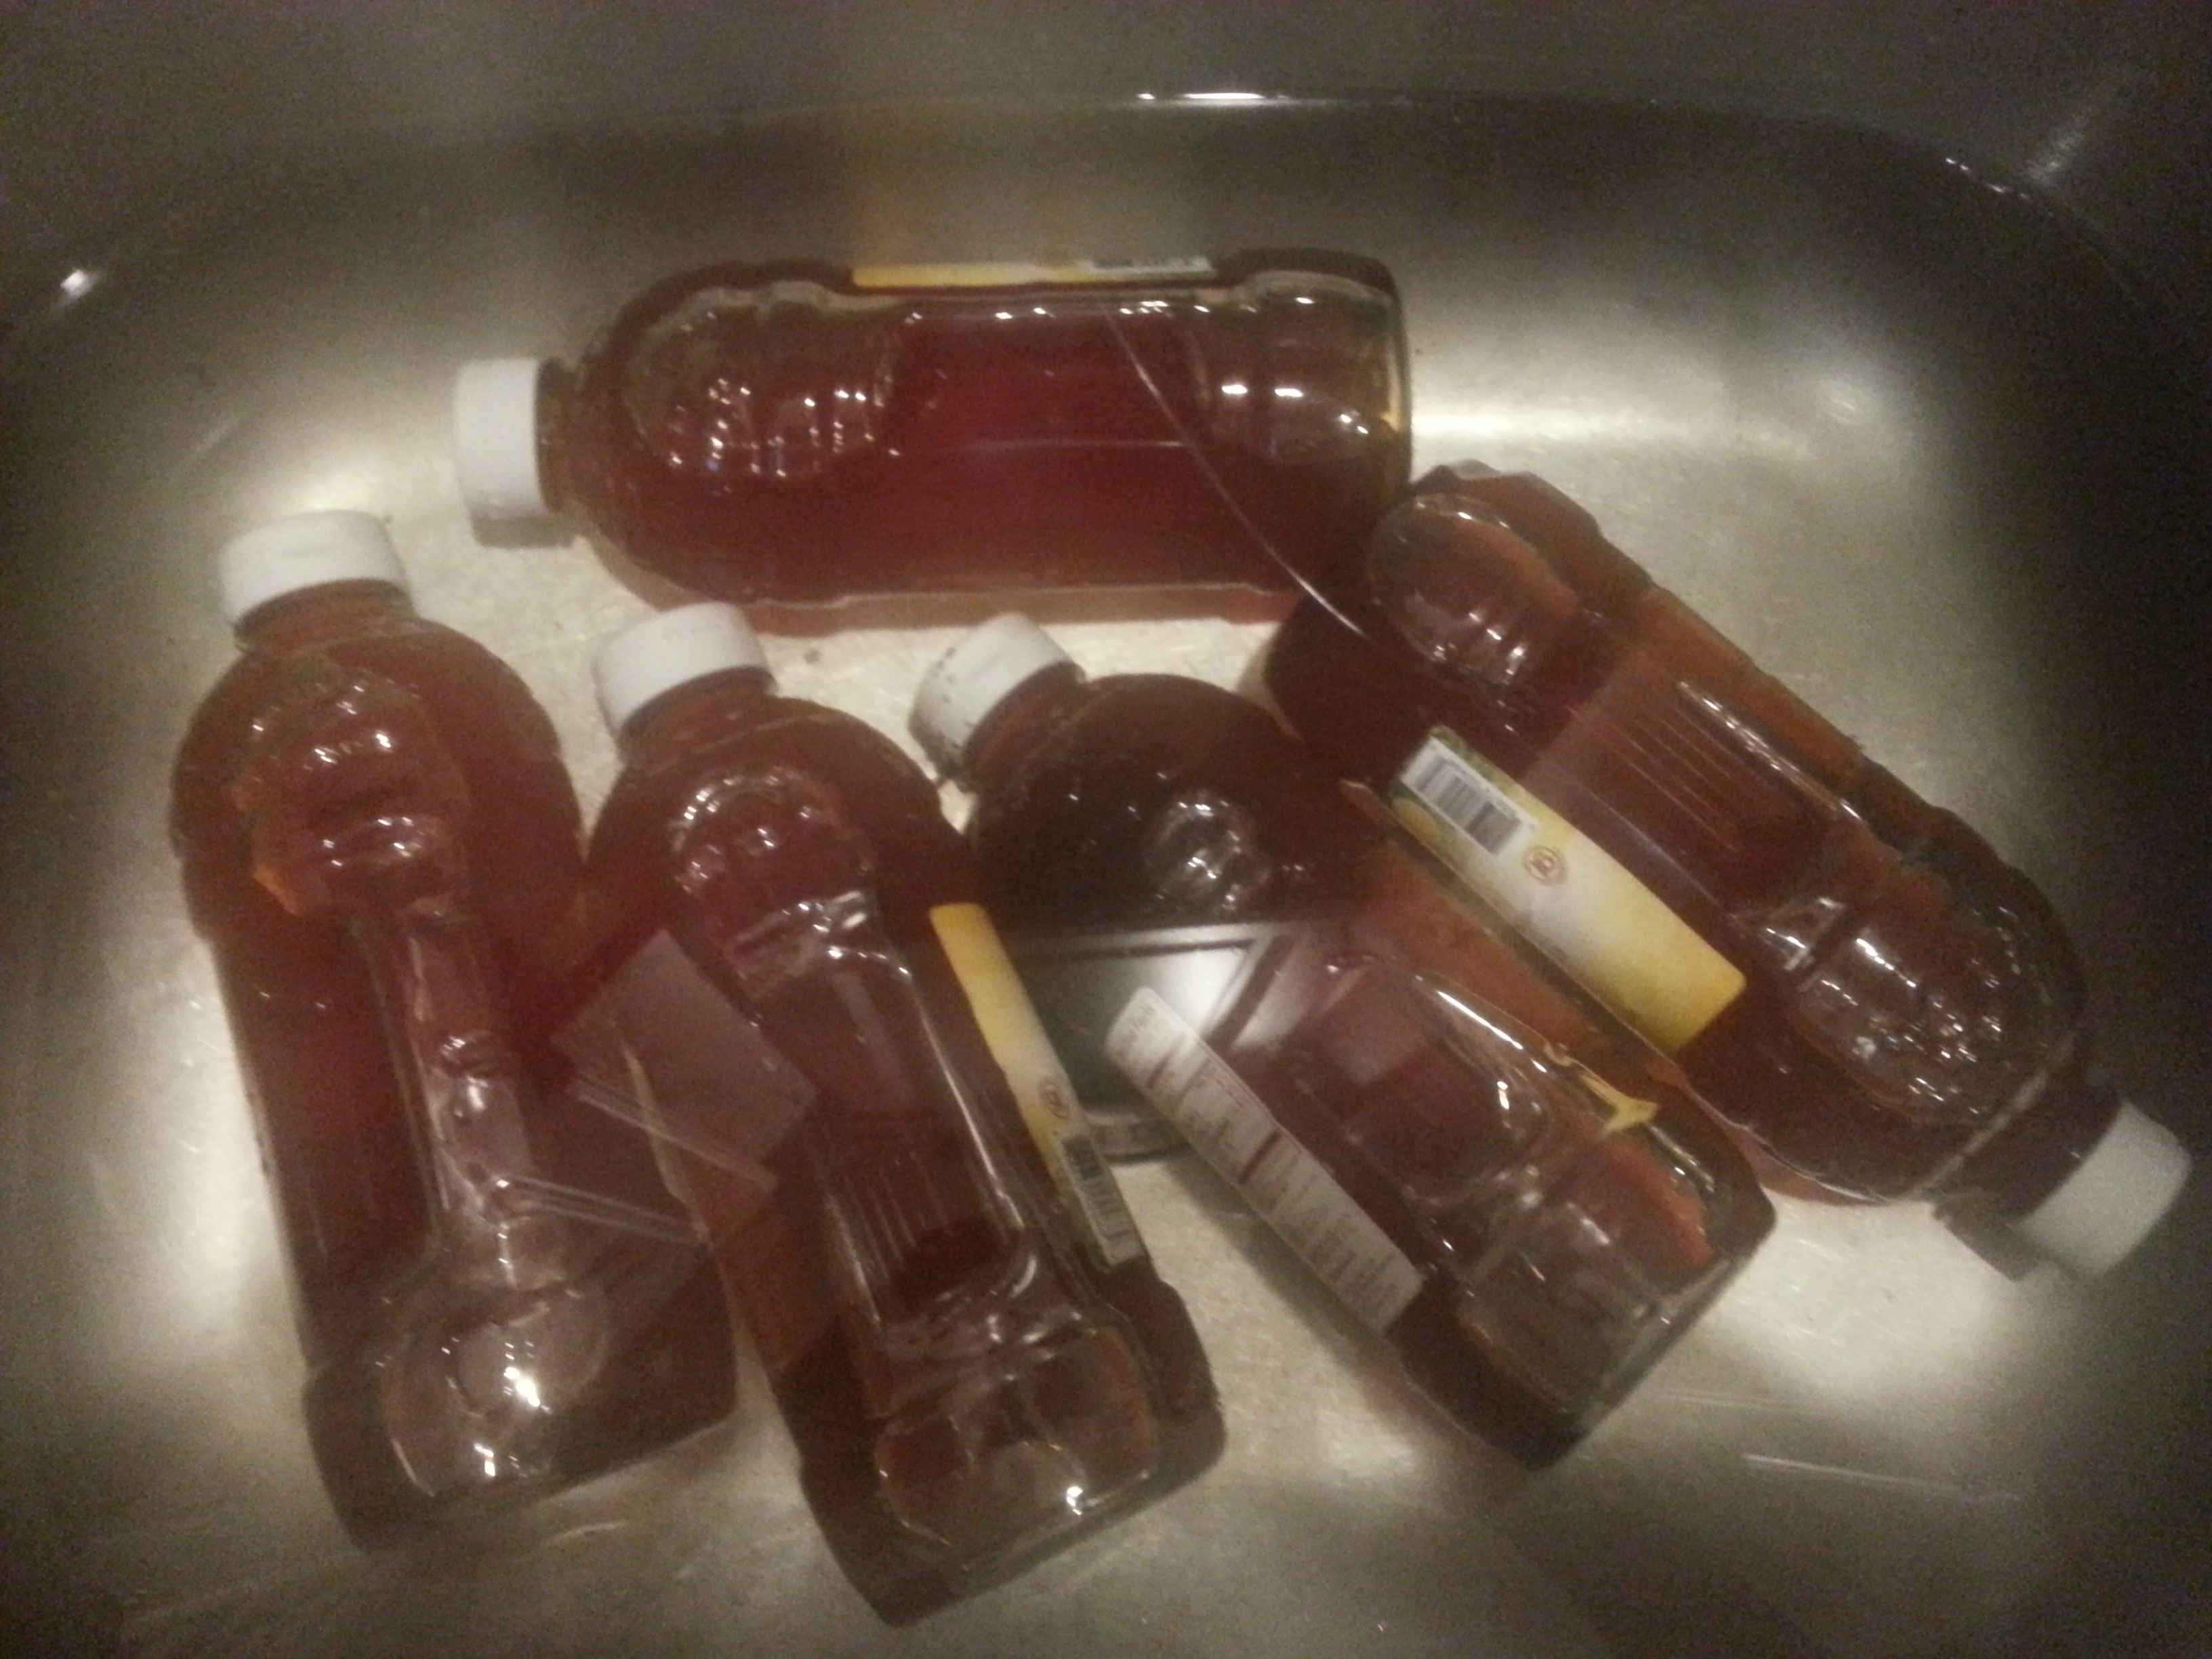
It took me a while to grieve, but I’m finally ready to give it another shot. I am, as always, using the cheapest honey I can find. These handsome three pound bottles came from the bulk store and cost $8 apiece. As you can see, I bought so many they let me keep the box.
The rule of thumb I’ve discovered is that three pounds of honey makes for one gallon of mead. It was six gallons I lost to the honey gods last time, but on this pass I’m going to do a modest five. One of Ben’s birthday expansions was a new five gallon carboy I want to use, and this sixth bottle I’m saving for a strawberry melomel I’ve got in mind.
So that means a paltry five bottles, or fifteen pounds, of honey. That’s heavier than my cat, and he’s fat!
There are very different schools of thought on whether or not to boil honey before fermenting it. Lots of people, including the author of my mead book, believe that you should for sanitation purposes. Plenty of purists are horrified at the thought, because being unheated is what makes raw honey so special and so much better for you. Since my honey was delivered on a pallet and was most assuredly boiled at some point, I’m not too worried about that. Purists of a different sort, however, insist that honey doesn’t need to be boiled because microbes can’t survive in it and it’s essentially sterilized from the moment it comes out of the bee. This school of thought requires less work, so I’m inclined to go with it. All I did was submerge the bottles in a warm bath for a few minutes to get the honey flowing at a rate that wasn’t maddening.
Weight was a big consideration working with five gallons of liquid. I can carry my one gallon batches up and down the stairs all day, but five gallons is a different animal. Not only do I not think I could carry that much mead down two flights of stairs, I would never want to. Just the thought of losing another huge batch, this time on the stairs, brings tears to my eyes. But my basement is dark and scary and the sink, while existent, is far from sanitary. I split the difference and did as much work upstairs as I thought I could manage – two gallons of water and all fifteen pounds of honey. It was heavy going on the starirs, and visions of the bucket’s handle breaking flashed before my eyes, but I made it.

The warm bath worked like a charm, and the honey flowed right out.

Once each bottle was empty, I ran a little bit of water into it, shook it like there was no tomorrow, and added it to the bucket. This caught a lot of that pesky honey clinging to the walls and, I hope, really oxygenated the must.
I wrangled the bucket down to the set of Saw VII and added the final gallon and change of water. I mixed the honey and water like crazy, added two packets of rehydrated yeast, secured the lid and airlock, and left it to work its magic.
Now it just has to pass the next couple months not on the floor, and we’re in business!
My first mead was good! I’m as surprised as anyone. And since the only thing to do with moderate success is run with it until you trip over yourself, I’ve whipped up two more meads. They’re flavored, more ambitious, and a lot more free-wheeling. On the left we have raspberry mead, and on the right we have lavender mead. Both are bubbling away nicely.
Now for a note on honey. Here’s the thing about honey: it don’t come cheap. Or more correctly, it don’t come cheap unless you buy the cheap stuff. There will come a day when I have the money to buy humanely raised meat and raw, local honey. I hope. But it is not this day. Particularly when I’m still learning, I’d rather not pay top dollar for my honey. For my first batch of mead I used generic brand, pasteurized clover honey from my neighborhood grocery store (as far from purist as you can get) because I didn’t know what to expect and didn’t want to spend too much. And I was so happy with the results. So for the moment I’m sticking with my cheapo, heated, store brand bulk honey and aiming for quantity (and therefore variety) rather than quality.
That being said, I’m trying to make improvements in quality where I can. I thought my grocery store strawberry wine was a little lacking, so I’ve flavored my crappy honey with home grown ingredients. The raspberries were grown in my parents’ garden and frozen at peak ripeness. The lavender was donated by my community garden neighbor Ken, who’s getting overwhelmed by his huge lavender bush.
I wish I had that kind of problem. This is my lavender bush at present.
It’s over a year old and still so tiny!
Anyway, I had a hard time finding a definitive recipe for lavender mead online. There were plenty of rumors and memories of friends of friends who make it all the time, but nothing really concrete. And the few details that were concrete varied wildly, from steeping the lavender into tea, to leaving it whole in the mead for a month, to leaving it out completely until bottling. I’d already picked my lavender, so that last one was right out. In the end I decided to make up my own recipe, roughly adapted from this guy’s vague remembering.
In a sterilized pot I heated some water to 160F, then added an ounce and a half of lavender flowers. I let them steep until the water turned to a nice golden brown tea and the whole house smelled like lavender. I may have driven my roommates away for the night.
I let the tea cool a bit, then combined it in a gallon carboy with three pounds of honey. I topped the carboy up with water, added yeast nutrient and sodium metabisulfite, shook it up, and let it sit for a day with a towel over the top.
This may not have been a good idea.
I swear I’ve added nutrient and metabisulfite to must simultaneously before, but maybe never in a fully topped up carboy. When I checked on it the next day, the must had bubbled up into what was by then a very crusty towel. My suspicion is that I  was feeding the natural yeasts from the lavender at the same as I was inhibiting them, and the feeding won out in the end. If this is the case, I may have some sub-par mead on the way.
Then again, I may have just shaken it too vigorously and the bubbling over happened in the first minute.
Only time will tell. Or maybe it won’t.
My raspberry mead had some hangups, too. Actually, raspberry mead isn’t called mead, but melomel – a fermented mixture of honey and fruit.
My raspberry melomel had some hangups, too.
I thawed and smushed the raspberries (just under two pounds) and shook them up with three pounds of honey, some sodium metabisulfite, acid blend, pectic enzyme, and enough water to equal a gallon. I did not add any yeast nutrient, because the recipe I was vaguely following didn’t say to. Maybe these recipes know what they’re talking about, because this one did not bubble over in the night.
The next day, however, I continued to follow my recipe closely and set my yeast and nutrient in a cup of water to get it started. I then poured it into the carboy and the liquid filled up straight to the top. No room for even a single bubble. Until now I’ve been pitching my yeast straight into the must, and for some reason it didn’t occur to me that extra water would mean extra volume. Whoops.
I had to get some of the liquid out; I was afraid that the very first bubble was going to pop the cork off this thing. The whole top layer was yeast, though. I wanted to get rid of the liquid in the middle. I eased the auto siphon in and the carboy promptly overflowed. There went a lot of my yeast. I released some liquid and pulled out the siphon. It was coated in a lot more of my yeast. No!
There was no immediate activity in the airlock, and I was worried I’d completely eradicated the yeast. I didn’t want to add more, though, in case I wound up with too much. I decided I’d give it until morning to start fermenting, and went to bed uneasy.
Lo and behold, this is what I woke up to! The next morning the raspberry melomel was bubbling with a vengeance, as was the lavender. They’ve both been put in cool and dark storage in the cellar.
The main lesson I’ve learned is that there’s no reason to do a primary fermentation in a carboy. I’m not sure what possessed me to do it, and to do it twice! The little bit of liquid I removed from the melomel tasted fantastic, though, so I have high hopes.
Just as long as those seeds don’t sprout…
I am on a wine kick. I’m not sure where it came from. A year ago my roommate and I made a mostly successful IPA from an ancient graduation gift beer kit. Since then we’ve made two more downright drinkable beers from Brooklyn Brewery kits, although I think I may have overdone it on the carbonation… Look at that head!
I’ve been itching to make something more homemade, though, and since it’s June, fruit wine seems like a good direction to go. I bought this fabulous 6 gallon carboy off a very nice craigslist man, along with a 6 gallon bucket with a grommeted lid and more supplies than you can shake a stick at, all for $40.
It’s a lot of responsibility, coming up with a wine I can afford and am confident I might like enough to make 5 to 6 gallons of the stuff. I’ve settled on mango wine, mainly because mangoes were on sale and are a heck of a lot cheaper than berries. I will be following this 32-year-old recipe from the Rare Fruit Archives of Australia because it’s the first one I found that sounded doable. And because I like the sound of it.
That will be a separate post, though, as I’m still waiting for the champagne yeast to come in the mail, and I’m typing with my feet drawn up on my chair because there are twenty pounds of mangoes softening in paper grocery bags under my desk. Until then, a quick look around at the operation I’m trying to get going.
No one has lived in the apartment below ours for a year now. 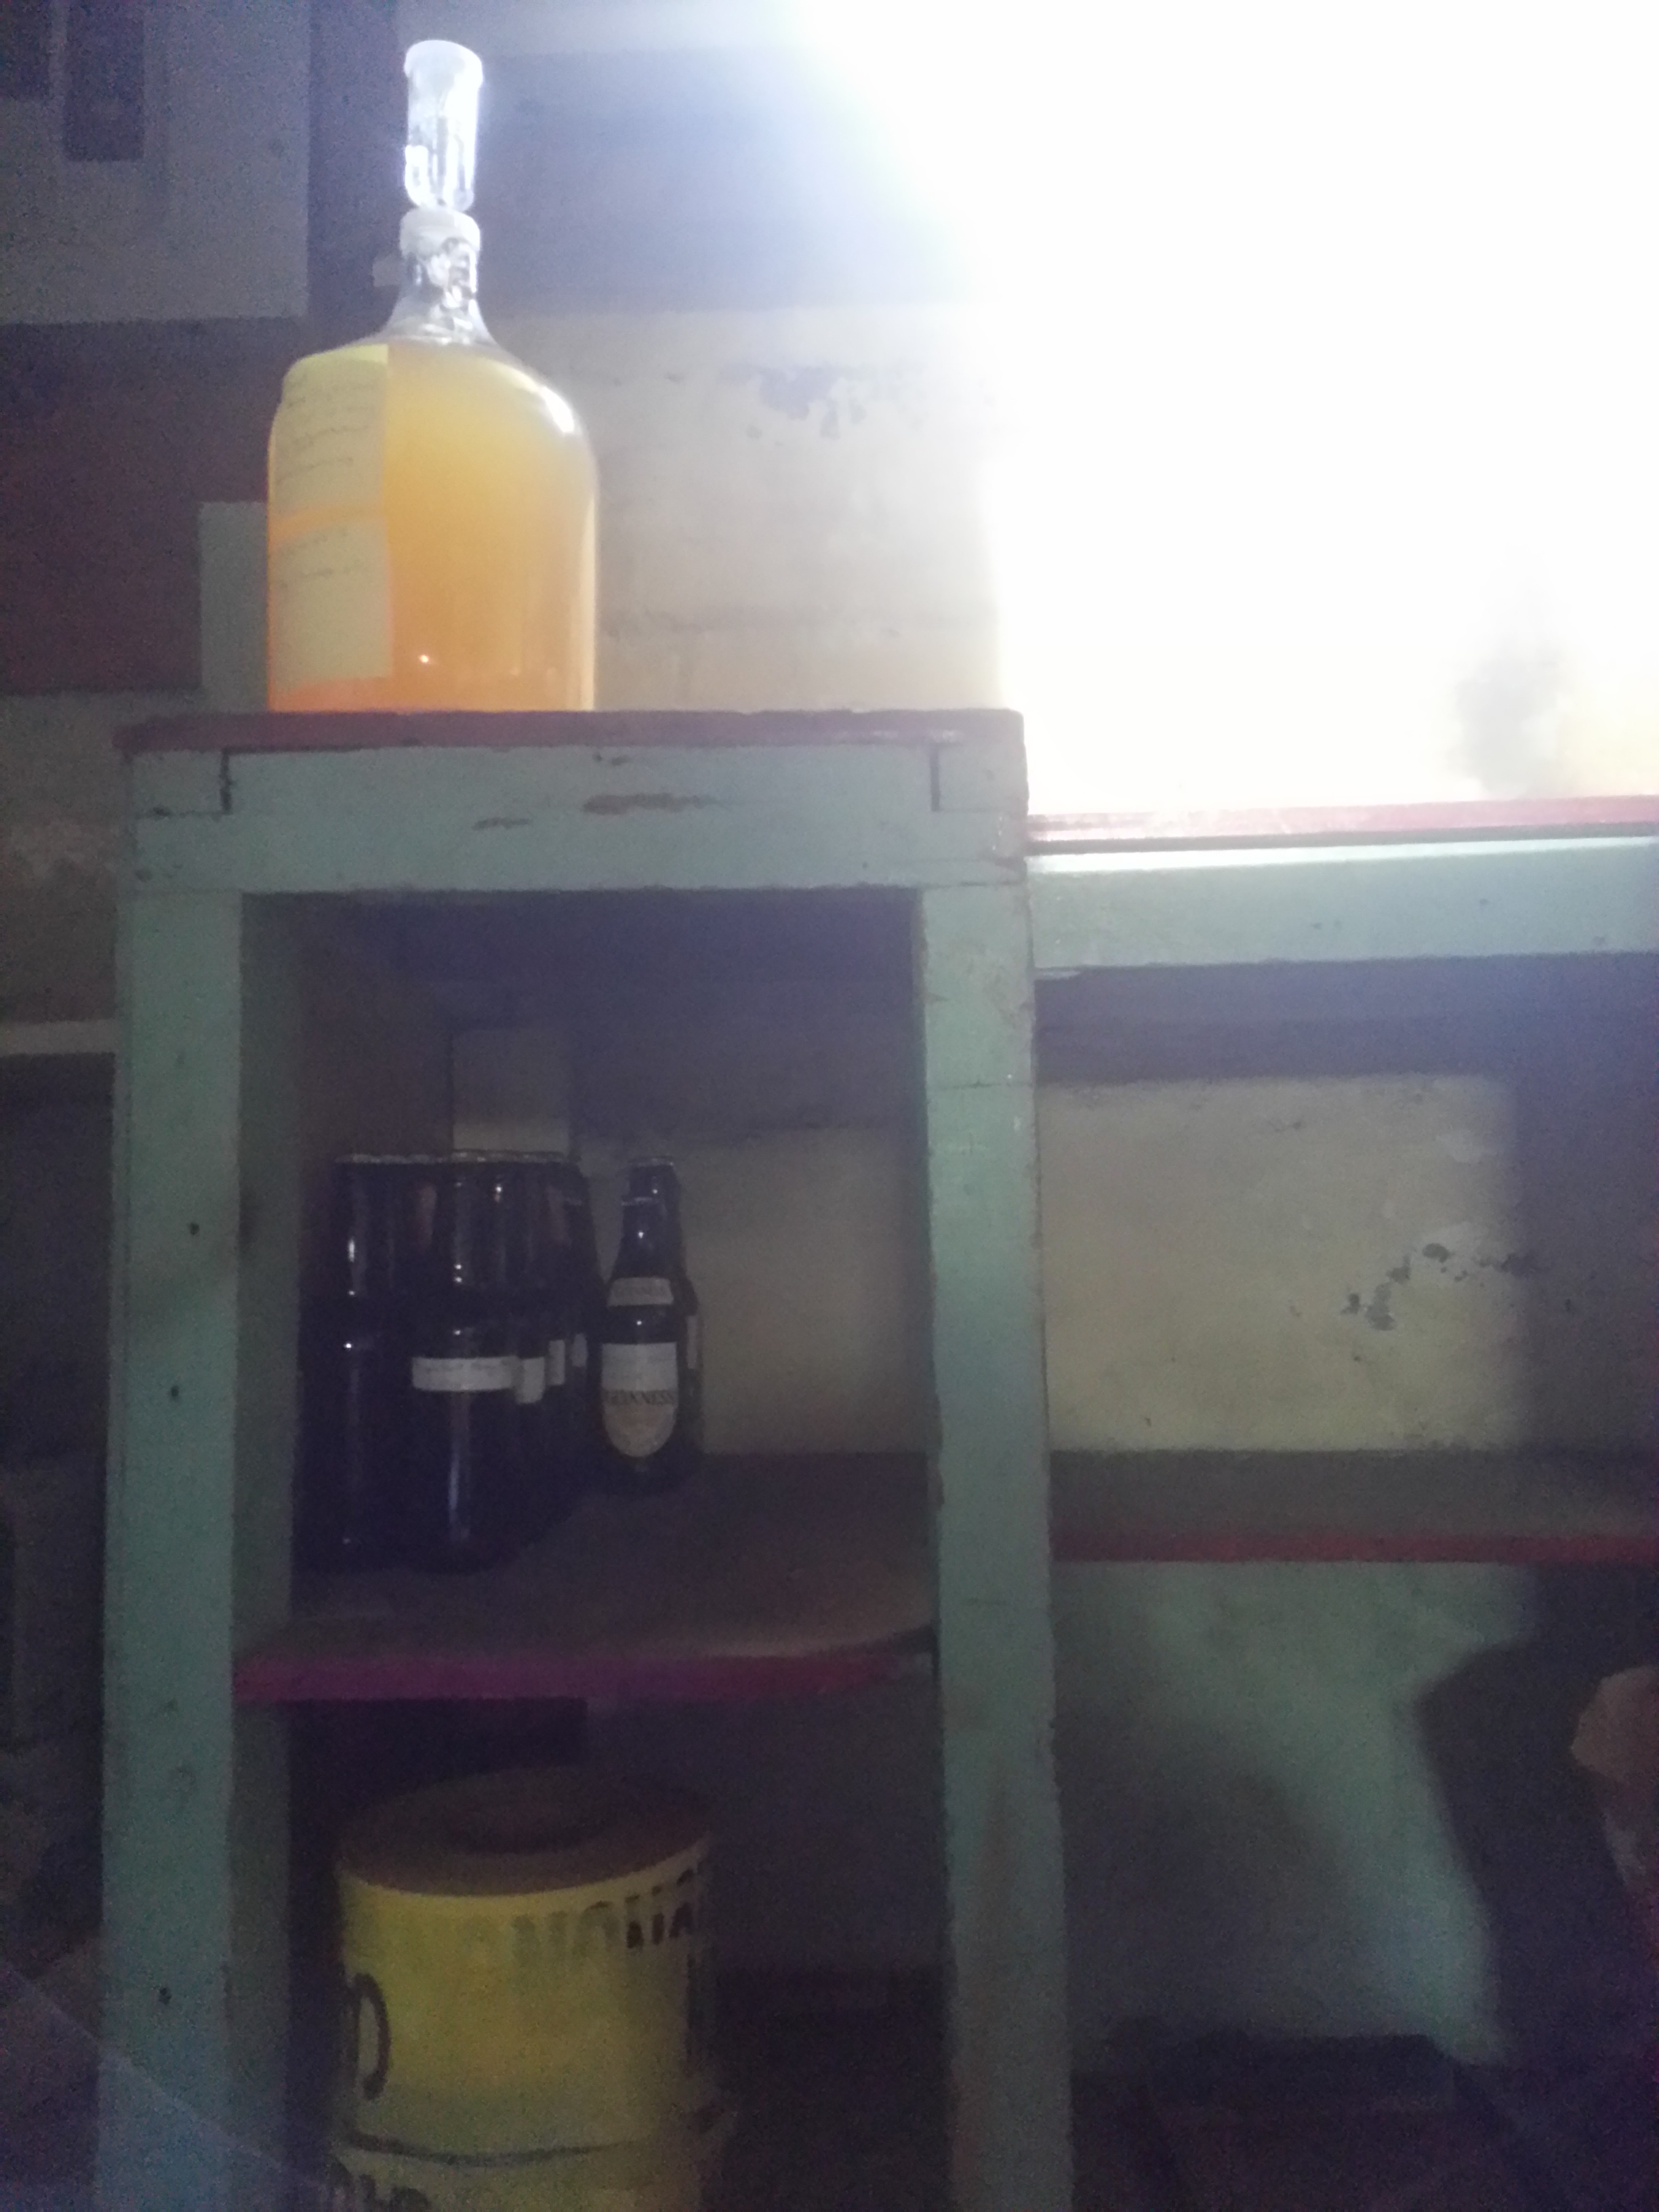 This means their basement storage room is unoccupied, apart from all the junk they left behind. Until someone new moves in, I’m appropriating it as my wine cellar! There’s a great, reasonably dark shelf for finished bottles, where I’ve put what’s left of the beer. And another, darker shelf for all that caution tape the neighbors were hoarding…
I’ve also got two wines fermenting down here already. I brought them out into the light for a photo-op; they’ve been living off to the left of the frame in a dark corner. I’ve read many a forum argument about whether dark is necessary for wine or just an old wives’ tale. The jury appears to be out, but I figure if I’ve got the dark I might as well use it.
The pink fermenter on the right is a strawberry wine. When I transferred it from its primary vessel I had a terrible time separating the liquid from the berry sludge that formed, and now I have a pitifully shallow fermenter that still somehow has a ton of sediment. When I rack it again I’ll have to decide if I make up for the lost space with water or just move it to a half-gallon jug.
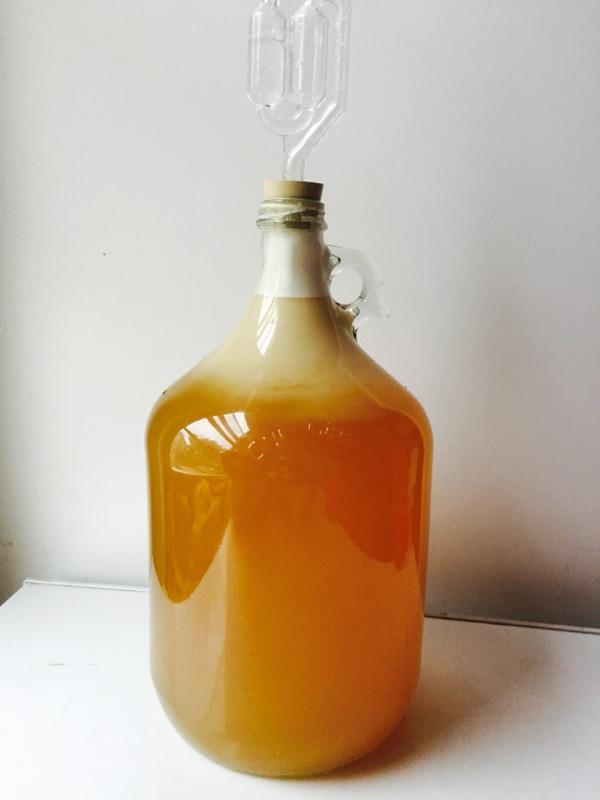
The yellow fermenter is mead that I’ll be racking as soon as the bubbling dies down. By the numbers it should be any day now, but the yeast is still going strong.
The bubbles in the airlock have actually formed a very cool honeycomb pattern. For a while I had a half-baked idea that this had something to do with the high honey content. And then I found the same pattern in the strawberry airlock.
And then I realized that idea was ridiculous.
