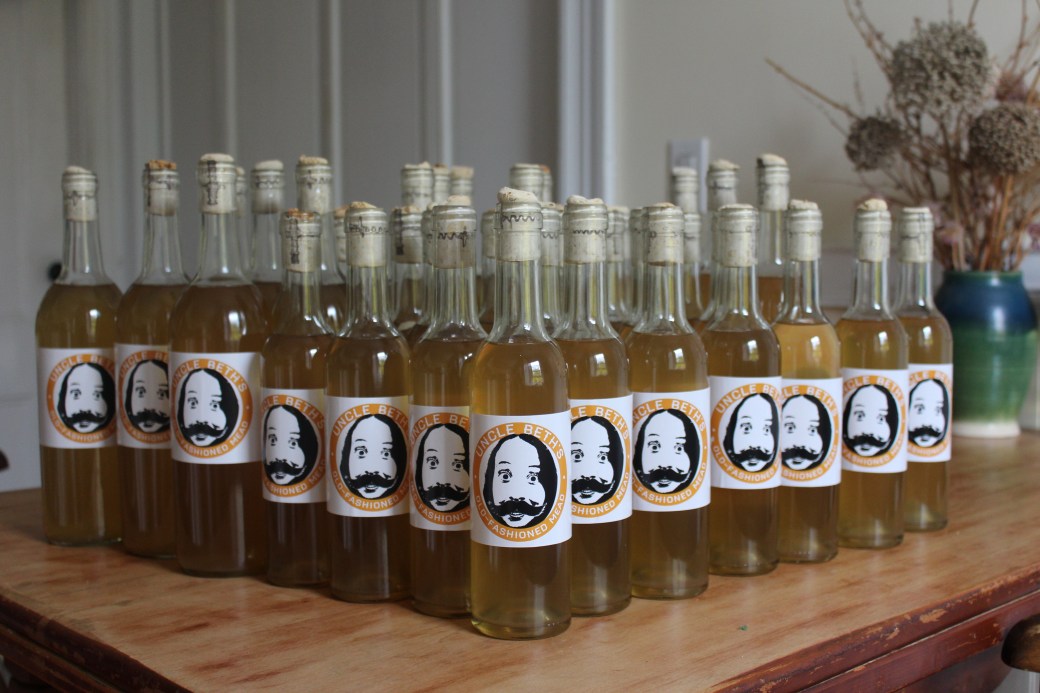
New labels and matching bottles in 750 and 375 ml. Uncle Beth’s Old-Fashioned Mead is movin’ up in the world.
New labels and matching bottles in 750 and 375 ml. Uncle Beth’s Old-Fashioned Mead is movin’ up in the world.
Back in May I started 5 gallons of strawberry wine. It’s September now, which means it’s time to bottle!
Actually according to my post-it, I should have bottled back in July. But a little extra ageing never hurt anybody.

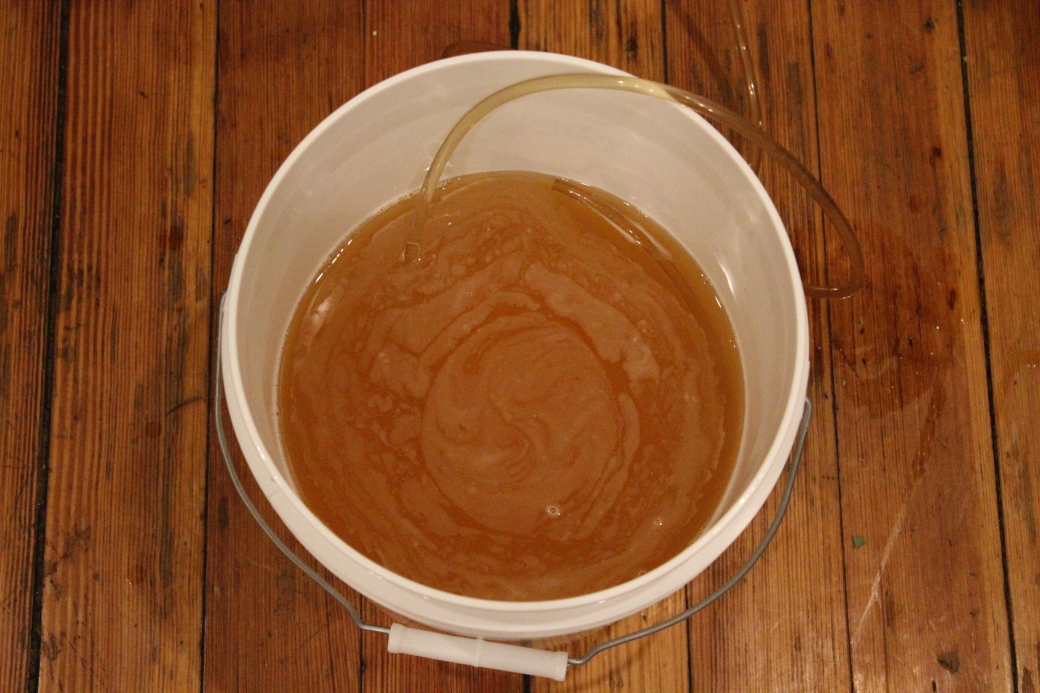
I siphoned all the wine into my huge bucket. I had hoped that using extra strawberries during fermentation would leave some residual sweetness, but I hoped wrong. It was extremely dry.

I like sweet wine, and I think the strawberry really benefits from the sweetness, so I mixed up some honey in warm water and added it as the wine was siphoning.

I put in 5 Campden tablets and 2 1/2 tsp potassium sorbate to keep the yeast from going after the new sugar source.

With a bucket full of wine, I started bottling.

My parents drink more than I do (though that’s not saying much), and they diligently save their empty bottles for me. I like the motley look.

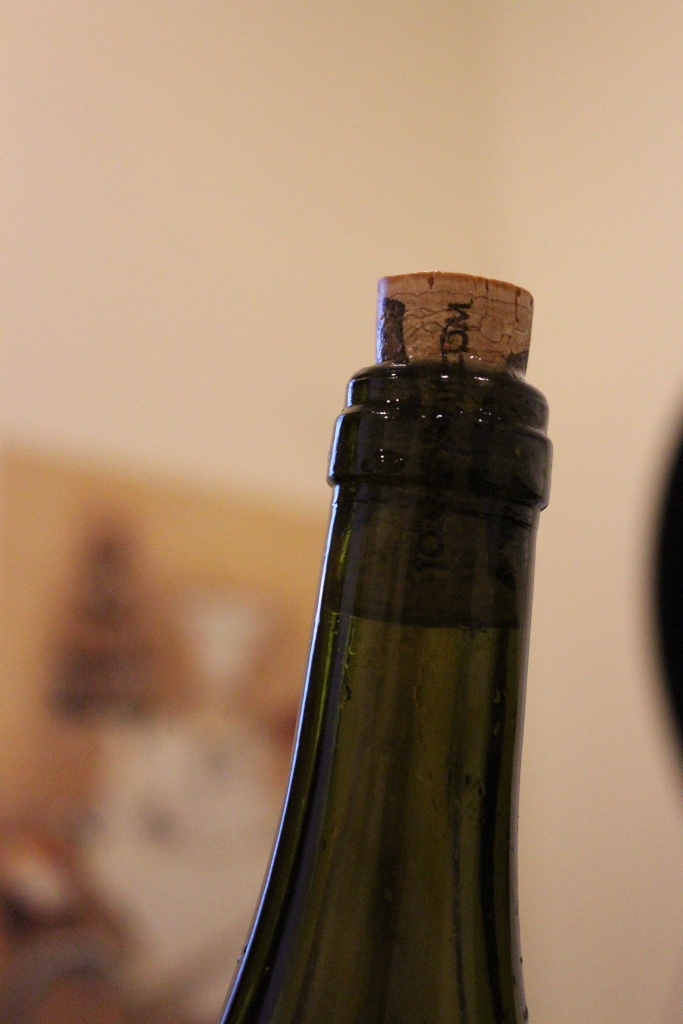
The bottles full, it was time to cork. Technically, I have a corker. In the strictly legal definition of the word, I do. It is, however, terrible. With one hand you have to squeeze two handles together to compress the cork, and with the other you have to press down on a lever to drive it into the bottle. All while not shooting your open bottle of wine off across the room. I tried to use it myself. I really did, and I just didn’t have the strength. My roommate Will stepped up to the plate and just barely managed it. What a man!
My birthday’s coming up, and I think I know what to ask for.

It was a real struggle, but we got there in the end with 8 regular bottles and 8 double-wides. I’ll have to order up some new labels.

I think I’ll call it Uncle Beth’s Fancy-Ass Wine
Storm’s comin!
New England has been battening down for Tropical Storm Hermine. So far she hasn’t brought much more than a dreary break in the stunning fall weather, but Monday had some high winds that got me worried about the fruit in the garden. The perimeter fence has a few big old concord grape vines that belong to no one in particular. This year I decided (with the garden manager’s permission, mind you) that at least some of them belong to me. So I braved the pre-Hermine gusts and rescued the ripest ones.
I didn’t weigh at the time, but I’d guess I picked about ten pounds.

My initial plan was to make a big batch of wine. The king of concord grape wine is Manischewitz, which I’ve always had a soft spot for because it tastes just like grape juice. I followed that logic and asked myself: wouldn’t it be nicer just to have grape juice?
Yes it would.
My parents have made grape juice for years. I think it might be my grandmother’s recipe. The jars line a shelf in the basement, and a couple always get brought up for Christmas and Thanksgiving. Gosh is it good. The ingredients, emailed by my mom, are:
And that’s it! Since it’s not fermented, it has to be processed in the canner. I heated up a bunch of quart jars to sanitize them.

I dealt with the jars one at a time. I removed one from the canner, dumped in the sugar and grapes, and filled it almost to the top with boiling water. The water turned out to be the limiting factor, since my kettle only held three jars’ worth.

The jar full, I fitted the screw top lid and put it back in the canner. Once all the jars were done, I added more water so the jars were completely submerged. I raised the heat to a hard boil, put the lid on the canner, and processed for 20 minutes. During those 20 minutes I made an unsettling discovery – my canner is so big it has to straddle two burners, and with the water high enough to cover the quart jars, it spills over the sides… straight onto the open gas flames below. Twice I had to turn off a burner when the flame went out completely. I can’t imagine this is good for the stove, and it sure wasn’t good for my peace of mind. Maybe I’ll have to invest in an outdoor camp stove.

I processed two batches, making for a dozen jars and 3 gallons of juice. At this point I ran out of quart jars (and patience watching for gas leaks). I had about 3 1/2 pounds of grapes left, so I mixed them up with some sugar and yeast. We’ll have about a gallon of knockoff Manischewitz after all!
There are three distinct layers in the jars, but I have it on good authority from my mom that this is normal: “Do not stir or shake the juice. You’ll think you’ve screwed up because the grapes and sugar will sit in the bottom. As times passes, the grapes will move, the sugar dissolve, and the juice turn pink/red.”
Well, my grapes are on the top. Hopefully that doesn’t matter.

Of the twelve jars, one didn’t seal properly for some reason. Since I can’t store it, I’ll just have to drink it. I shook it up to mix in the sugar and poured a glass. It’s not as dark or as strong as the goal, but the taste is perfect. Three gallons may not be enough.

Glass courtesy of Endless Brewing, my beloved hometown brewery. Go see them and tell them I sent you. You probably won’t get a free beer, but you’ll almost definitely get a smile of recognition. And the beer is worth it.
No, not strawberry rhubarb wine. Though there’s an idea…
I’m making strawberry wine and I’m also making rhubarb wine. Both of these wines hold the hallowed title of Good Enough to Do Again. These were two of my earliest and roughest attempts at wine making, but somehow they turned out the best.

Last year’s rhubarb wine did not inspire confidence at first. It looked like dishwater and tasted pretty strange. But recently a bottle of it worked its way into the fridge, and I was as surprised as anyone to find that it tasted really good. Everyone says that ageing wine improves it, but I’ve always been dubious. What could possibly be going on in that bottle? But I’ve been at this long enough that some of my bottles are starting to reach the 1 year mark, now, and I have to admit to seeing a difference. (At least with the rhubarb. The bottle of last year’s blueberry I opened seems to have spoiled).

So I’m back at it! The rhubarb is mostly from my parents’ garden, with a little supplemented from our community garden. I followed this recipe scaled down to one gallon.

The strawberry wine I did not scale down. Last summer I made two separate gallon batches that were rousing successes, so I decided to shoot for 5 gallons this time. Sticking to my cheap guns, I bought these bargain berries at the bulk supply store. Maybe I’ll do a smaller batch with real local berries and conduct a dispiriting taste test.

I sanitized my biggest bucket and lined it with a nylon cloth. My first strawberry wine had a lot of debris in it and actually started to sprout. Not this time!

Berry by berry I removed the hulls and quartered the fruit. All 18 pounds of it. The recipe I’m following recommends 12.5 pounds for a dry wine and 25 pounds for a dessert wine. My past recipes have been light on fruit and then backsweetened with honey. This time I’ve upped the fruit and sugar and am hoping for a natural residual sweetness.

The berries cut, I barely covered them with water and added a dash of wine tannin, a healthy dose of pectic enzyme, and 1/4 teaspoon of sodium metabisulfite. I draped a towel over the bucket and left it in the closet overnight. During that period the pectic enzyme and water started to break down the fruit and the sodium metabisulfite sanitized it. At least that’s what I’m told.

By the next night the pectic enzyme had certainly gotten to work. The berries were already limp and pale and the water had become a thick juice.

I added water up to the 6 gallon line, and then I went sugar crazy. I checked the gravity after mixing in what felt like an unholy amount of the stuff – it was right around 1.060. My recipe recommended 1.078 for dry and 1.100 for dessert, so either way I had to keep going.

In the end I used one entire 10 lb. bag of sugar on the nose. This brought my gravity to just under 1.100, or a tiny bit less sweet than dessert wine.

Finally I added 5 teaspoons of yeast nutrient and a 5 gram packet of champagne yeast. I covered it loosely with the bucket lid and pushed it to the back of the closet. By the next day it was bubbling vigorously and giving the bedroom a very distinctive smell.

I gave the fermentation exactly a week, stirring and prodding the fruit bag a couple times a day. Once the bubbling started to slow (and I found someone big to lift the bucket up onto the counter for me) I racked it into a five gallon carboy.

The nylon bag was a lifesaver. I’ve fought some vicious battles with fruit pulp in my time, but the bag just lifted straight out. That being said, a week’s fermentation didn’t leave much inside it. What had been a huge volume of fruit got condensed down to little chunks of seeds and fibers. Strawberries, it turns out, are mostly water.

Since the strawberries added more than I was expecting to the liquid, I actually collected 6 gallons of wine instead of 5. I filled the big carboy completely with free runnings and a 1 gallon jug with juice squeezed directly from the nylon bag… into an unsanitized bowl. Because I am a fool. I hadn’t been planning on squeezing juice from the bag, so I’d just plopped it in any old bowl. Thank the lord the 5 gallon filled up before I had the chance to fill it with rogue bowl microbes. As it stands I may have contaminated that extra gallon, but it was a bonus gallon anyway. And I may get lucky. We’ll just have to wait and see.

All told I have some beautiful colors. The two on the left are strawberry, already producing some impressive sediment, nylon bag or no. The one on the right is rhubarb, basically sediment-free and a fantastic shade of pink.

Maybe I’ll serve the two together and let people make their own strawberry/rhubarb.
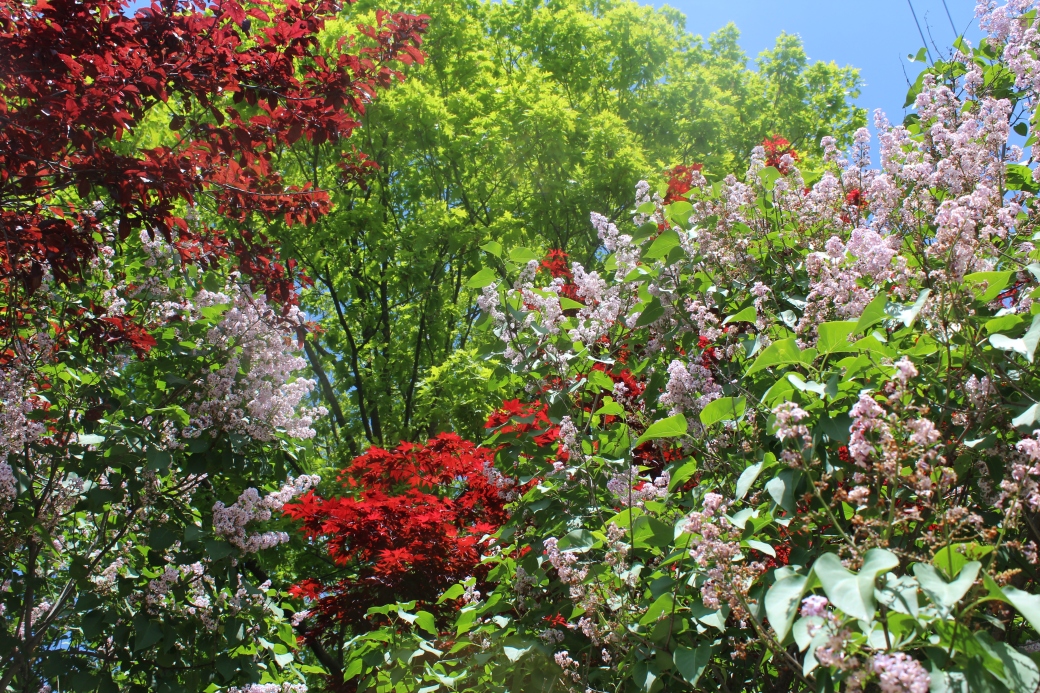
The lilacs are in full bloom in Providence.
I never realized how many lilac bushes were around until I started looking for them, but it seems like they’re everywhere. I stumbled across this recipe last summer, long after I’d missed my chance. I’m timing it right this time.
I considered trawling the city and snipping blossoms here and there from people’s yards. They’re usually drooping over the sidewalk, and who would miss a few flowers? That’s more sneaking than I’m used to, and with a recipe that calls for nearly a gallon of blossoms, that’s a lot of trooping around.
Luckily the community garden has a huge lilac bush that I felt much easier about taking from. My fellow beekeeper Kim actually started it in a pot in her kitchen 12 years ago. It’s come a long way since then. And since our garden is organic (and I did find the odd worm picking through the flowers) I feel reasonably confident that I won’t be making pesticide wine.

I didn’t want to clean out the bush of its flowers, so I spread my harvesting over two and a half trips, trying to take only the most open sprays. This is one harvest’s worth, bunched together into a super spray.

The thing about lilacs is that its sprays are actually made up of scores of tiny individual flowers. I became intimately aware of this fact as I pulled each and every one off of its stem.

I have gazed into the abyss, and it smells amazing.

After destemming my first day’s flowers, I sealed the bag and put it in the freezer to keep them from wilting.

This worked better than I could have hoped. They kept their shape and (mostly) their color. They look like they belong on top of a cake.

A few days later I repeated the process and may have made a huge mistake. Instead of starting a new bag, I just threw my fresh flowers on top of my old frozen ones. An hour out of the freezer and in my lap did the frozen flowers no favors – they thawed into a nasty brown mass.

All the flowers here are frozen – can you tell which are from the first day and which are from the second?

The brown flowers notwithstanding, they really were beautiful. I was worried the brown ones would spoil the whole batch, but I didn’t have enough volume without them and I was so sick of destemming sprays by this point. I reasoned with myself that all the flowers would lose their color once they thawed, and these had just had a head start. Against my own better judgment I used both brown and purple flowers.
Sometimes it doesn’t feel like a real project unless I’m needlessly jeopardizing the whole thing.

I boiled 7 pints of water and dumped it over the flowers to make a lilac “tea.” I’ve found a few recipes for lilac wine, and they all recommend letting this tea sit for 48 hours. I’ve also found quite a few comments on these recipes complaining that 48 hours of sitting turned their lilac tea to rotten mush. I can believe it – two days is a long time to leave wet flowers in the dark. I gave my tea 24 hours and called that more than enough time. How strong does this tea need to be, anyway?

I was happy to see that most of the flowers had turned brown, but a little unnerved that all of them hadn’t…

I ran my tea through a sieve to separate liquid from solid. Is the tea purple? Lord no. It’s an amber color that looks, for lack of a better word, like tea.

I put my tea in a fermentation bucket and added everything but the yeast. This included a crushed Campden tablet that would sterilize the must over the course of another 24 hours. I also added a teaspoon of yeast nutrient and enough sugar for my hydrometer to read 1.160. I was just a little short on sugar and made up for it in honey. This is the first wine I’ve made by adjusting the sugar to the correct amount instead of blindly adding the number of cups the recipe calls for.
It only took me a year of winemaking to get my act together.
What I don’t have, however, is a way to measure acidity. Some recipes call for 2 lemons’ worth of juice, while others call for 2 tablespoons of juice, the equivalent of about half a lemon. Remembering the horrible astringency of my cucumber wine, I erred on the tablespoon side of things.
I hope I made the right call.

I mixed all these ingredients together and let them sit under a towel. After 24 hours I sprinkled a 5 gram package of Champagne yeast over the surface and replaced the towel.

The next morning I gave the must a good stir and was met with bubbles. Fermentation is definitely under way. The color is still brown but not un-purple. I’d call it a mauve.
More importantly, it smells wonderful. I gave it just a splash of honey, but it’s really coming through. Besides that, it has a floral scent that’s surprisingly delicate and is blending really well with that classic fermentation smell. I have very high hopes.

Since I’ll have to wait a whole year to make this again if it’s any good, I might have to strike while the iron’s hot and snatch up enough flowers for another batch.

Maybe pay the neighbors’ gardens a visit…
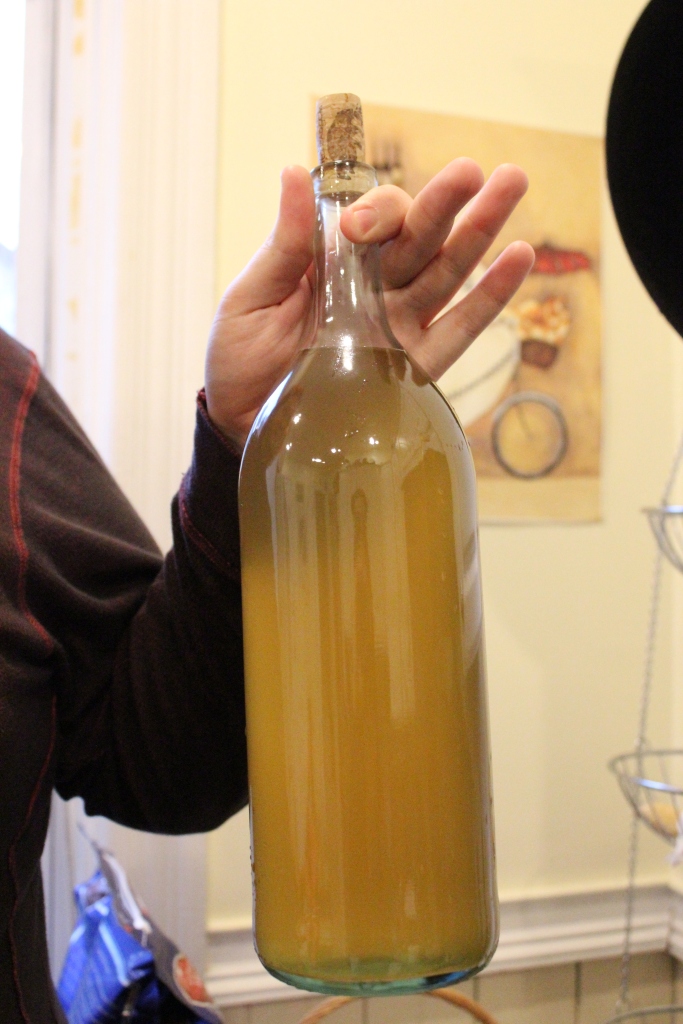
Last November Kim and I started a gallon of mead with our bees’ honey. Since then I’ve been racking it occasionally but mostly forgetting about it. I discovered it again recently and declared it ready to bottle.
It was, like everything I make, extremely dry and boozy, so I back sweetened it with 1/4 cup of honey. Booziness aside, I’m very happy with it. It’s so different from the store honey mead and, dare I say it, better. I’d say it tastes richer and has a stronger honey base. There’s also a lot less of it. I’ve been free with the 5 gallon batch of mead, taking it to parties and pawning it off on friends, because 5 gallons is a lot to have of anything. One gallon, on the other hand, filled just 11 beer bottles. Beer bottles are perfect for gallon batches, because they can be portioned out more slowly.
They’re also perfect for my small homemade labels. Technically this was the prototype for the official label, but I think I like it more.

It’s about time I had some good mead news.
My first big batch leaked all over the floor, and I was too depressed and sticky to even write about it. My second batch started out strong, but then it just kept getting stronger and bubbled longer than it had any right to.
But this batch… is still the second batch. It’s the same mead, hastily thrown into four separate containers to try to stop fermentation because I didn’t know what else to do. But here’s the thing:
It’s actually good!

I’d been dreading opening up these fermenters, and I put it off for a few months. This may actually have been the best thing I could have done. All the mead makers I’ve talked to have said the same thing – if you don’t like it now, just forget about it for a while.
Tommy was visiting from Texas, which got me inspired. He’s always up for some good blog fodder. We hauled up the mead and gave it a taste. It was outrageously boozy – everything I make is. I need to get a better handle on the fermentation process so I can stop warning people not to pour a full glass every time they open a bottle of wine.
Five gallons of mead is a heck of a lot of mead. My parents have been stockpiling bottles, though, and handing them off every time they see me. It felt excessive until I actually needed them. I was especially grateful for the big double wide bottles, because they gave us extra time to think between fillings.
The corking was a bit of a pain. The corker is inherited from my dad’s wine making days and is made of plastic older than I am. You have to press with all your strength for it to work, but I’m worried all my strength will snap it in half. Some corks didn’t make it as far as others and had to be redone later.

When all was said and done, we had 10 normal bottles and 7 double sized bottles. I’d painstakingly removed the labels from a few, but when the mead kept flowing we had to break out the reserves. I gave some away before I had a chance to scrub their labels off, but the ones I kept got cleaned up to make way for… wait for it…

Uncle Beth’s Old Fashioned Mead. Ben designed it, and I’m very happy with how it turned out. My dad’s always had a mustache, and I’m carrying on the tradition. The labels were printed by Bottle Mark and came extremely fast. I’m not sure I’m wild about the red, but for a first run I think it’s great.
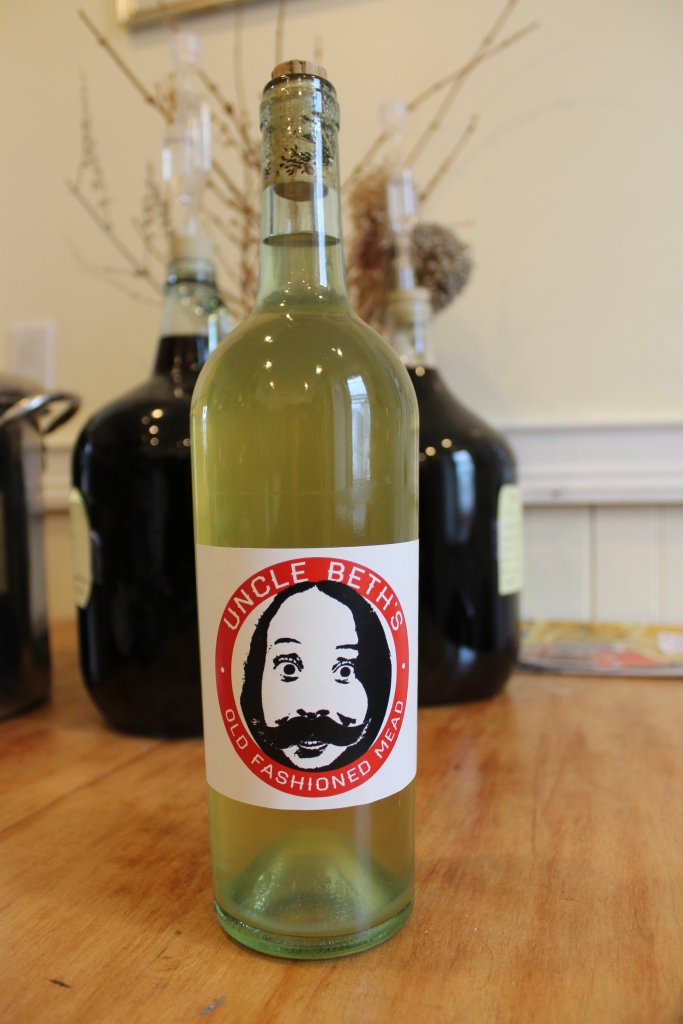
And it feels a heck of a lot more professional than ball point pen on stickers.
Die-hard fans may remember that I started a five gallon batch of mead back on October 30th, also known as three months ago. Well… it’s still bubbling. I don’t think it should still be bubbling.

There’s not much airlock activity, but there’s a constant flow of tiny bubbles travelling up the side of the carboy, like in a glass of champagne. Something is clearly still happening in there.
I racked this mead away from the lees right before Thanksgiving, but I’m wondering now if enough yeast is still present to keep the fermentation going past its welcome. I hope so, because the other option is that something strange has started growing in there.

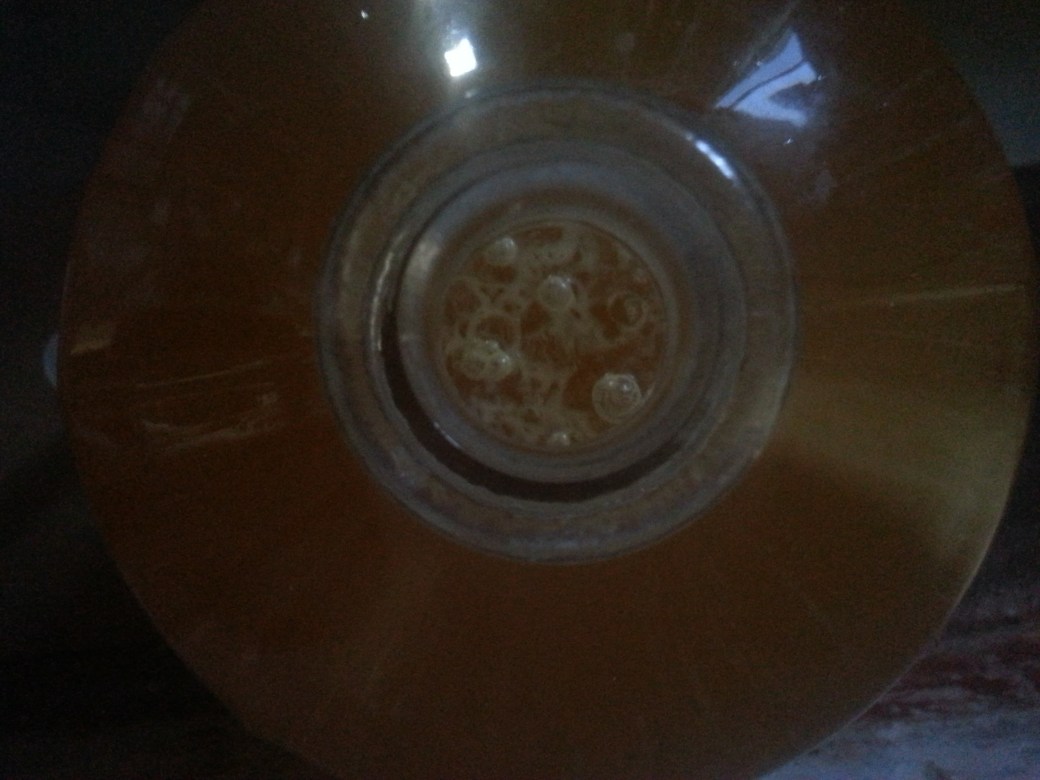
That theory really has me worried, because recently some little guys have appeared on the surface. Is it mold? I don’t know, but the prospect of five gallons of honey vinegar is more than I can bear. I can’t bottle the stuff while it’s still bubbling, but it can’t stay here.
Because the universe is an uncaring place, I don’t have any other five gallon carboys. There’s a spare six-gallon kicking around, but that would leave too much headspace. What I do have are three one gallon jugs and a two gallon bucket. They’ll have to do.
For the job I have a brand new long auto siphon and, to go with it, some horrible old kinked tubing. It turns out it’s all I have that will fit the cool new siphon. And since I have no hope of lifting this carboy up off the ground, I have to pump it all manually. The result is an intermittent jet stream through a tube that fluctuates between wide open and barely passable. This is not ideal.

To call it oxidizing would be an insult to understatements.

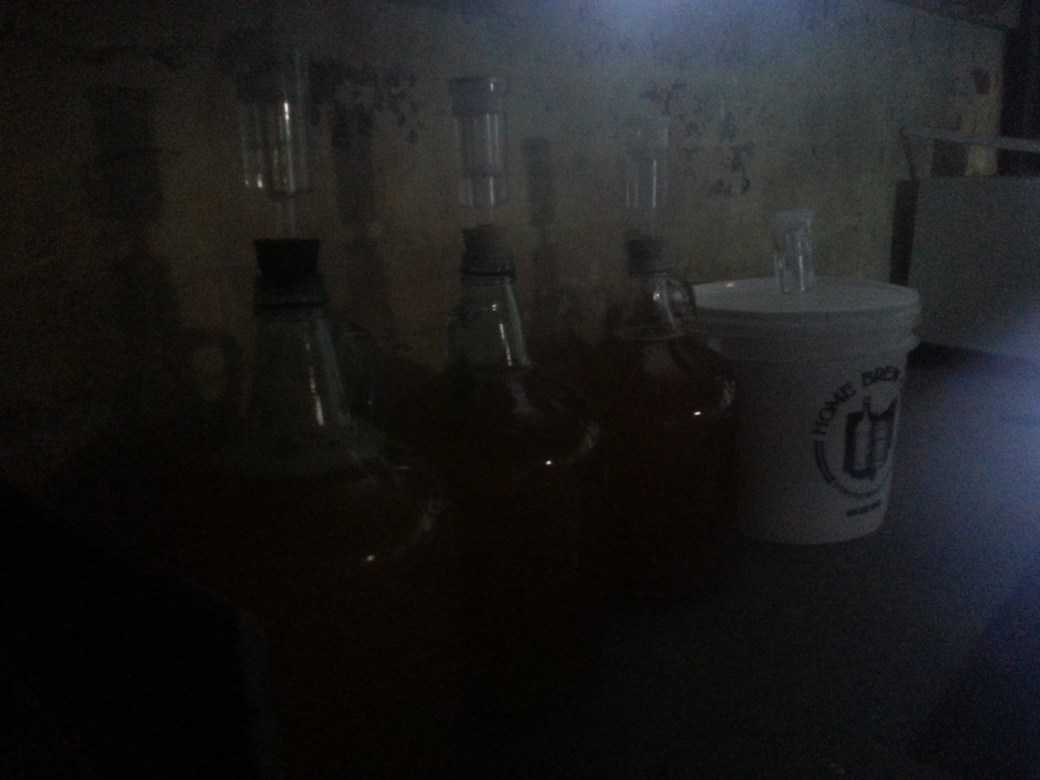
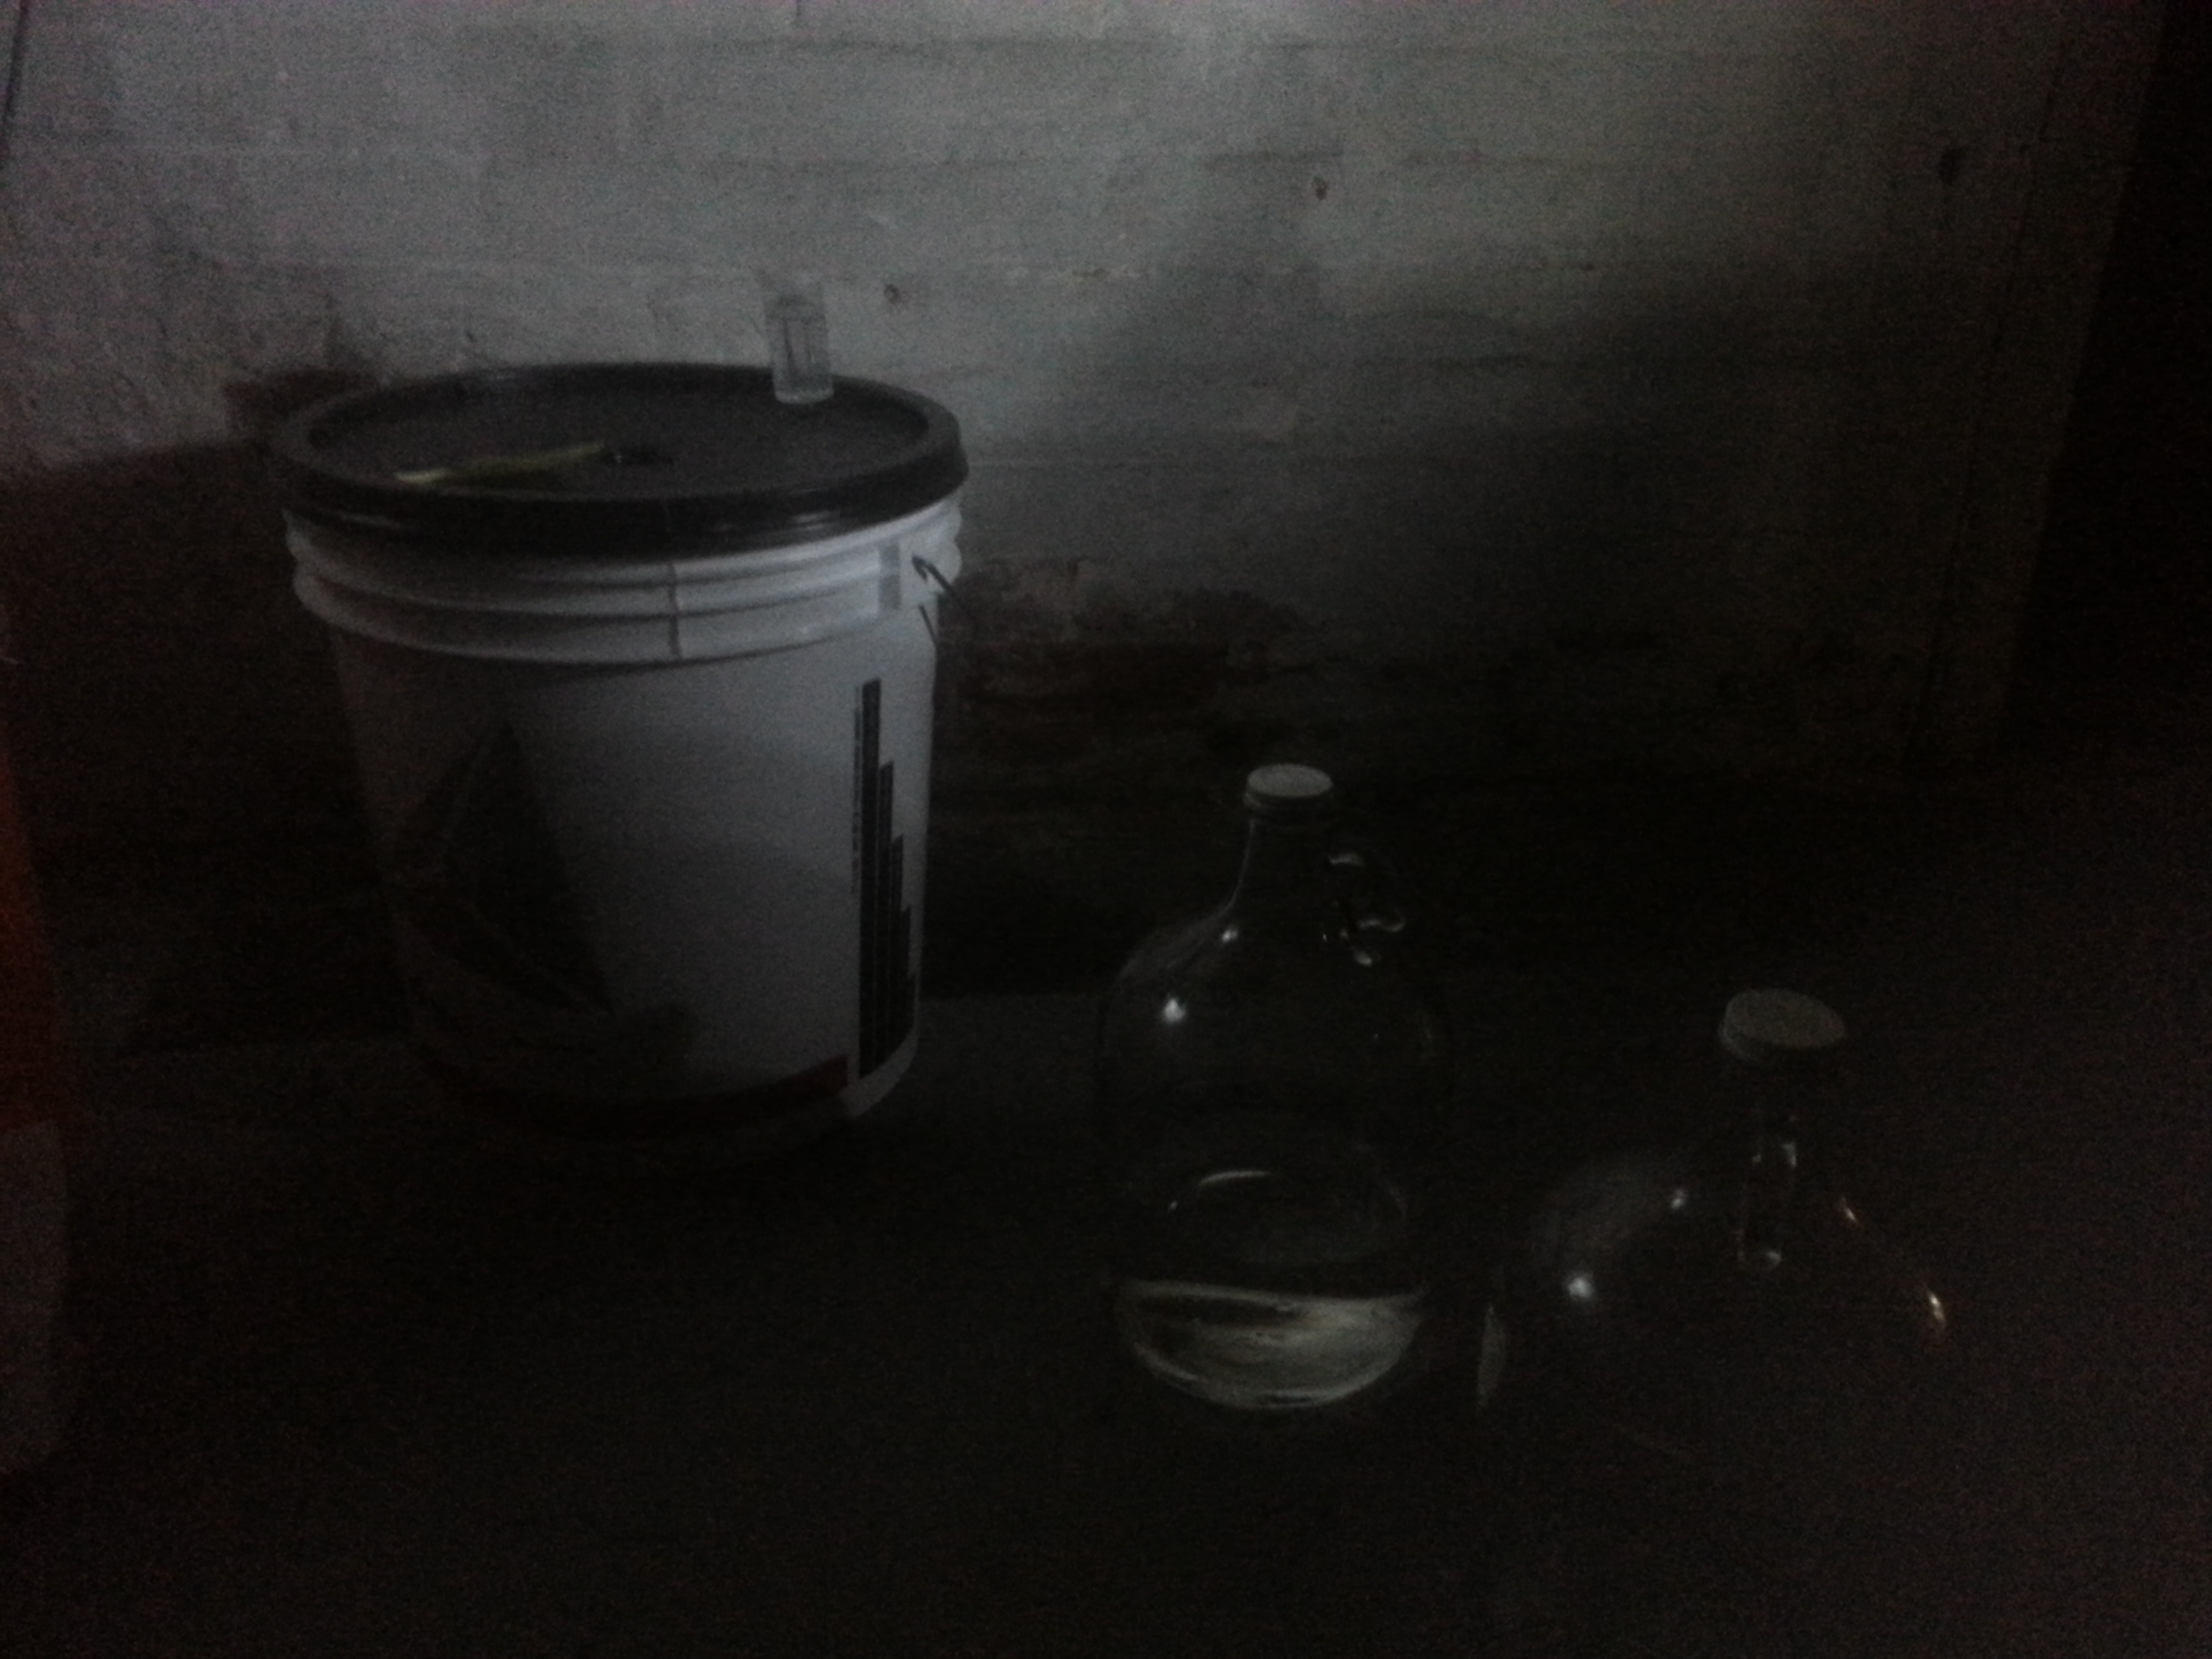
The sheer volume of bubbles I’m pumping to this mead makes the danger of an extra gallon of headspace seem stupid. But I’m committed, so I soldier on. I finally get all five gallons into their new containers in a very poorly lit corner of the basement. Only time will tell if they keep on bubbling or grow new strange lumps or do something else worrying. At least now they’re split into four samples that may behave differently from each other.
Once everything is safely stowed away, I actually taste the stuff. I should probably have done this first, but once the racking fever took me I couldn’t stop. All that’s left are the dregs that got awfully yeasty on the trip up the stairs, but even so I’d give the flavor a confident rating of Not Bad. It’s strong, but not vinegary. Given a little time to settle and, God willing, quit fermenting, I think it could still be good.


I just hope all that oxidation doesn’t ruin it.
Ever since we harvested the first batch of honey in August, I’ve had three pounds of the stuff in my kitchen cupboard.
But no more!
Kim and I finally got into gear and started fermenting it into honey. And Omar, my cat, started modelling it.
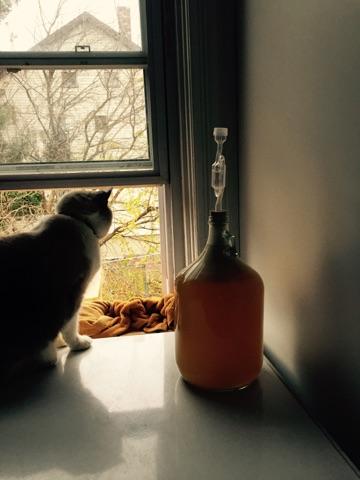
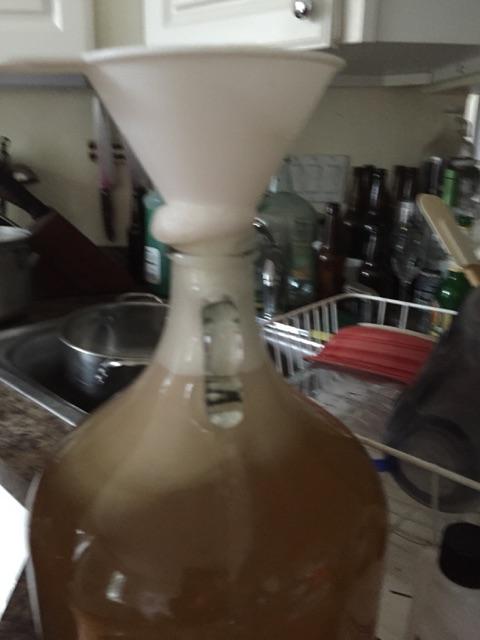
We set the honey jar in a warm bath for a few minutes to get it flowing. Even warmed up, it didn’t exactly rush through the funnel.

This gave us plenty of time for photo ops.
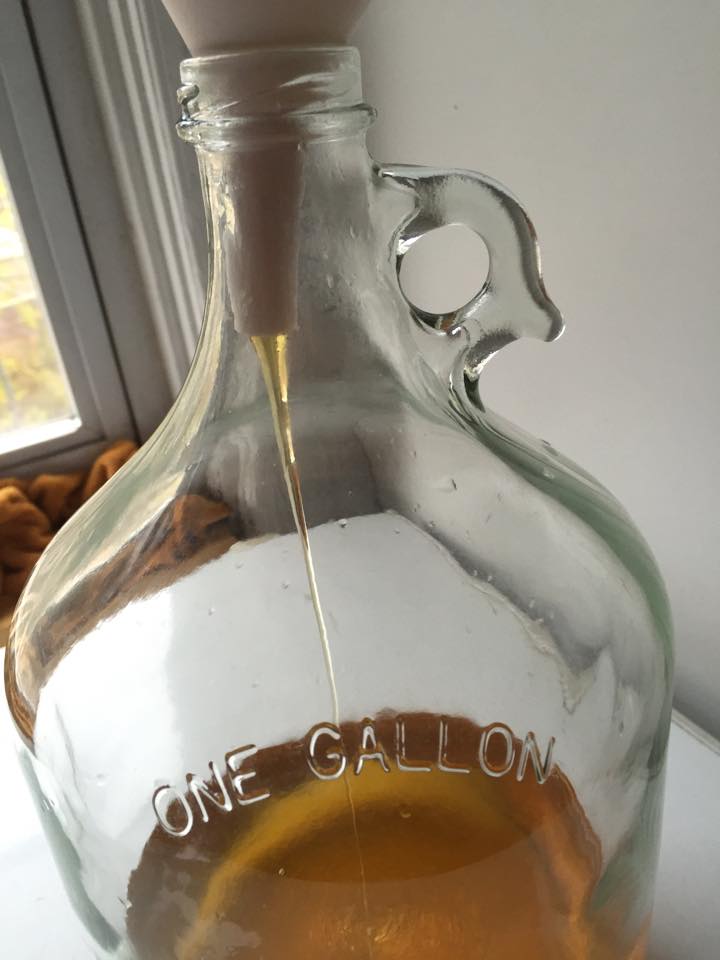
I’d put a few inches of water in the bottom of the jug to begin with, hoping that it would keep the honey from sticking to the bottom. Honey, it turns out, is a lot denser than water. It sank straight to the bottom. Maybe a couple hardy water molecules stuck to the bottom…

Before the jug was completely full, I gave it a good shake. I missed getting to do this when I did the five gallon batch. This process both mixes the honey and water together and aerates the must.

I got really into it.

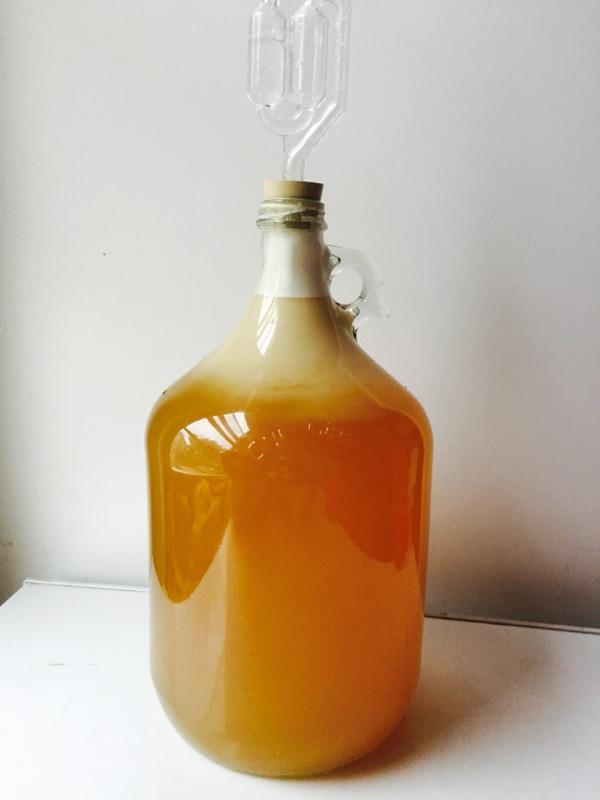
And I may have aerated too vigorously.

With all those bubbles, the primed yeast and nutrient didn’t have much space. I’m having bad flashbacks to my raspberry melomel…
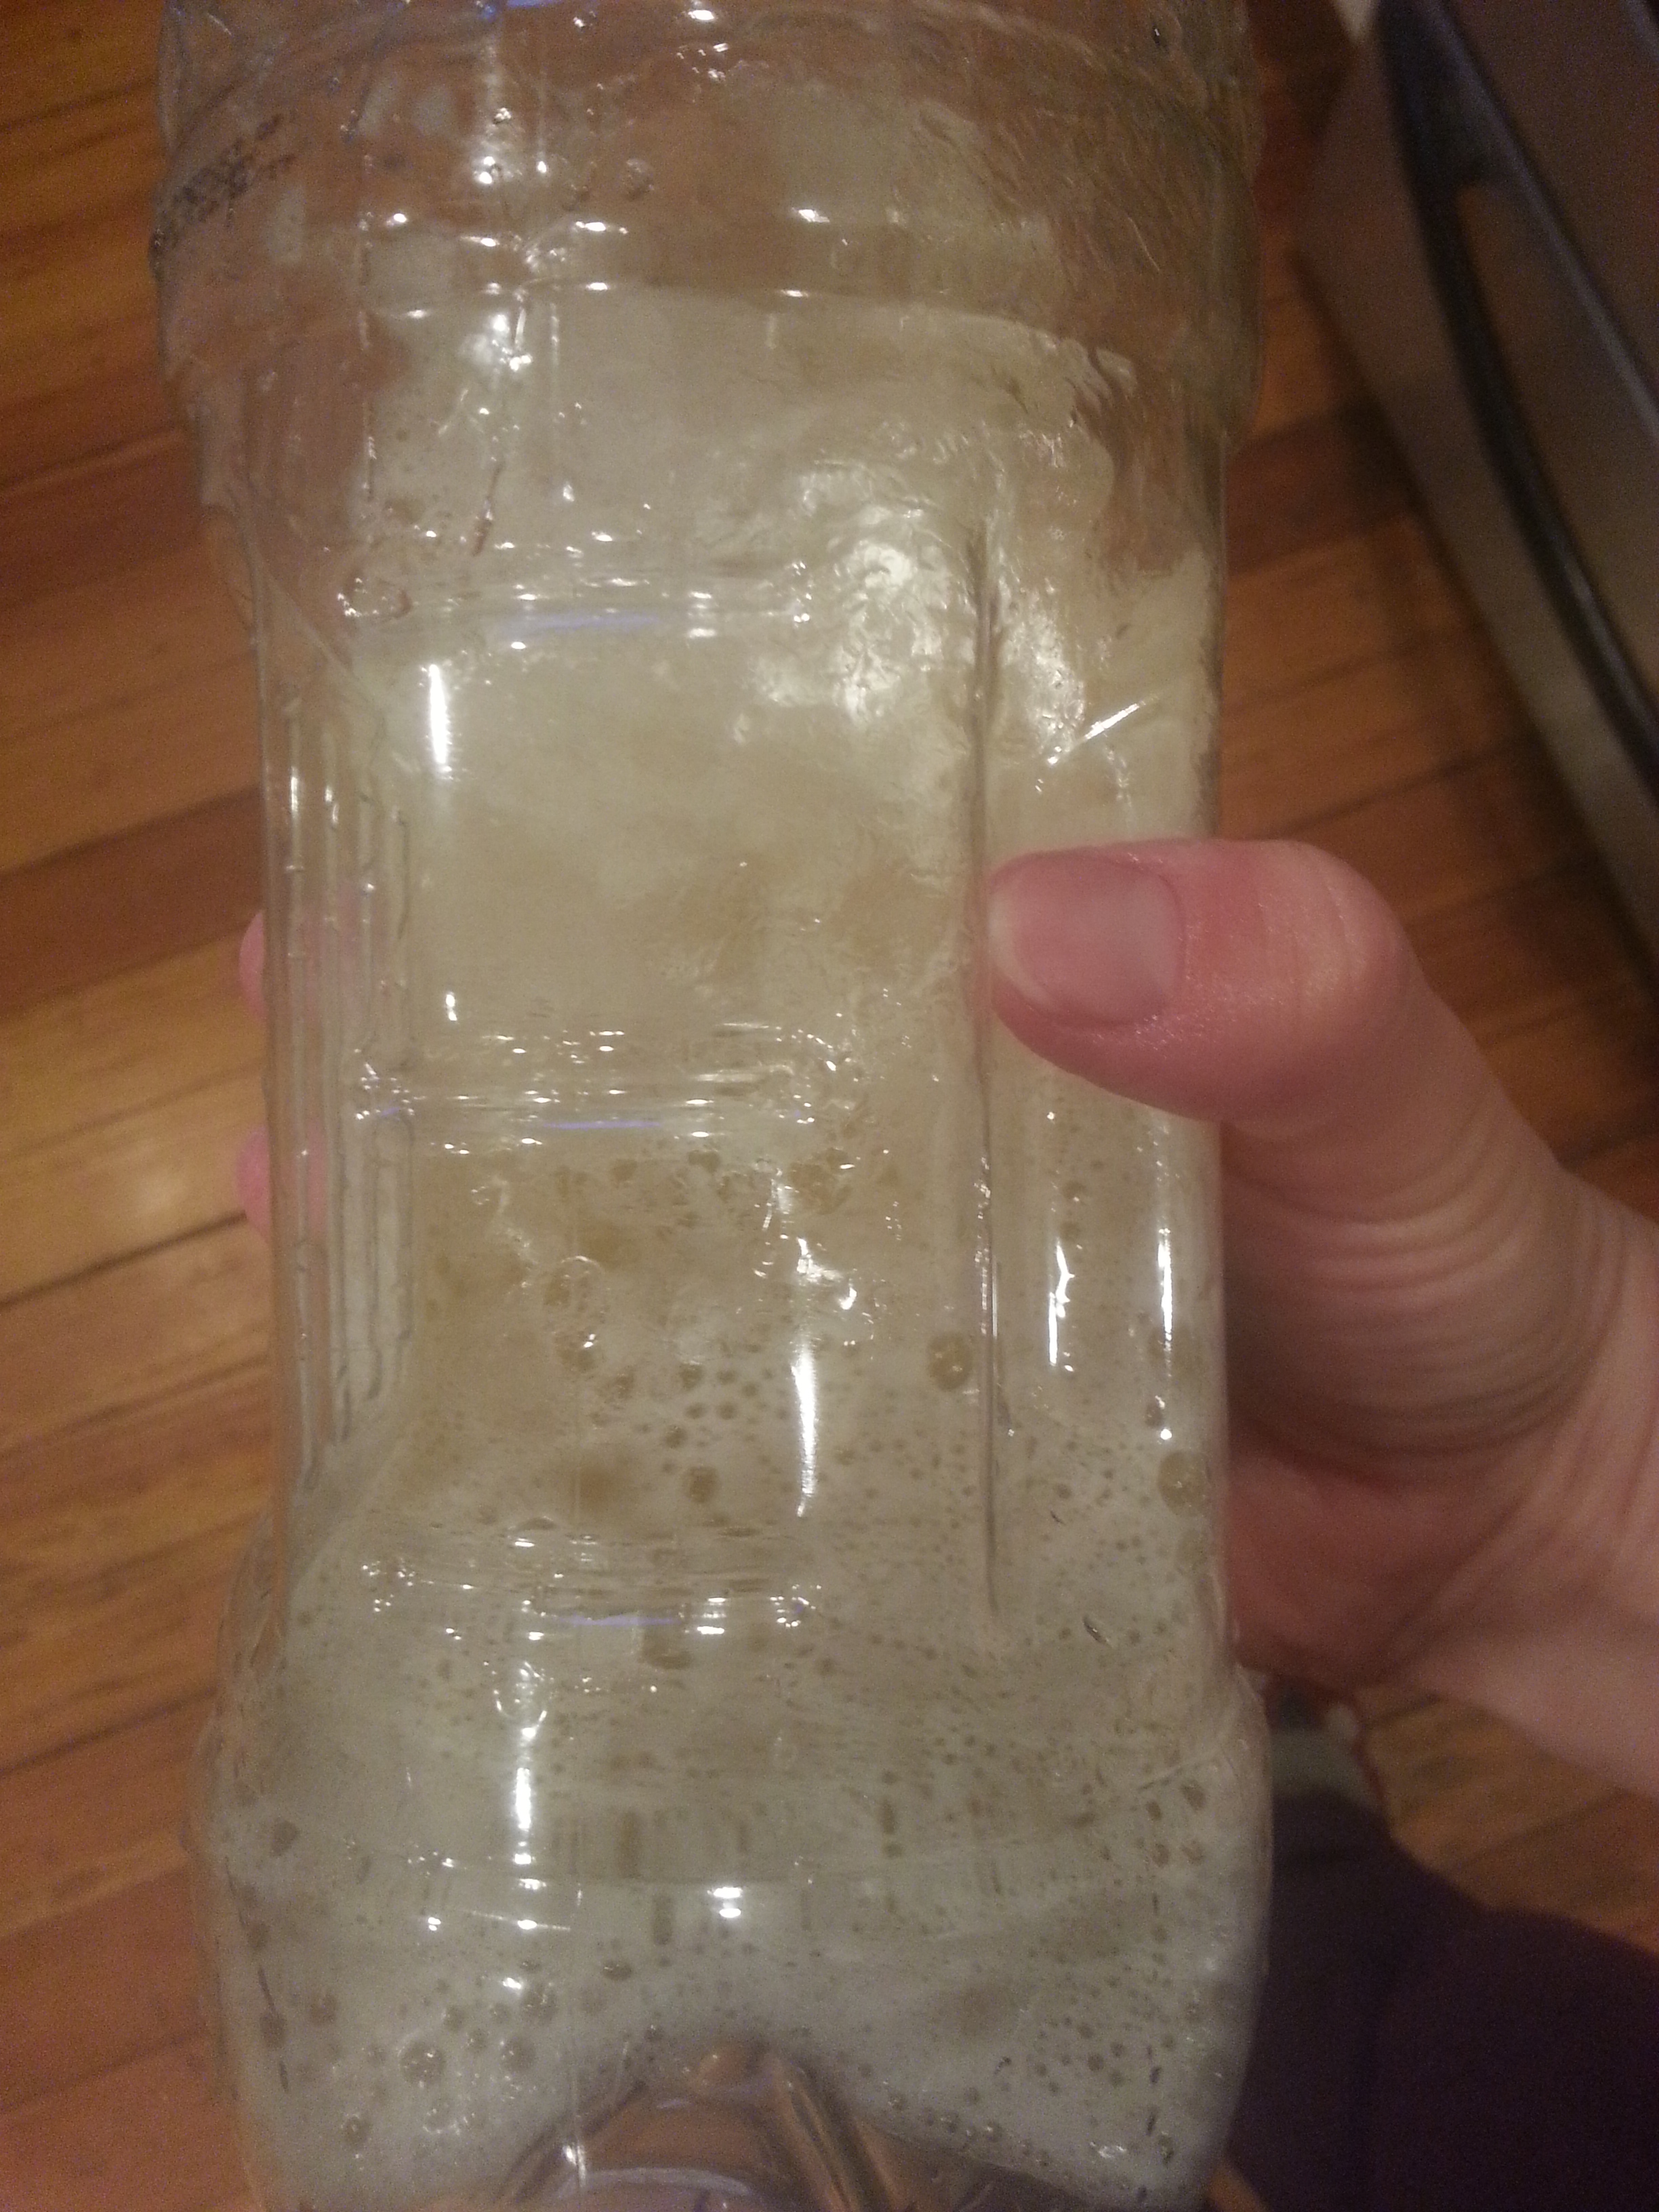
Despite some cramped quarters, the mead is a beautiful color. I’ll have to keep an eye on it to make sure it doesn’t blow its lid.
As avid readers may know, the last time I tried to make mead in bulk, it wound up inches deep on my basement floor. I could have been drinking it right now…
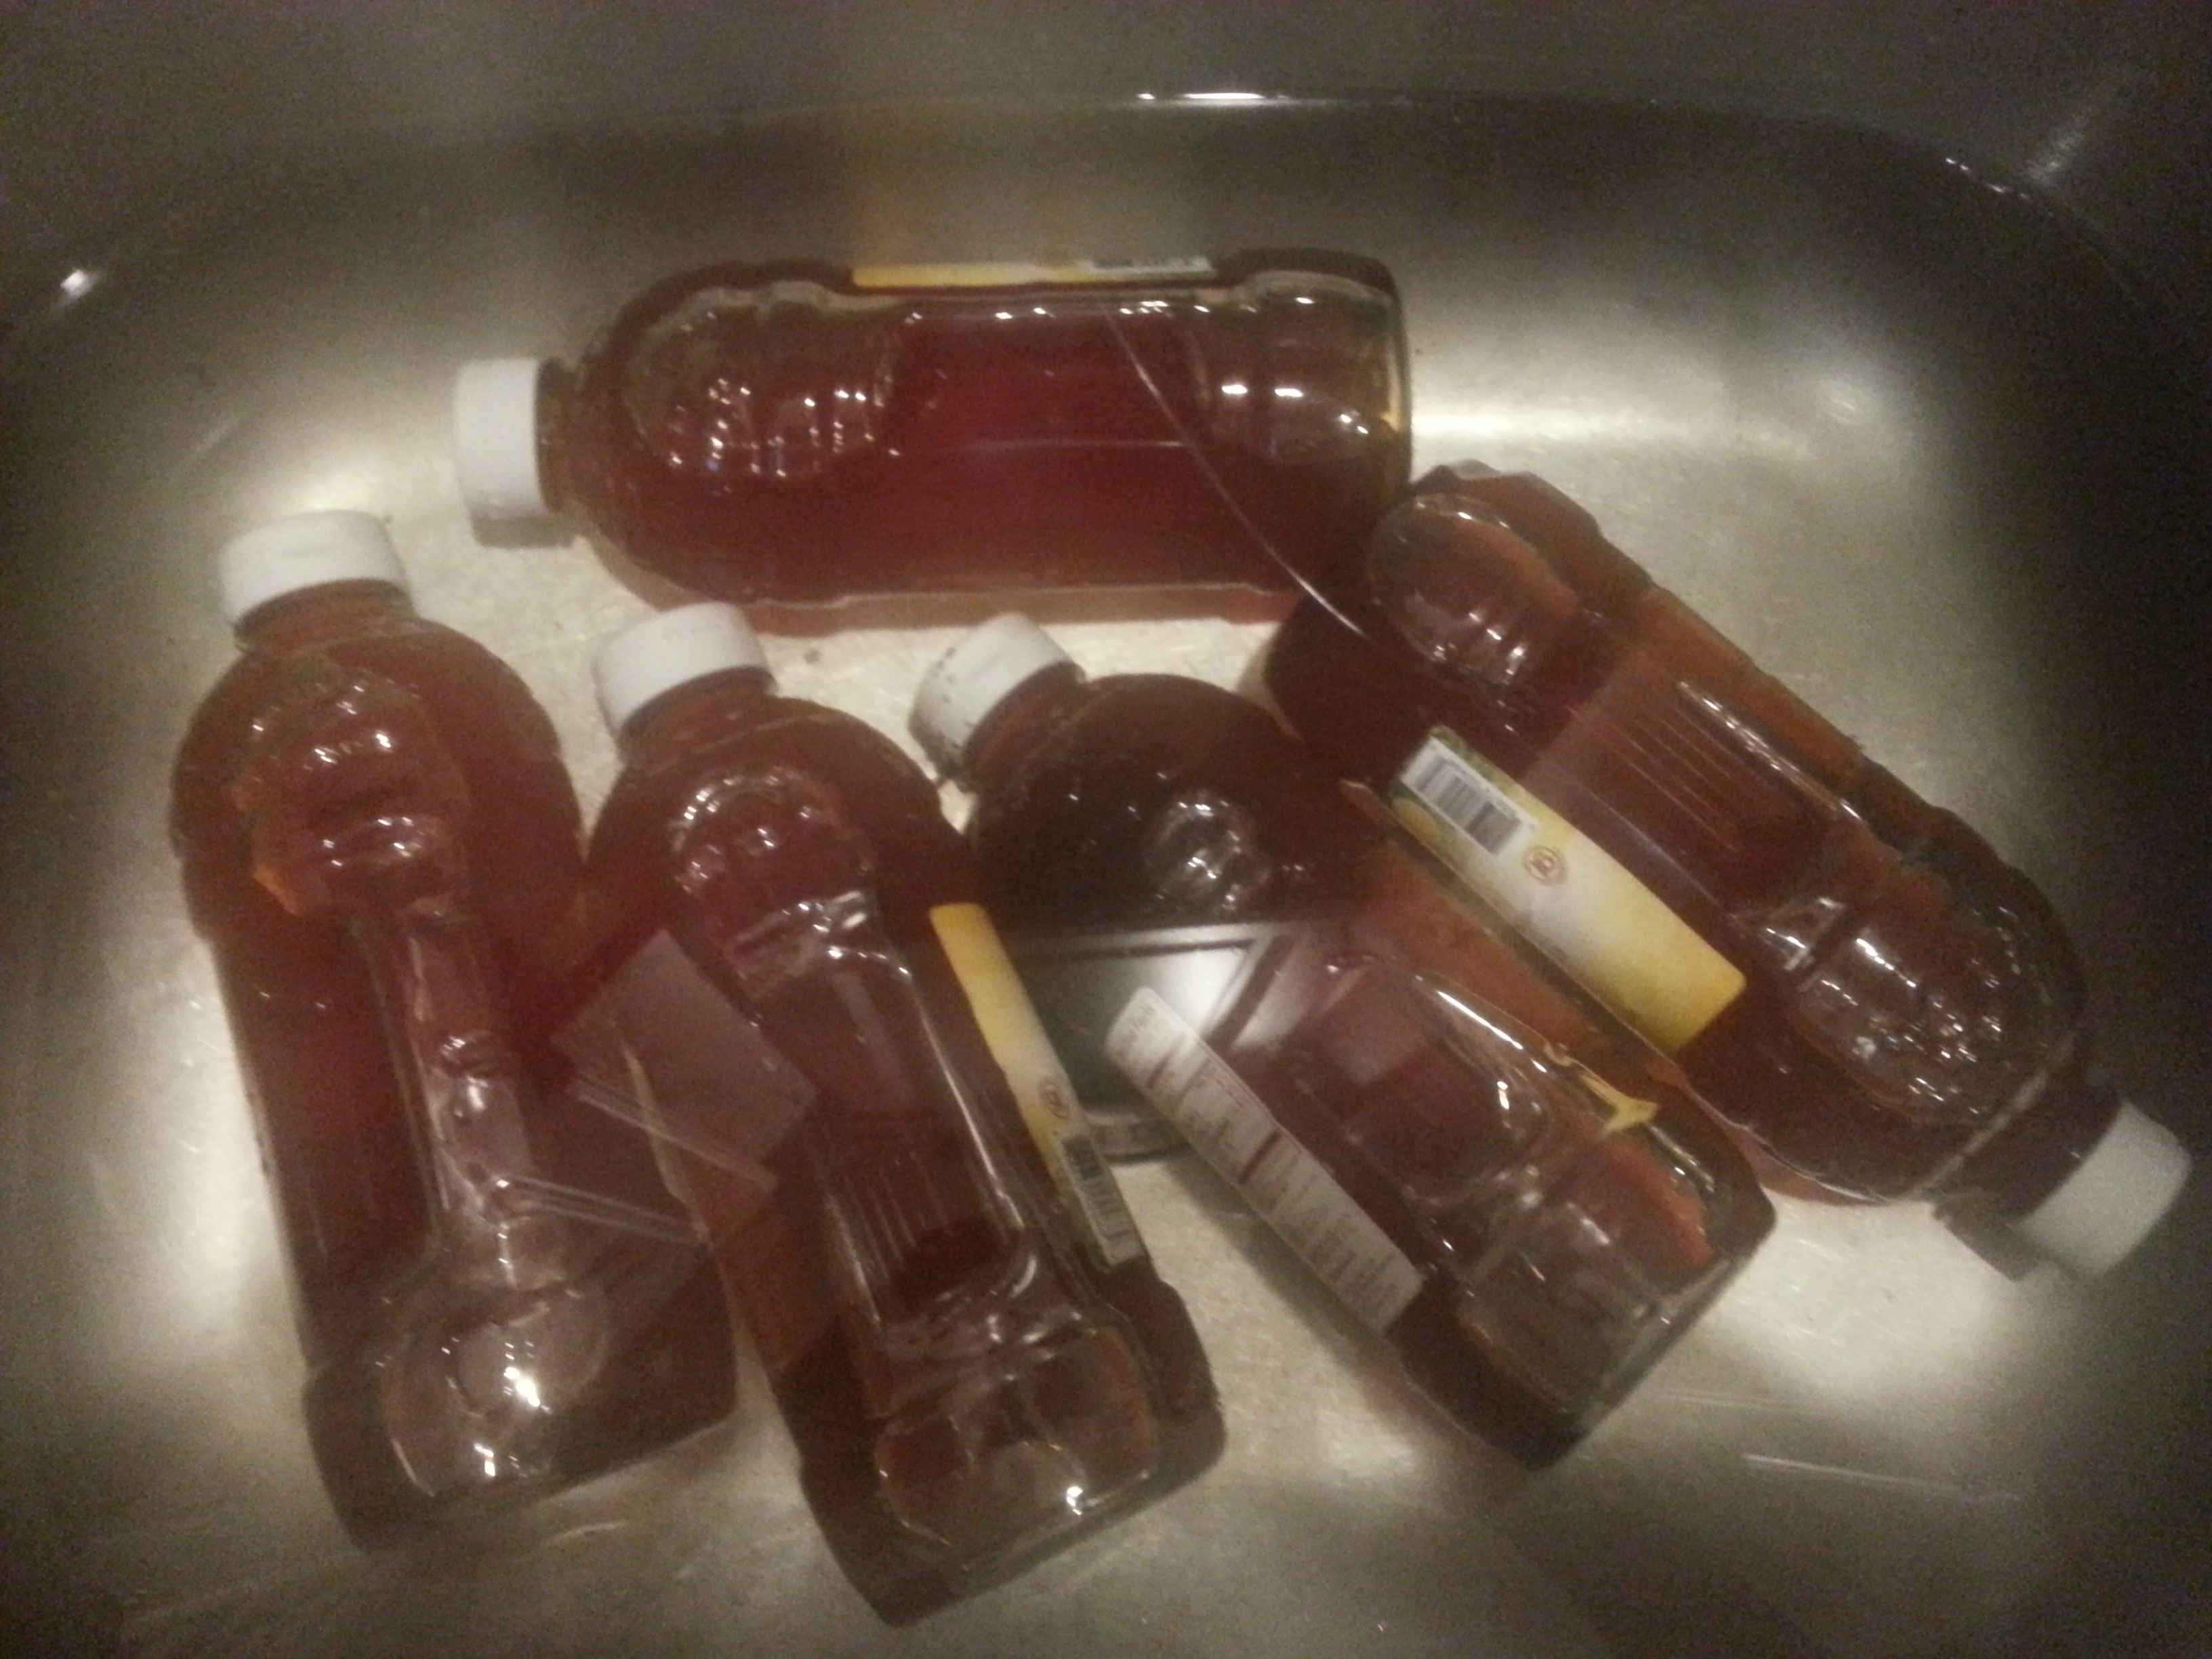
It took me a while to grieve, but I’m finally ready to give it another shot. I am, as always, using the cheapest honey I can find. These handsome three pound bottles came from the bulk store and cost $8 apiece. As you can see, I bought so many they let me keep the box.
The rule of thumb I’ve discovered is that three pounds of honey makes for one gallon of mead. It was six gallons I lost to the honey gods last time, but on this pass I’m going to do a modest five. One of Ben’s birthday expansions was a new five gallon carboy I want to use, and this sixth bottle I’m saving for a strawberry melomel I’ve got in mind.
So that means a paltry five bottles, or fifteen pounds, of honey. That’s heavier than my cat, and he’s fat!
There are very different schools of thought on whether or not to boil honey before fermenting it. Lots of people, including the author of my mead book, believe that you should for sanitation purposes. Plenty of purists are horrified at the thought, because being unheated is what makes raw honey so special and so much better for you. Since my honey was delivered on a pallet and was most assuredly boiled at some point, I’m not too worried about that. Purists of a different sort, however, insist that honey doesn’t need to be boiled because microbes can’t survive in it and it’s essentially sterilized from the moment it comes out of the bee. This school of thought requires less work, so I’m inclined to go with it. All I did was submerge the bottles in a warm bath for a few minutes to get the honey flowing at a rate that wasn’t maddening.
Weight was a big consideration working with five gallons of liquid. I can carry my one gallon batches up and down the stairs all day, but five gallons is a different animal. Not only do I not think I could carry that much mead down two flights of stairs, I would never want to. Just the thought of losing another huge batch, this time on the stairs, brings tears to my eyes. But my basement is dark and scary and the sink, while existent, is far from sanitary. I split the difference and did as much work upstairs as I thought I could manage – two gallons of water and all fifteen pounds of honey. It was heavy going on the starirs, and visions of the bucket’s handle breaking flashed before my eyes, but I made it.

The warm bath worked like a charm, and the honey flowed right out.

Once each bottle was empty, I ran a little bit of water into it, shook it like there was no tomorrow, and added it to the bucket. This caught a lot of that pesky honey clinging to the walls and, I hope, really oxygenated the must.
I wrangled the bucket down to the set of Saw VII and added the final gallon and change of water. I mixed the honey and water like crazy, added two packets of rehydrated yeast, secured the lid and airlock, and left it to work its magic.
Now it just has to pass the next couple months not on the floor, and we’re in business!
