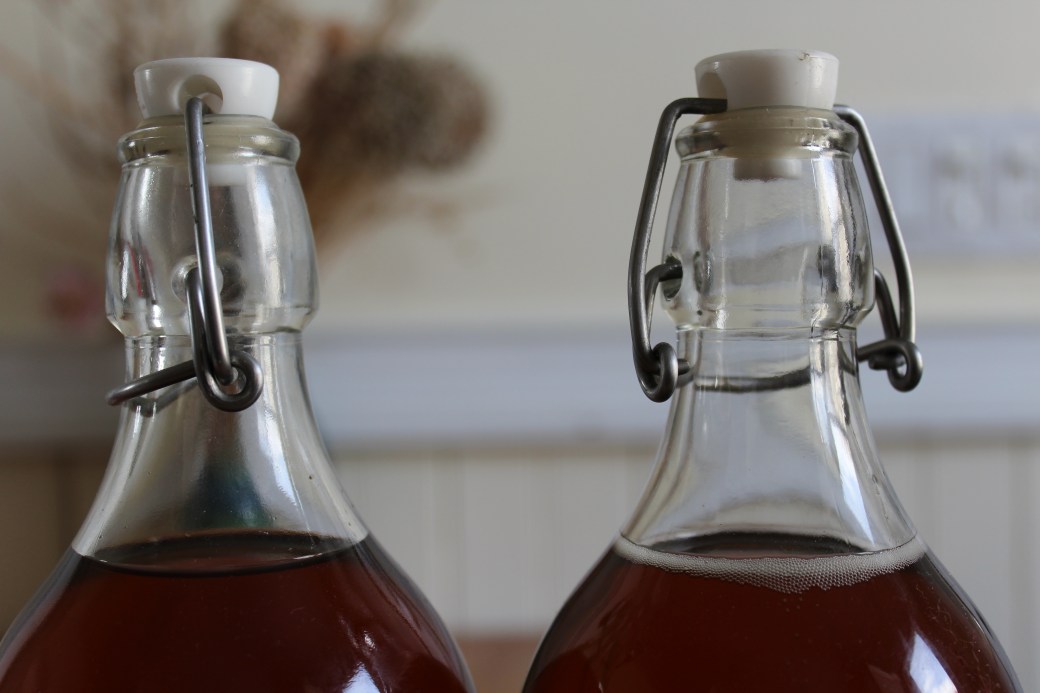
Sauerkraut

My housemates wish I would stop fermenting things.

I’ve told them I don’t just ferment. Sometimes I bake cakes. Sometimes they’re good. Sometimes I feed them fresh, local, and organic vegetables and honey. I’ve told them to stop complaining.

But it’s true – I do ferment a lot of things. And this is one of those things.

some_text

A while ago I made borscht and found myself with most of a cabbage leftover. This prompted me to try one of the easiest fermentations that I’ve never actually done: Sauerkraut.

I cut up my cabbage and removed the core.

some_text

Then I chopped the rest into fine strips and threw the strips in a bow with 1 1/2 tablespoons of kosher salt.

some_text

I smashed it all around with my hands for about ten minutes. Perhaps ‘smashed’ is too strong a word. The recipes I’ve come across online are fond of the word ‘massage.’ After ten minutes of gentle massage, the cabbage released a lot of its water and became wilted.

some_text

I plopped my wilted cabbage into a jar, tamping down with my hand after each plop to release air bubbles and more liquid.

some_text

I covered the whole thing with a kale leaf to protect it from the air, and weighted it down with a jam jar full of water. The name of the game with sauerkraut seems to be keeping it out of contact with the air with a layer of water. At the moment the water released naturally from the cabbage is a little sparse. I may have to add more.

some_text

I rubber banded a piece of fabric over the whole jar to keep critters away and stuffed it away in a cupboard. The pictures of that weren’t very glamorous, though, so I’ll leave you with beautiful shot of my sauerkraut to be.

some_text

In a few days it should be ready to eat.

Strawberry and Rhubarb Wines

No, not strawberry rhubarb wine. Though there’s an idea…

I’m making strawberry wine and I’m also making rhubarb wine. Both of these wines hold the hallowed title of Good Enough to Do Again. These were two of my earliest and roughest attempts at wine making, but somehow they turned out the best.

some_text

Last year’s rhubarb wine did not inspire confidence at first. It looked like dishwater and tasted pretty strange. But recently a bottle of it worked its way into the fridge, and I was as surprised as anyone to find that it tasted really good. Everyone says that ageing wine improves it, but I’ve always been dubious. What could possibly be going on in that bottle? But I’ve been at this long enough that some of my bottles are starting to reach the 1 year mark, now, and I have to admit to seeing a difference. (At least with the rhubarb. The bottle of last year’s blueberry I opened seems to have spoiled).

some_text

So I’m back at it! The rhubarb is mostly from my parents’ garden, with a little supplemented from our community garden. I followed this recipe scaled down to one gallon.

some_text

The strawberry wine I did not scale down. Last summer I made two separate gallon batches that were rousing successes, so I decided to shoot for 5 gallons this time. Sticking to my cheap guns, I bought these bargain berries at the bulk supply store. Maybe I’ll do a smaller batch with real local berries and conduct a dispiriting taste test.

some_text

I sanitized my biggest bucket and lined it with a nylon cloth. My first strawberry wine had a lot of debris in it and actually started to sprout. Not this time!

some_text

Berry by berry I removed the hulls and quartered the fruit. All 18 pounds of it. The recipe I’m following recommends 12.5 pounds for a dry wine and 25 pounds for a dessert wine. My past recipes have been light on fruit and then backsweetened with honey. This time I’ve upped the fruit and sugar and am hoping for a natural residual sweetness.

some_text

The berries cut, I barely covered them with water and added a dash of wine tannin, a healthy dose of pectic enzyme, and 1/4 teaspoon of sodium metabisulfite. I draped a towel over the bucket and left it in the closet overnight. During that period the pectic enzyme and water started to break down the fruit and the sodium metabisulfite sanitized it. At least that’s what I’m told.

some_text

By the next night the pectic enzyme had certainly gotten to work. The berries were already limp and pale and the water had become a thick juice.

some_text

I added water up to the 6 gallon line, and then I went sugar crazy. I checked the gravity after mixing in what felt like an unholy amount of the stuff – it was right around 1.060. My recipe recommended 1.078 for dry and 1.100 for dessert, so either way I had to keep going.

some_text

In the end I used one entire 10 lb. bag of sugar on the nose. This brought my gravity to just under 1.100, or a tiny bit less sweet than dessert wine.

some_text

Finally I added 5 teaspoons of yeast nutrient and a 5 gram packet of champagne yeast. I covered it loosely with the bucket lid and pushed it to the back of the closet. By the next day it was bubbling vigorously and giving the bedroom a very distinctive smell.

some_text

I gave the fermentation exactly a week, stirring and prodding the fruit bag a couple times a day. Once the bubbling started to slow (and I found someone big to lift the bucket up onto the counter for me) I racked it into a five gallon carboy.

some_text

The nylon bag was a lifesaver. I’ve fought some vicious battles with fruit pulp in my time, but the bag just lifted straight out. That being said, a week’s fermentation didn’t leave much inside it. What had been a huge volume of fruit got condensed down to little chunks of seeds and fibers. Strawberries, it turns out, are mostly water.

some_text

Since the strawberries added more than I was expecting to the liquid, I actually collected 6 gallons of wine instead of 5. I filled the big carboy completely with free runnings and a 1 gallon jug with juice squeezed directly from the nylon bag… into an unsanitized bowl. Because I am a fool. I hadn’t been planning on squeezing juice from the bag, so I’d just plopped it in any old bowl. Thank the lord the 5 gallon filled up before I had the chance to fill it with rogue bowl microbes. As it stands I may have contaminated that extra gallon, but it was a bonus gallon anyway. And I may get lucky. We’ll just have to wait and see.

some_text

All told I have some beautiful colors. The two on the left are strawberry, already producing some impressive sediment, nylon bag or no. The one on the right is rhubarb, basically sediment-free and a fantastic shade of pink.

some_text

Maybe I’ll serve the two together and let people make their own strawberry/rhubarb.

Lilac Wine

The lilacs are in full bloom in Providence.

I never realized how many lilac bushes were around until I started looking for them, but it seems like they’re everywhere. I stumbled across this recipe last summer, long after I’d missed my chance. I’m timing it right this time.

IMG_4493.JPG

I considered trawling the city and snipping blossoms here and there from people’s yards. They’re usually drooping over the sidewalk, and who would miss a few flowers? That’s more sneaking than I’m used to, and with a recipe that calls for nearly a gallon of blossoms, that’s a lot of trooping around.

Luckily the community garden has a huge lilac bush that I felt much easier about taking from. My fellow beekeeper Kim actually started it in a pot in her kitchen 12 years ago. It’s come a long way since then. And since our garden is organic (and I did find the odd worm picking through the flowers) I feel reasonably confident that I won’t be making pesticide wine.

some_text

I didn’t want to clean out the bush of its flowers, so I spread my harvesting over two and a half trips, trying to take only the most open sprays. This is one harvest’s worth, bunched together into a super spray.

some_text

The thing about lilacs is that its sprays are actually made up of scores of tiny individual flowers. I became intimately aware of this fact as I pulled each and every one off of its stem.

some_text

I have gazed into the abyss, and it smells amazing.

some_text

After destemming my first day’s flowers, I sealed the bag and put it in the freezer to keep them from wilting.

some_text
This worked better than I could have hoped. They kept their shape and (mostly) their color. They look like they belong on top of a cake.

some_text

A few days later I repeated the process and may have made a huge mistake. Instead of starting a new bag, I just threw my fresh flowers on top of my old frozen ones. An hour out of the freezer and in my lap did the frozen flowers no favors – they thawed into a nasty brown mass.

some_text
All the flowers here are frozen – can you tell which are from the first day and which are from the second?

some_text

The brown flowers notwithstanding, they really were beautiful. I was worried the brown ones would spoil the whole batch, but I didn’t have enough volume without them and I was so sick of destemming sprays by this point. I reasoned with myself that all the flowers would lose their color once they thawed, and these had just had a head start. Against my own better judgment I used both brown and purple flowers.

Sometimes it doesn’t feel like a real project unless I’m needlessly jeopardizing the whole thing.

some_text
I boiled 7 pints of water and dumped it over the flowers to make a lilac “tea.” I’ve found a few recipes for lilac wine, and they all recommend letting this tea sit for 48 hours. I’ve also found quite a few comments on these recipes complaining that 48 hours of sitting turned their lilac tea to rotten mush. I can believe it – two days is a long time to leave wet flowers in the dark. I gave my tea 24 hours and called that more than enough time. How strong does this tea need to be, anyway?

some_text

I was happy to see that most of the flowers had turned brown, but a little unnerved that all of them hadn’t…

some_text

I ran my tea through a sieve to separate liquid from solid. Is the tea purple? Lord no. It’s an amber color that looks, for lack of a better word, like tea.

some_text

I put my tea in a fermentation bucket and added everything but the yeast. This included a crushed Campden tablet that would sterilize the must over the course of another 24 hours. I also added a teaspoon of yeast nutrient and enough sugar for my hydrometer to read 1.160. I was just a little short on sugar and made up for it in honey. This is the first wine I’ve made by adjusting the sugar to the correct amount instead of blindly adding the number of cups the recipe calls for.

It only took me a year of winemaking to get my act together.

What I don’t have, however, is a way to measure acidity. Some recipes call for 2 lemons’ worth of juice, while others call for 2 tablespoons of juice, the equivalent of about half a lemon. Remembering the horrible astringency of my cucumber wine, I erred on the tablespoon side of things.

I hope I made the right call.

some_text

I mixed all these ingredients together and let them sit under a towel. After 24 hours I sprinkled a 5 gram package of Champagne yeast over the surface and replaced the towel.

some_text

The next morning I gave the must a good stir and was met with bubbles. Fermentation is definitely under way. The color is still brown but not un-purple. I’d call it a mauve.

More importantly, it smells wonderful. I gave it just a splash of honey, but it’s really coming through. Besides that, it has a floral scent that’s surprisingly delicate and is blending really well with that classic fermentation smell. I have very high hopes.

some_text

Since I’ll have to wait a whole year to make this again if it’s any good, I might have to strike while the iron’s hot and snatch up enough flowers for another batch.

some_text

Maybe pay the neighbors’ gardens a visit…

Uncle Beth’s Old Fashioned Mead

It’s about time I had some good mead news.

My first big batch leaked all over the floor, and I was too depressed and sticky to even write about it. My second batch started out strong, but then it just kept getting stronger and bubbled longer than it had any right to.

But this batch… is still the second batch. It’s the same mead, hastily thrown into four separate containers to try to stop fermentation because I didn’t know what else to do. But here’s the thing:

It’s actually good!

IMG_2083

I’d been dreading opening up these fermenters, and I put it off for a few months. This may actually have been the best thing I could have done. All the mead makers I’ve talked to have said the same thing – if you don’t like it now, just forget about it for a while.

IMG_2102

Tommy was visiting from Texas, which got me inspired. He’s always up for some good blog fodder. We hauled up the mead and gave it a taste. It was outrageously boozy – everything I make is. I need to get a better handle on the fermentation process so I can stop warning people not to pour a full glass every time they open a bottle of wine.

IMG_2100

Five gallons of mead is a heck of a lot of mead. My parents have been stockpiling bottles, though, and handing them off every time they see me. It felt excessive until I actually needed them. I was especially grateful for the big double wide bottles, because they gave us extra time to think between fillings.

IMG_2097

The corking was a bit of a pain. The corker is inherited from my dad’s wine making days and is made of plastic older than I am. You have to press with all your strength for it to work, but I’m worried all my strength will snap it in half. Some corks didn’t make it as far as others and had to be redone later.

IMG_2108

When all was said and done, we had 10 normal bottles and 7 double sized bottles. I’d painstakingly removed the labels from a few, but when the mead kept flowing we had to break out the reserves. I gave some away before I had a chance to scrub their labels off, but the ones I kept got cleaned up to make way for… wait for it…

IMG_2105

Uncle Beth’s Old Fashioned Mead. Ben designed it, and I’m very happy with how it turned out. My dad’s always had a mustache, and I’m carrying on the tradition. The labels were printed by Bottle Mark and came extremely fast. I’m not sure I’m wild about the red, but for a first run I think it’s great.

IMG_3979

And it feels a heck of a lot more professional than ball point pen on stickers.


Too Many Bubbles

Remember my swing-top pale ale? I took some glamour shots of it last night with my fancy new camera. And now, about twelve hours later, one of them is bubbling. A lot.

IMG_0191

I bottled these on Monday. They shouldn’t be bubbling like this ever, let alone after five days. I’m heartened by the fact that it’s only the one bottle and not all of them (I have about thirty). Only two of the bottles are swing-top, and I know that I filled those two first. My best guess is that this one was first of all, and it got a little too much trub from the bottom of the fermenter. That trub contained a lot of yeast, and those yeasts are having a field day. That’s what I’m guessing. Because really I have no idea.

IMG_0194

Conveniently, this is a swing-top bottle, so I just opened up the top to relieve some pressure. This brought up a whole lot more bubbles. I’d be lying if I said I wasn’t afraid of this thing and what it means. Are more of these bottles ticking away? What would have happened if I’d taken this down the basement right after its glamour shot? (It would have exploded, that’s what!)

So what’s the plan? I’ve put the delinquent bottle in the fridge to slow it down. I discovered it at 11am, not a time I usually drink a liter of beer, but I’ll try it tonight and see how it is.

IMG_0199

And I guess I’ll do a more thorough inspection of the other bottles and hope for the best. Maybe store them wrapped in bubble wrap. Or outside.

When Good Mead Goes Bad

Die-hard fans may remember that I started a five gallon batch of mead back on October 30th, also known as three months ago. Well… it’s still bubbling. I don’t think it should still be bubbling.

20160128_105202_HDR

There’s not much airlock activity, but there’s a constant flow of tiny bubbles travelling up the side of the carboy, like in a glass of champagne. Something is clearly still happening in there.

I racked this mead away from the lees right before Thanksgiving, but I’m wondering now if enough yeast is still present to keep the fermentation going past its welcome. I hope so, because the other option is that something strange has started growing in there.

20160128_105541

That theory really has me worried, because recently some little guys have appeared on the surface. Is it mold? I don’t know, but the prospect of five gallons of honey vinegar is more than I can bear. I can’t bottle the stuff while it’s still bubbling, but it can’t stay here.

Because the universe is an uncaring place, I don’t have any other five gallon carboys. There’s a spare six-gallon kicking around, but that would leave too much headspace. What I do have are three one gallon jugs and a two gallon bucket. They’ll have to do.

20160128_105750

For the job I have a brand new long auto siphon and, to go with it, some horrible old kinked tubing. It turns out it’s all I have that will fit the cool new siphon. And since I have no hope of lifting this carboy up off the ground, I have to pump it all manually. The result is an intermittent jet stream through a tube that fluctuates between wide open and barely passable. This is not ideal.

20160128_110328_HDR

To call it oxidizing would be an insult to understatements.

20160128_112858

The sheer volume of bubbles I’m pumping to this mead makes the danger of an extra gallon of headspace seem stupid. But I’m committed, so I soldier on. I finally get all five gallons into their new containers in a very poorly lit corner of the basement. Only time will tell if they keep on bubbling or grow new strange lumps or do something else worrying. At least now they’re split into four samples that may behave differently from each other.

20160128_113656

Once everything is safely stowed away, I actually taste the stuff. I should probably have done this first, but once the racking fever took me I couldn’t stop. All that’s left are the dregs that got awfully yeasty on the trip up the stairs, but even so I’d give the flavor a confident rating of Not Bad. It’s strong, but not vinegary. Given a little time to settle and, God willing, quit fermenting, I think it could still be good.

I just hope all that oxidation doesn’t ruin it.


Toasty

Our house is cold. Really, really cold. It’s a combination of bad insulation and windows that never shut quite right. And in a closet with its own window and no radiator, the beer is fermenting in what is probably the coldest corner of all.

My amber ale did not start bubbling its first night. It still wasn’t really bubbling the next morning, either, and I had a sinking feeling it was just too cold for the yeast. Ben, always up for an electronics project, suggested a fix.

Quite a while ago he and our friend Phil made a Sous Vide machine by attaching a slow cooker to a PID (proportional integral derivative) controller. The PID essentially regulates the temperature of the slow cooker, turning it on when it gets too low and shutting it off when it gets too high. This lets you keep the slow cooker at a constant temperature. Fill the thing with water, submerge a bag full of chicken, and you can cook at a low, slow, constant temperature until the meat is almost falling apart. It worked, and the chicken was definitely tender.

Ben had the idea to attach the PID to a space heater and set it to 65F. The closet would be the water bath, and the beer would be the chicken, if you want to keep talking in Sous Vide terms.

He rigged the whole thing up and set it on the floor of the closet, on top of a pizza stone for safety’s sake. It seemed to work, but then it got hot in places it shouldn’t have. Like the electrical cord.

So we unplugged it.

We plugged it back in a week later, and it promptly blew a fuse. So much for hacking.

And the beer started fermenting on its own anyway. Turns out all it needed was some time.

Kombucha?

IMG_7952

I didn’t know what kombucha was when I made it.

My friends Keri and Justin from the community garden invited me to their house for a festival of fermentation. I gave them wine. They gave me a sourdough starter, a ginger soda starter, and a kombucha starter. Tragically, the sourdough went bad in a way I’ve never seen anything go bad before. The ginger is still lying in wait. But with the kombucha I went ahead full throttle.

If you notice that some of my pictures actually look good, it’s because they were taken by my friend who has a real and very nice camera. Go see his other stuff on Flickr. Tell me which photos were taken on my phone as per usual and win a prize!

I learned everything I know about kombucha as I was making it. It is, essentially, fermented sweet tea. At the heart of that fermentation is a thing called a SCOBY. This stands for Symbiotic Colony of Bacteria and Yeast. Why not SCOBAY? Your guess is as good as mine.
IMG_7950Here’s a bird’s eye view of a SCOBY I grew all by myself. It’s about five inches across. I grew it myself because – and here’s the catch – every time you brew a batch of kombucha, you grow a brand new SCOBY. Often people don’t have the heart to throw them away because, well, they’re little guys! So they store them up in jars called SCOBY hotels and find people to pawn them off on.

When Keri told me, via text, that she had a SCOBY hotel she wanted to share with me, it never even crossed my mind that I wasn’t looking at a typo.

Pawning off is of course an unfair term. I was more than happy to take this disgusting little critter into my home and drink the fluid it lives in. And I’m fascinated by the thought that these SCOBYs are passed and propagated from person to person and mine might have a noble lineage. Maybe I’ll get into SCOBY genealogy.

My housemates were less enthusiastic about this new addition to our home. They’ve long since accepted my weird fermentations. Or at the very least they’ve grown accustomed to them. Kombucha was a step into the unknown, however. And the sight of this slimy, vinegary disc teeming with rapidly reproducing life (as well as the prospect of having to do a taste test) didn’t calm any hearts or stomachs. I reassured everyone that it was perfectly natural and healthy and supposedly tasty. I took it for granted that I was right. 20150801_141203

By the by, if anyone out there really knows their kombucha and can tell from the pictures that mine is actually grotesquely unhealthy, let me know, I guess. Here’s one of the SCOBYs drifting slowly from the bottom of its jar up to the top to join with its newly formed offspring.

So what’s the deal with kombucha?

Essentially, it’s fermented sweet tea. It’s often flavored and carbonated to make something like a healthy person’s soda. And boy, is it healthy. Whenever I wanted to read about it online, I’d first have to wade through paragraphs and paragraphs about probiotics and detoxification and anti-oxidants. Is any of it true? All I know is I had a cold, I drank some kombucha, and I still have that cold. Maybe I need to drink more.

The brewing process is excitingly easy. Brew some black tea, add a whole bunch of sugar, and let it cool. Throw in a SCOBY or two and some of the vinegary liquid it lives in, and fill up the remaining space with water. Rubber band a piece of fabric over the top of the jar and let it sit out of the way for around a week. You’ve just made kombucha. 20150806_142205_HDR

The sheer healthfulness of kombucha culture is a little bit of an obstacle. I read a lot of recipes, and according to every one I needed organic black tea and organic cane sugar, because the chemicals used to process the non-organic varieties can kill SCOBYs. And I had to use filtered water because the traces of lead in my taps would kill SCOBYs. Unfair though it may be, I couldn’t help but wonder if all these delicate SCOBY tendencies weren’t projected by the people who grew them. If I believe city water and non-organic sugar is bad for me, why wouldn’t it also be bad for my yeasts? So after following all the rules the first time, I brewed my second batch with tap water, Lipton tea, and Domino’s white sugar. Maybe my SCOBY felt healthfully bankrupt, but I didn’t notice any difference.

Though it was supposed to take as long as a week, the summer heat kicked my kombucha into overdrive and formed a new SCOBY in about four days. The taste was like a sweet apple cider vinegar. At this point kombucha is 20150806_142140_HDRcompletely drinkable, but I chose to go a step further by doing a second fermentation with flavoring. This involved bottling the stuff in beer bottles with whatever I could find in the kitchen that I thought might taste good. I did lemon, honey, ginger, lemon honey, lemon ginger, honey ginger, and elderberry, to give you a sense of what I had lying around the house. I let the bottles sit out in the kitchen for about four days to allow the yeast to eat the sugars and carbonation to build up. Then I stuffed them all in the fridge to slow the fermentation way down and prevent explosions.

And the verdict? Pretty darn good! You can see from all the bubbles that the carbonation was a success. You can also see from that suspicious circle floating on the top of the glass that a new bottleneck-sized SCOBY began to form in each bottle. One slipped straight down my throat during an ill-fated afternoon refreshment. It was a little like eating a raw oyster.

20150806_204700Sneaky little SCOBYs aside, the overall rating was widely positive.

Even though the good reviews came begrudgingly and with a little suspicion from those who actually saw it made.

Ten Pounds of Frozen Mulberries

I have ten pounds of frozen mulberries. 20150707_143950

At the end of the season I moved from my calm handpicking method to much more drastic measures involving a tarp, some bungees, and a long PVC pipe. Yields went up. Tree limbs went down.

By now the tree has finally mellowed and stopped producing fruit. The birds have moved to greener pastures and the driveway no longer smells like vinegar. And I have to find something to do with all this fruit.

Or rather, I have to find a few things to do with this fruit in a way that adds up more or less to ten pounds. Thankfully all the berries are frozen, so any time constraints are replaced by freezer space constraints. Which are also kind of pressing.

For my first project I’m trying a very simple wine. I’ve read a few recipes that recommend adding raisins or juice because mulberries on their own make for a very thin-bodied wine. In fact, the alternate recipe in that link calls for both raisins and orange juice. For my first batch, though, I’d like to do without the bells and whistles. I’ve still got six pounds to tinker with if I think I can make improvements. And I figure as long as I’m in this house I’ll have summertime mulberry re-ups.20150721_220801_HDR

I thawed four pounds of berries and threw them into a bucket. They were still unbelievably cold, so instead of crushing them with my hands like in the old country, I used a potato masher. I think the effect was more or less the same.

I added a pile of sugar plus yeast nutrient, acid blend, and pectic enzymes. I threw in some sodium metabisulfite and let the berries sit for a day to hopefully kill off whatever’s been living in our driveway.

Then I pitched the yeast and got this bizarre moonscape. I’d say it’s halfway between a satellite map and a cobbler.20150723_162514

I let the yeast do its thing, squishing the berries and swirling the bucket daily, leaving the lid loosely on the bucket with just a cloth over the grommeted hole to let oxygen in but keep fruit flies out. I did this for a week, and I think it was too long.

A lot of my problems at the moment seem to come from the weather being too hot. I can’t wait until a few months from now when I get a whole new batch of unforeseen cold weather problems. 20150730_124032_HDR

I racked the wine to a carboy by siphoning it through my trusty mesh funnel. I forewent my old nylon stocking trick because I thought the wines I’d used it on had a certain… nylony taste to them. The funnel worked just fine, and I got a beautiful full carboy of mulberry wine…

…That isn’t showing the slightest signs of fermenting.20150730_125359_HDR

It’s a great color. It tasted… fair. But there’s not a single bubble in the airlock. There’s not a single bubble creeping up the inside of the glass.

This stuff just isn’t fermenting anymore.

I’ve been reading up, and the problem is almost certainly due to the heat, of which we’ve had a lot lately. There’s a chance the fermentation has gotten stuck due to big fluctuations in temperature, which we’ve certainly had between daytime and nighttime. There’s also a chance it’s been so hot during the day that the fermentation has gone into overdrive and just plain finished.

I’m hoping it’s the latter problem, and I’m going to proceed as if it is and see what happens. I gave the carboy a hearty shake and no yeast turned up. I tasted it and it certainly tastes fermented. There is a risk that if it fermented at a very high temperature it’ll produce off flavors. I’m not sure I’m up to a high enough standard for that to be a problem yet.

20150803_175512_HDRWe’ll have to wait and see with the plum wine I’ve just made, too, because the exact same thing happened to it. Nice fermentation in the bucket, none at all in the carboy. Beautiful color and wine-y but not by any means good taste. Whatever the problem is, it seems to be environmental, and I’m tempted to believe it was a rapid fermentation.

This is partly because it means I don’t have to worry about it anymore.

The Best-Laid Meads

My first mead was good!20150724_114023_HDR I’m as surprised as anyone. And since the only thing to do with moderate success is run with it until you trip over yourself, I’ve whipped up two more meads. They’re flavored, more ambitious, and a lot more free-wheeling. On the left we have raspberry mead, and on the right we have lavender mead. Both are bubbling away nicely.

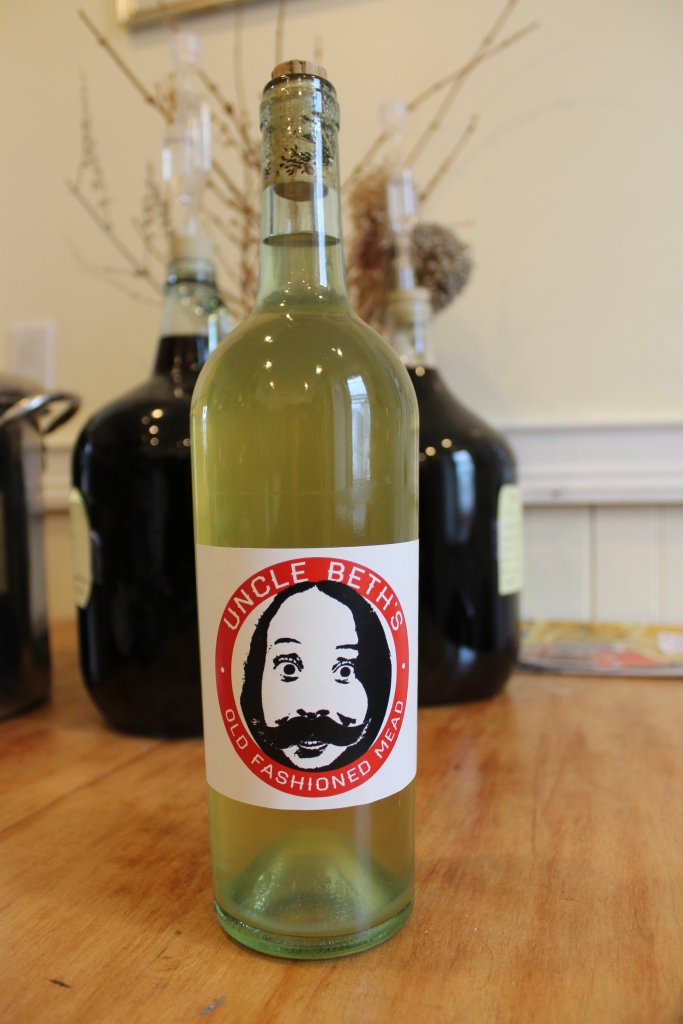
Now for a note on honey. Here’s the thing about honey: it don’t come cheap. Or more correctly, it don’t come cheap unless you buy the cheap stuff. There will come a day when I have the money to buy humanely raised meat and raw, local honey. I hope. But it is not this day. Particularly when I’m still learning, I’d rather not pay top dollar for my honey. For my first batch of mead I used generic brand, pasteurized clover honey from my neighborhood grocery store (as far from purist as you can get) because I didn’t know what to expect and didn’t want to spend too much. And I was so happy with the results. So for the moment I’m sticking with my cheapo, heated, store brand bulk honey and aiming for quantity (and therefore variety) rather than quality.

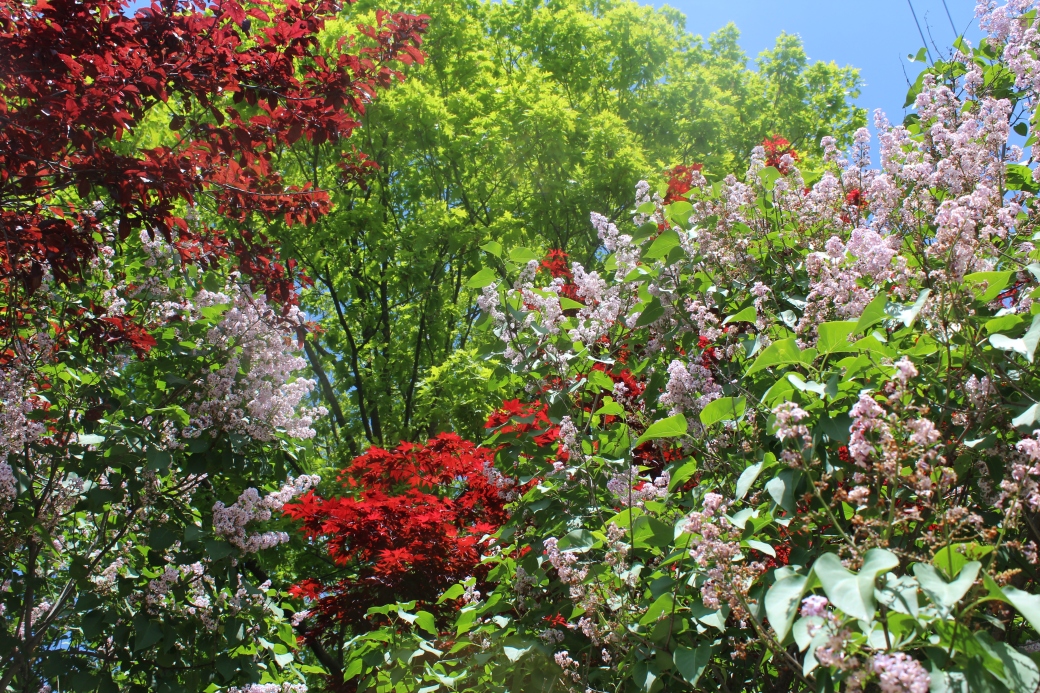
That being said, I’m trying to make improvements in quality where I can. I thought my grocery store strawberry wine was a little lacking, so I’ve flavored my crappy honey with home grown ingredients. The raspberries were grown in my parents’ garden and frozen at peak ripeness. The lavender was donated by my community garden neighbor Ken, who’s getting overwhelmed by his huge lavender bush.20150724_161453_HDR

I wish I had that kind of problem. This is my lavender bush at present.

It’s over a year old and still so tiny!

Anyway, I had a hard time finding a definitive recipe for lavender mead online. There were plenty of rumors and memories of friends of friends who make it all the time, but nothing really concrete. And the few details that were concrete varied wildly, from steeping the lavender into tea, to leaving it whole in the mead for a month, to leaving it out completely until bottling. I’d already picked my lavender, so that last one was right out. In the end I decided to make up my own recipe, roughly adapted from this guy’s vague remembering.

In a sterilized pot I heated some water to 160F, then20150721_212127_HDR added an ounce and a half of lavender flowers. I let them steep until the water turned to a nice golden brown tea and the whole house smelled like lavender. I may have driven my roommates away for the night.

I let the tea cool a bit, then combined it in a gallon carboy with three pounds of honey. I topped the carboy up with water, added yeast nutrient and sodium metabisulfite, shook it up, and let it sit for a day with a towel over the top.

This may not have been a good idea.

I swear I’ve added nutrient and metabisulfite to must simultaneously before, but maybe never in a fully topped up carboy. When I checked on it the next day, the must had bubbled up into what was by then a very crusty towel. My suspicion is that I 20150721_224210_HDRwas feeding the natural yeasts from the lavender at the same as I was inhibiting them, and the feeding won out in the end. If this is the case, I may have some sub-par mead on the way.

Then again, I may have just shaken it too vigorously and the bubbling over happened in the first minute.

Only time will tell. Or maybe it won’t.

My raspberry mead had some hangups, too. Actually, raspberry mead isn’t called mead, but melomel – a fermented mixture of honey and fruit.

My raspberry melomel had some hangups, too.

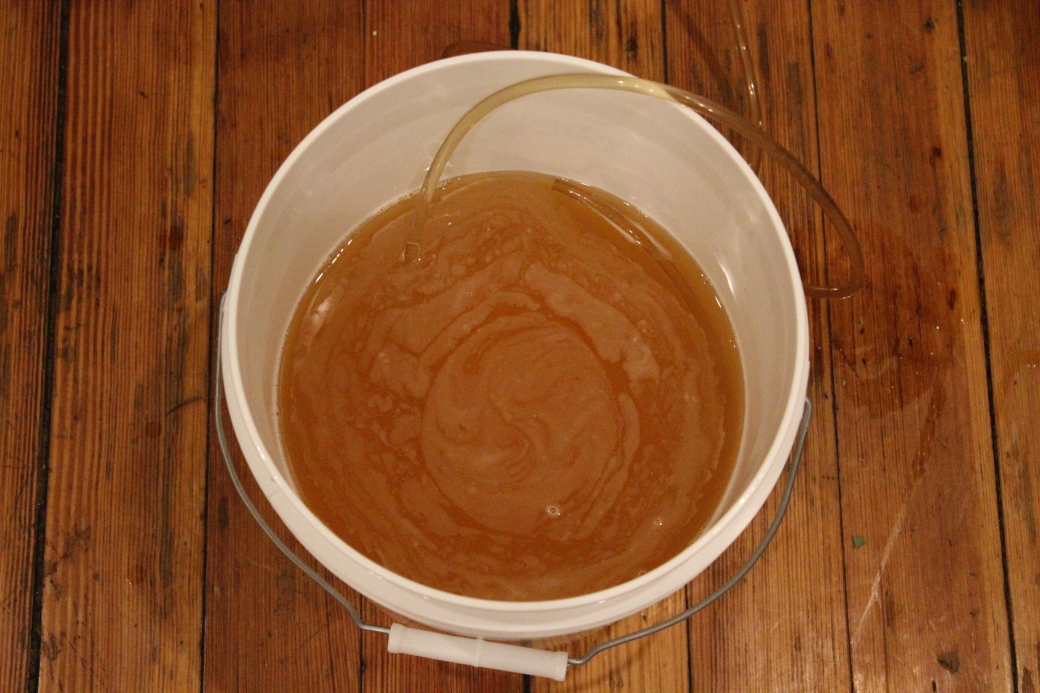
I thawed and smushed the raspberries (just under two pounds) and shook them up with three pounds of honey, some sodium metabisulfite, acid blend, pectic enzyme, and enough water to equal a gallon. I did not add any yeast nutrient, because the recipe I was vaguely following didn’t say to. Maybe these recipes know what they’re talking about, because this one did not bubble over in the night.

The next day, however, I continued to follow my recipe closely and set my yeast and nutrient in a cup of water to get it started. I then poured it into the carboy and the liquid filled up straight to the top. No room for even a single bubble. Until now I’ve been pitching my yeast straight into the must, and for some reason it didn’t occur to me that extra water would mean extra volume. Whoops.

I had to get some of the liquid out; I was afraid that the very first bubble was going to pop the cork off this thing. The whole top layer was yeast, though. I wanted to get rid of the liquid in the middle. I eased the auto siphon in and the carboy promptly overflowed. There went a lot of my yeast. I released some liquid and pulled out the siphon. It was coated in a lot more of my yeast. No!

There was no immediate activity in the airlock, and I was worried I’d completely eradicated the yeast. I didn’t want to add more, though, in case I wound up with too much. I decided I’d give it until morning to start fermenting, and went to bed uneasy.20150724_114124

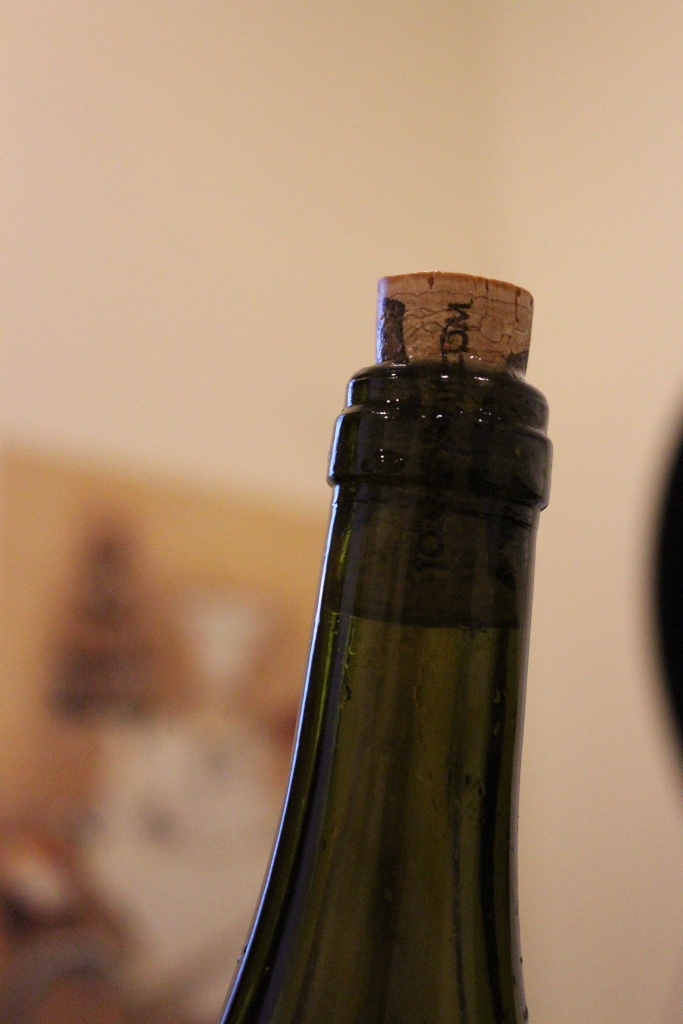
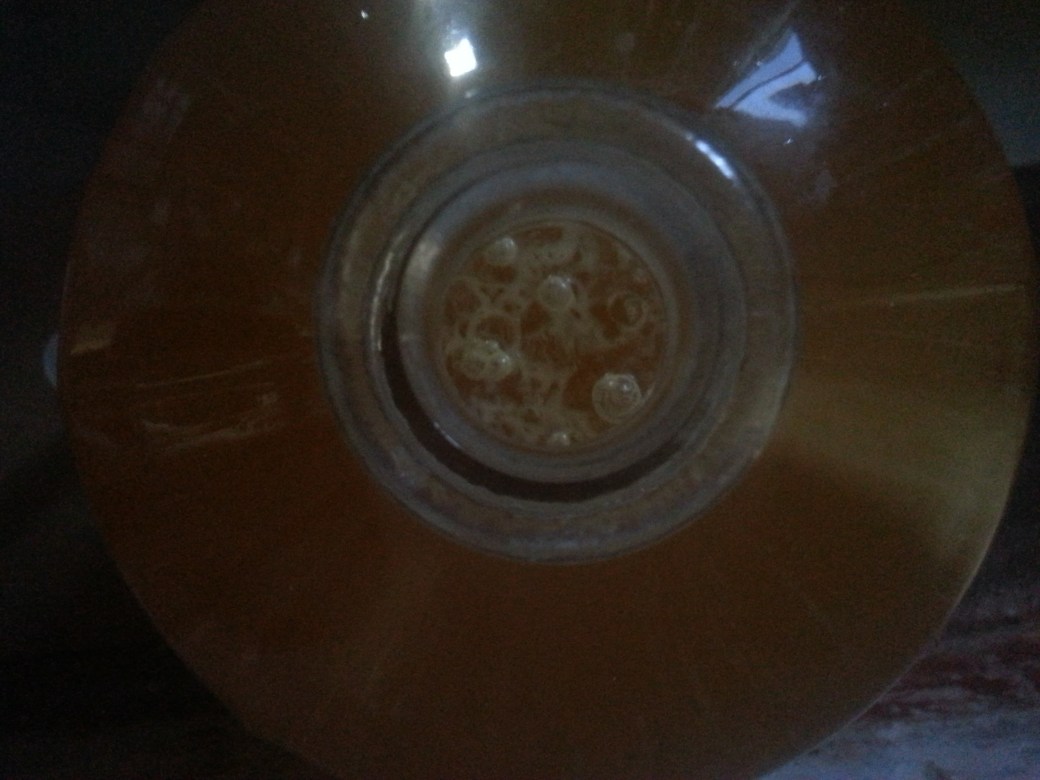
Lo and behold, this is what I woke up to! The next morning the raspberry melomel was bubbling with a vengeance, as was the lavender. They’ve both been put in cool and dark storage in the cellar.

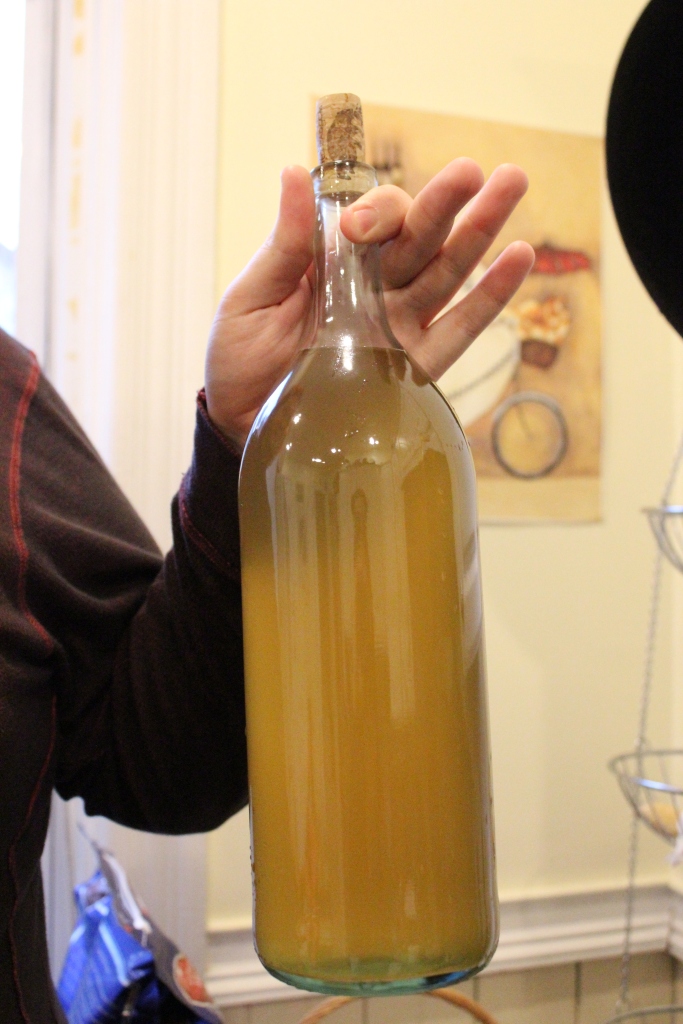
The main lesson I’ve learned is that there’s no reason to do a primary fermentation in a carboy. I’m not sure what possessed me to do it, and to do it twice! The little bit of liquid I removed from the melomel tasted fantastic, though, so I have high hopes.

Just as long as those seeds don’t sprout…